This is a sponsored post written by me on behalf of The Duck Brand for IZEA. All opinions are 100% mine.
Reusable Duck Tape Lunch Bags, made only from Duck Tape, are a fun way to easily craft your way back to school!
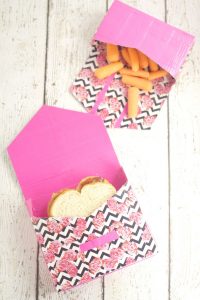
Duck Tape Lunch Bags
I can't believe it's almost August! The months fly by so fast! And now instead of planning BBQs and cookouts, we're getting ready to go back to school. New backpacks and markers and notebooks and pencils. I love new school supplies, especially super cute ones with fun, bright patterns.
Did you know that you can easily make your own personalized adorable school supplies? Just use Duck Tape! (You can find Duck Tape here!)There's So. Many. adorable patterns and bright colors! You can wrap your pencils in Duck Tape and decorate notebooks to match, and so much more.
Decorating, personalizing, and crafting with Duck Tape is so simple that your kids can do it themselves, or with minimal help. My kids were so excited about my Duck Tape Lunch Bags project that they're still on the floor making their own projects out of Duck Tape. They are having a blast! Since they're preschool age, it's also awesome that I don't need to break out the scissors and glue and other messy or dangerous supplies to make their projects with Duck Tape.
There are so many patterns and colors of Duck Tape (over 200!) that it was hard for me to decide which color and pattern combos to go with! There's literally a perfect combination and style for everyone. I know I'm going to want to make more so I can use the fun patterns that I haven't used yet.
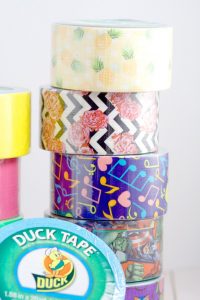
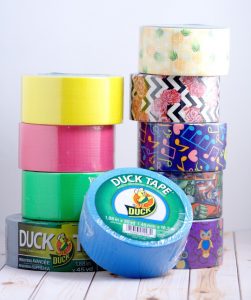
I wanted to make something just out of Duck Tape because how fun is that?! So I decided to make reusable Duck Taps Lunch Bags for sandwiches and snacks. They're super cute and frugal because you can easily wipe them off and use them over and over again!
Duck Tape Lunch Bags Instructions
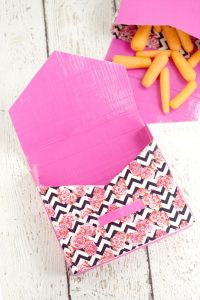
What You'll Need for Duck Tape Lunch Bags
- Template
- 2-3 rolls Duck Tape per bag (depending on the patterns and colors you choose!)
- Scissors and/or Rotary Cutter
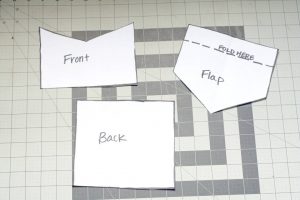
1. First, you'll need to make a template of some sort. I've made one for you for the sandwich-sized bags (You'll have to excuse the shakiness. I hand-drew the template, and I'm almost always over-caffeinated. Hopefully you're less caffeinated than me when you're cutting!). To make the template, I just got out an actual sandwich bag and made it the same size. You can do the same for different sizes, or you can print out the Duck Tape Sandwich Bag template below. You will need a front piece, back piece, and flap. Cut out your template once printed or drawn.
- Click Here to download and print your Duck Tape Lunch Bags Template
2. Now we're going to lay down the foundation for each piece of your template. I used the standard silver Duck Tape for this part because I wanted to save all the bright colored and patterned Duck Tape for the outside. Lay the Duck Tape out, sticky side up, over your template so that the template is totally covered. Make sure the Duck Tape is slightly overlapped so that it sticks together.
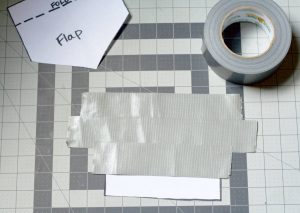
3. Then go back and cover the stick side of the Duck Tape with another piece of Duck Tape, this time sticky side down. Do this to completely cover the template again. Now you should have a Duck Tape "sheet" of sorts that's not sticky to the touch. Repeat steps 2 and 3 for each piece of the template. Then trim each piece down to the appropriate size.
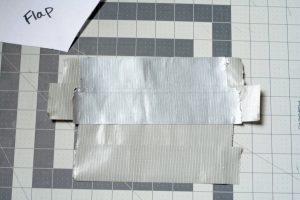
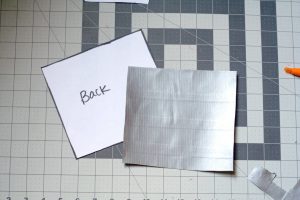
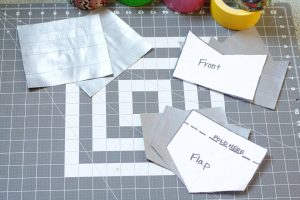
4. When each template piece has a base, you can start decorating them with the colored or patterned Duck Tape. I just stuck the Duck Tape, sticky side down, to the foundation pieces, so that the edges were just barely touching. Then I went back over with another layer to cover those seams and make sure you could only see the colors and none of the gray. Then, trim the edges so that the colored tape is even with the foundation piece. Do this for each foundation piece, front and back.
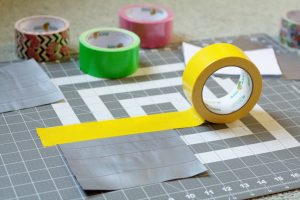
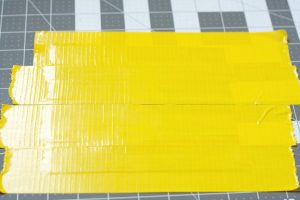
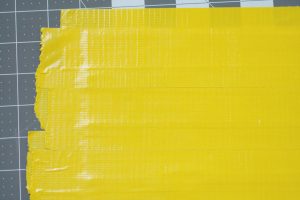
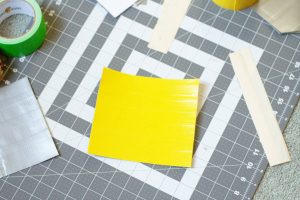
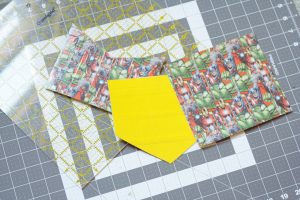
5. Before we assemble, we'll need to make a "connector" piece. This piece will make the Duck Tape lunch bag wide enough to actually accommodate a sandwich, and we'll also use it to connect all your pretty pieces. To make the connector piece for the Duck Tape sandwich bags, I cut a piece of Duck Tape about 19-inches long and then folded it length-wise (hot dog style!). For the smaller snack bags, I cut a piece of Duck Tape about 26 inches long, then folded that one width-wise. You can play with this part a bit. It all depends on how BIG you want your Duck Tap lunch bags.
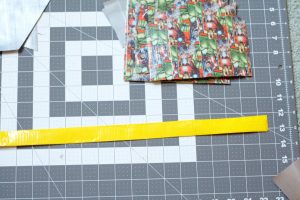
6. Okay. Now, we're ready to put together your Duck Tape lunch bags! Start with your back piece (the square). Lay it flat so that the side you want facing IN is facing you. Then tape it to the center of the connector piece. Trim up the edges if needed, but DON'T cut the connector piece!
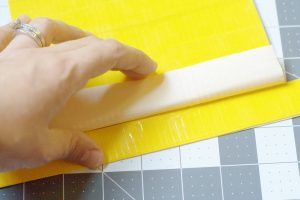
7. Fold up the sides of your connector piece at the corners of the back piece and connect together using the same method as step 6. Then repeat steps 6 and 7 to attach the front piece. Trim up the top edges when done.
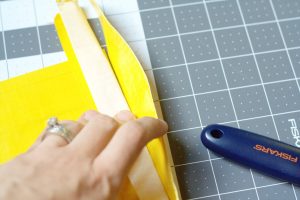
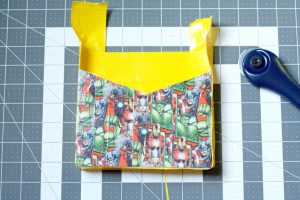
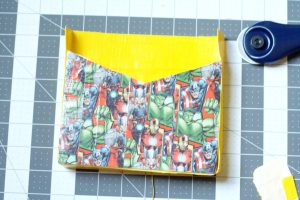
8. Now we just have to attach the top flap! Fold your edge down and make a sharp crease, approximately where the dotted lines are on the template. Place a piece of Duck Tape on the bottom of the side that you want to face in. Then stick the bottom of the flap onto the top of the bottom piece. Fold the flap over the top, like you're closing it. Then secure the flap on by adding another piece of tape to the outside (while the flap is folded over, so that it will bend properly).
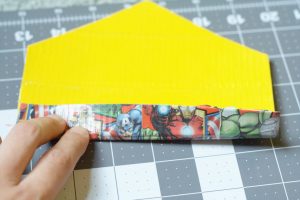
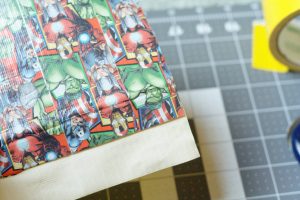
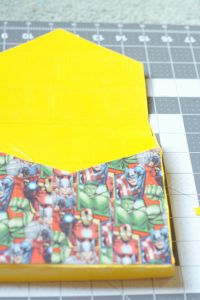
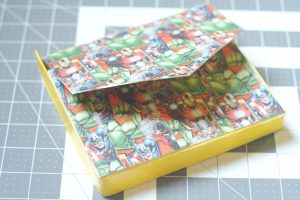
9. Add borders to the edges and all the corners to make sure the Duck Tape lunch bag is securely put together and sealed from moisture.
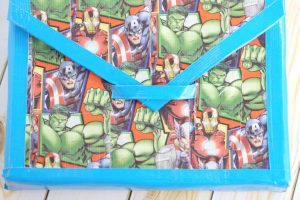
10. There are a few different options to add to your Duck Tape lunch bags to keep them closed while they're in the lunchboxes. For the sandwich bags, I rolled up a piece of Duck Tape long enough to fit over the flap, then secured it by taping the two sides of the fastener with matching Duck Tape. Other fastener options to consider:
- Buttons - Sew on a button and cut a slit in your Duck Tape lunch bags to make a button hole
- Ribbon - Duck Tape ribbon to the flap and the bottom of the front to tie the Duck Tape lunch bags shut
- Hook and Loop Fastener - Stick a piece of hook and loop fastener on the back of the flap and on the front piece where it meets the flap.
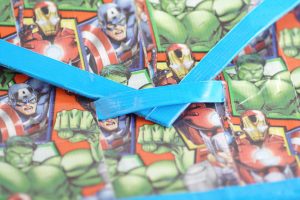
Pat yourself on the back! You're all done! Let's see your Duck Tape Lunch Bags!
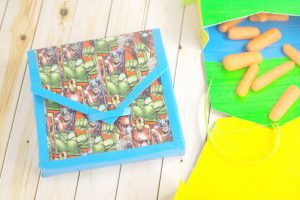
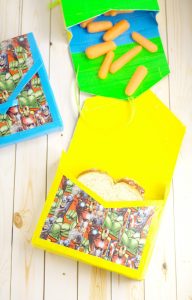
What other fun Back to School projects have you made with Duck Tape?
For more Back to School Duck Tape inspiration, follow The Duck Brand on Twitter and Instagram!
Be sure to check out the School Craft board on Pinterest from The Duck Brand.
Never Miss a Thing!
Join our newsletter to get new recipes, tips, tricks, and tutorials every week!




Melanie Redd says
What a clever and cute idea!
I would have never thought of making lunch bags out of duck tape. That is so ingenious!
Came over on Little R and R. Glad to find your site.
Hope you have a blessed day~
Melanie
Natasha says
So glad I found you on Get your shine on link party. I have to make these.
Falon at A Disney Mom Blog says
This is such a great idea and there are so many possibilities for colors/patterns!
Noa Ambar Regev says
So cute and colorful! I love that you can make these with different patterns and colors (pinned!).
Lisa says
This is brilliant! I'm so trying this for my daughter's lunches.
MDH says
They look really cute, but how food-safe are these?
Michelle says
I'm not sure I understand the question? They're no less safe than your average sandwich bag.
DavetteB says
Do you really need to do two layers of tape (like in the photos the gray and the yellow) or could you just overlap the layers in the first place?
Thanks. Seems like these could be used for lots of things I use zip bags for.
Michelle says
I used the gray tape first because it's cheaper and comes with more than the pattern tape. But it will definitely work if you just wanted to use one kind.