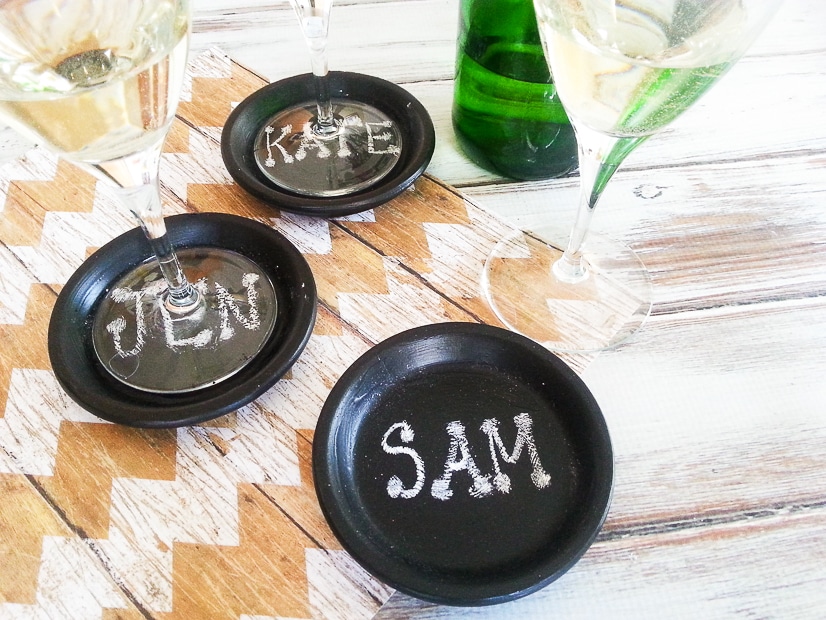
These easy DIY Chalkboard Coasters are perfect for daily use, parties, and even make pretty table settings. Make these fun coasters with this simple, easy-to-follow tutorial.
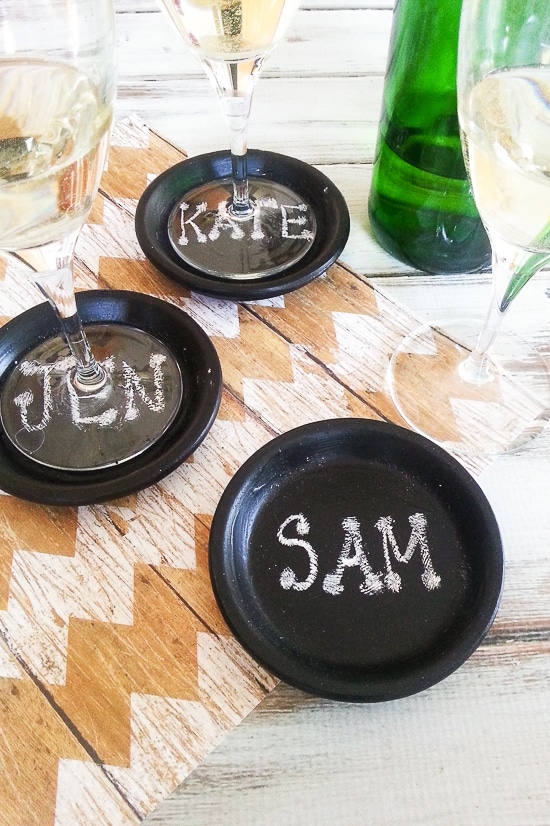
Chalkboard Coasters
When Mr. Gracious and I first got married, almost 7 years ago (wow, I can't believe it's already been that long!) we had basically nothing. Except for the gifts we received from our wedding shower, and a bunch of hand-me-down furniture. It sounds like a bummer, but it really wasn't. We quickly started having babies, who liked to make it their mission to destroy the furniture, and I can only imagine how upset we'd be if we had maxed out our credit cards buying new furniture and then the kids ruined it all. I'd definitely be bald right now. From the stress and also because I pulled all my hair out.
But with our kids starting to get a little older, we're starting to replace a few pieces of furniture and get some nicer things, which means we're talking to our kids about taking good care of their belongings more, and it also means some adjusting for me, who's used to setting my cup down any-old-where that I think the kids have the least likely chance of spilling it.
At this point, I think Mr. Gracious would really like to strap a coaster to my arm (um, possibly because I'm really REALLY good at losing things....), but I was thinking maybe if we just had more, I would be able to find at least one... We shall see... Next week's update may be about DIY velcro coaster carrier bracelets....
Anyway, I decided to make these fun, shabby chic chalkboard coasters to go with the old farmhouse look we've got going on at our home. I love how easy they were to make. And I also love that they can be decorated or painted to match the decor in any house. Chalkboard paint comes in so many colors these days! Plus these are great for multi-use. They can be used for just daily use. You can use them to keep track of drinks at a party. Or you can even use them as a pretty addition to a formal dinner table setting.
Chalkboard Coasters Tutorial
So here's what I did so you can make your own chalkboard coasters. First gather your supplies.
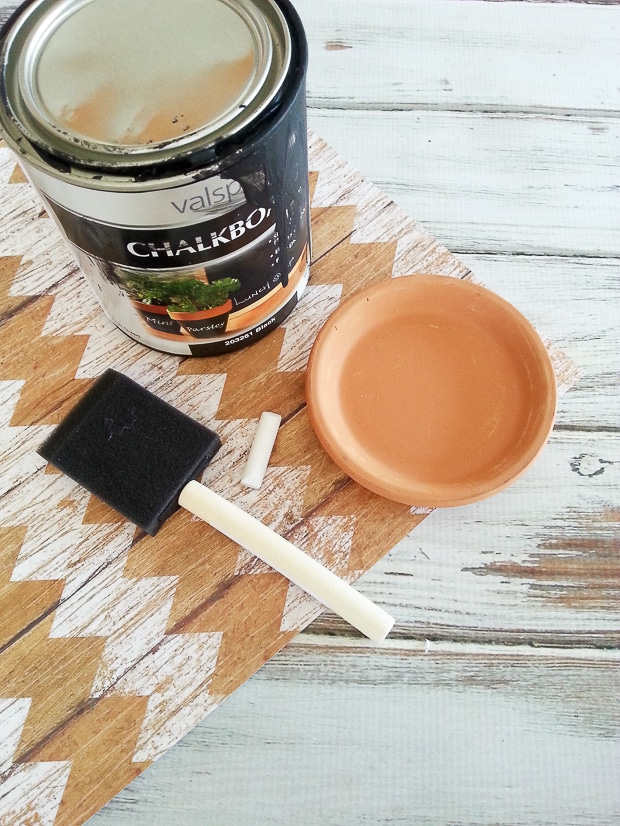
Chalkboard Coasters Supplies:
- Chalkboard paint - You can use any color, but I just used traditional black chalkboard paint.
- Paint brush - I used a foam one because I think they're the easiest to work with for a project like this
- Terracotta saucers - I used the 4.25 inch ones as they seem to fit glasses well, but you can use bigger or smaller, if you choose. You can grab them on Amazon HERE, but they're honestly cheaper if you hop on by a Walmart or gardening center.
- Chalk - I went with white chalk, but again, you can go in so many directions with this. Play with colors and have fun!
Directions for Chalkboard Coasters:
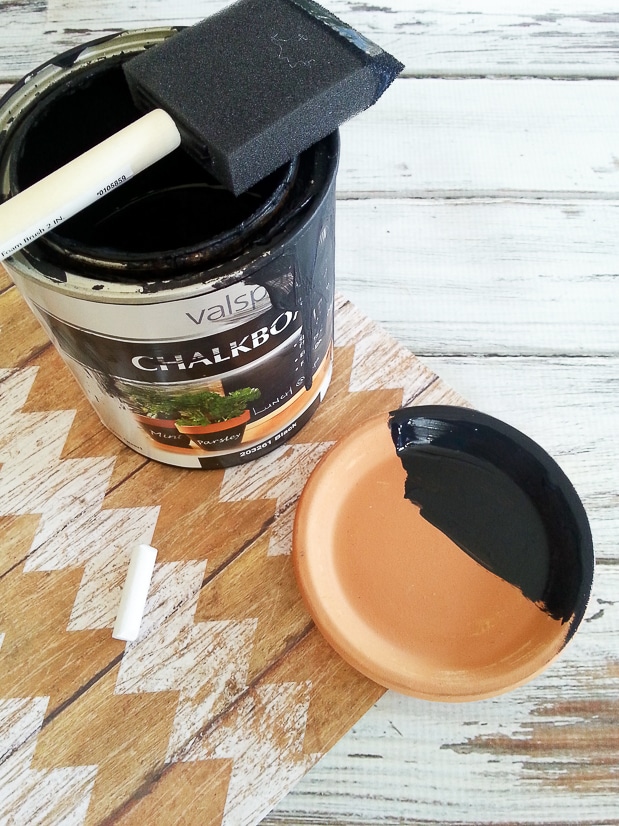
1. Paint the chalkboard paint on the saucers. I painted underneath to to make sure it had a complete and finished look. It dries relatively quick, so I did two coats to ensure everything was covered.
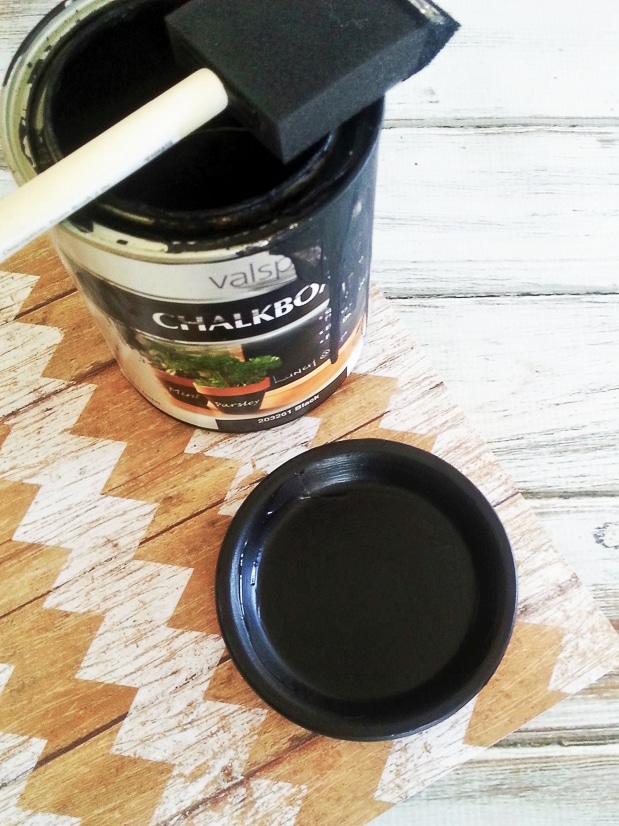
2. Once dry, rub a piece of chalk all over the whole coaster to condition the paint. Then erase fully.
3. Your coasters are now ready for writing and designs. Have fun!
Did you like this Chalkboard Coasters tutorial? Find more on my DIY & Crafts board on Pinterest!
If you liked this Chalkboard Coasters tutorial, you might also like
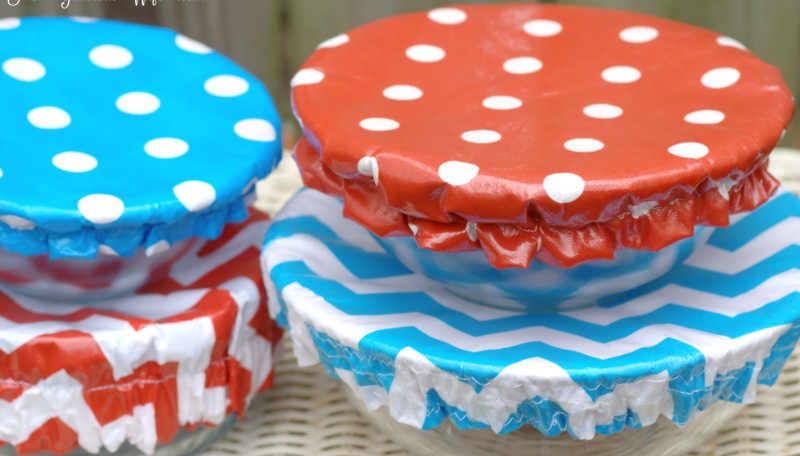
How to Make DIY Washable Reusable Bowl Covers
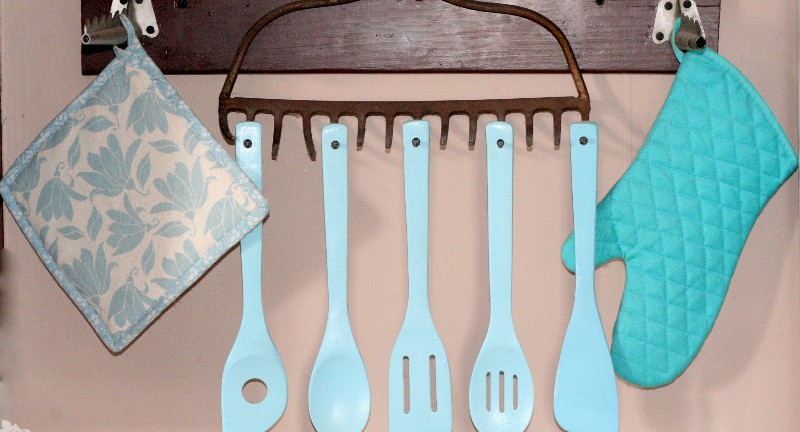
Upcycle: Old Rake Head to Rustic Utensil Holder
Never Miss a Thing!
Join our newsletter to get new recipes, tips, tricks, and tutorials every week!



Alice says
Well, these are just fun! I love finding new uses for things like terracotta saucers, It looks like a fun and easy project to do with my granddaughters. Thanks for sharing.
Theresa @DearCreatives says
Such a great idea for entertaining. Love the DIY coasters! Thanks for sharing at the #InspirationSpotlight Pinned & shared.