How to Make Washable Reusable Bowl Covers tutorial- a DIY sewing project perfect for summer, picnics, and cookouts. These bowl covers are washable, reusable, and even reversible.
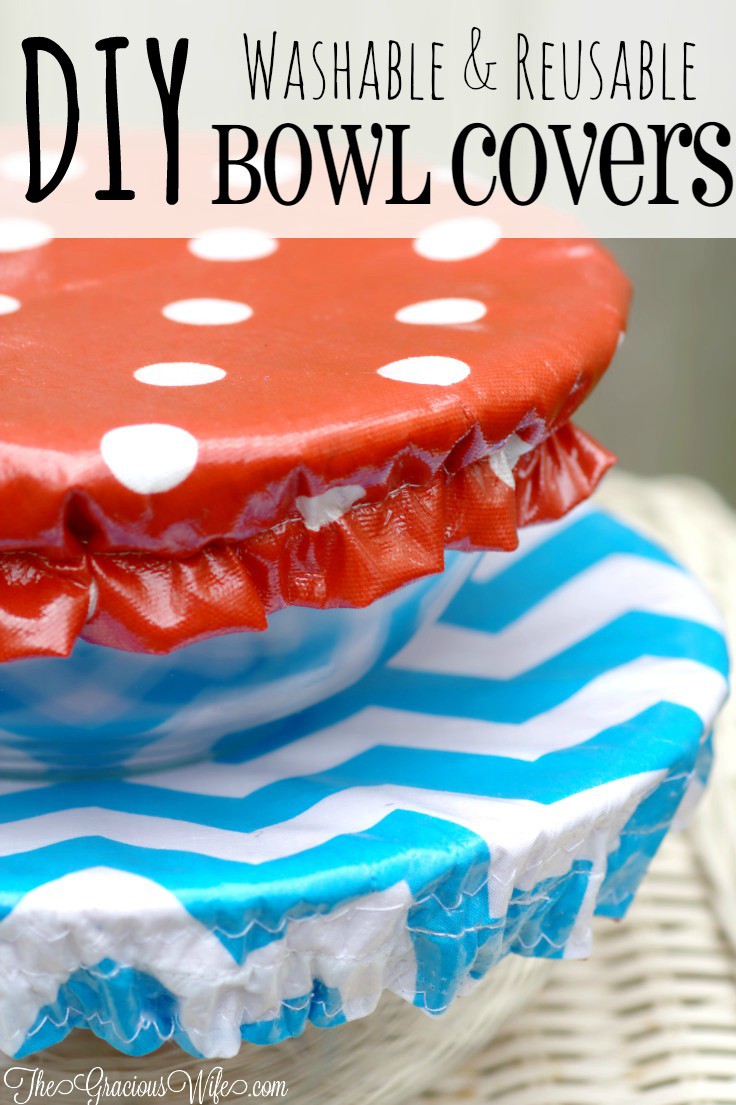
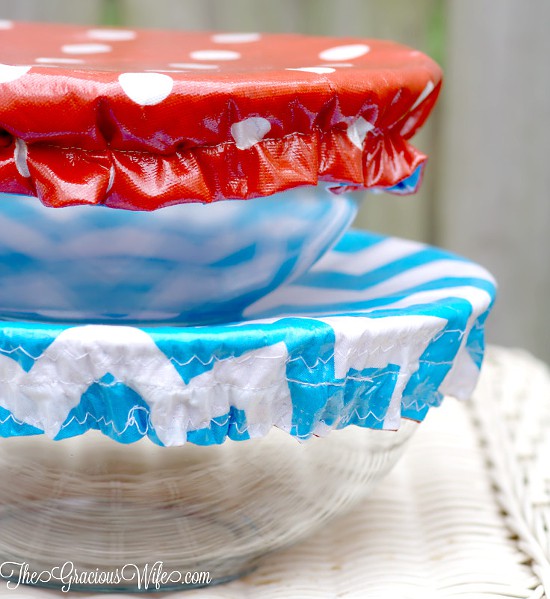
DIY Washable Reusable Bowl Covers
Picnic season is quickly approaching! Lots of barbecues, cook-outs, and outdoor meals! Of course, with those fun summer meals also comes the need to bring a dish to share, and sometimes pests that try to get in on the action.
So today I'm sharing how to make your own cute washable and reusable bowl covers that are just perfect for bringing dishes to friends' houses and keeping those nasty pests out of your yummy food!
I saw these adorable bowl covers one day while perusing Pinterest. I obviously had to make some for myself! But I did want to change it up a bit because I really didn't like that they were all cloth, which would inevitably mean more laundry for me. I needed a way to make them easy to clean with just a simple wipe-down, but still with the cuteness and re-usability factors.
The answer, my friends? Iron-on vinyl. Easy to apply, easy to work with, and easy to clean!
So lets get down to business. Here's how to make your own DIY Washable Reusable Bowl Covers.
What you'll need:
- Fabric
- about a half yard per bowl. Have some fun here and mix up colors and patterns! I recommend using a sturdy fabric, such as cotton, or even one as durable as canvas.
- Iron-on Vinyl
- 1-inch thick elastic
- Sewing equipment, such as pins, needles, thread, and a sewing machine
Directions for DIY Washable Reusable Bowl Covers
I actually made these bowl covers 3 different ways to figure out which way was easiest and worked best.
- The first way I tried was using very thin quarter-inch elastic, and basically following the instructions in the above tutorial. I sewed my covers, slid the elastic around the "channel" then just tied a know to secure and finished the seam. I didn't care for this method, and won't be showing how to do it. The thin elastic didn't have much stretch once you tightened it around the bowl, so it was difficult to get on and off.
- The next method was basically the same as the first, but this time I used 1-inch thick elastic and sewed the ends together before finishing off the seam. This method worked well, and I like how it turned out.
- I sewed my bowl covers together and finished the seam first. Then I added the elastic last to the inside. I really like this method. It was very easy, and it turned out great. When I make more, I'll be using this method again. The only downside is if you reverse it, the elastic is shows on the outside.
I'm going to show you what I did with the last 2 methods, since those worked out best. Both tutorials start the same, so let's get started!
1. Grab your fabric and trace around the top edge of your bowl lightly on the side back side of the fabric.
2. Now you're going to make a larger circle around your original circle, so that the cover will have room to be placed all the way onto the bowl. So add 2 inches in each direction and make your circle. I marked 8 spots at the 2 inch mark, in the places that you would traditionally cut a pie or pizza, then sketched my circle. It's okay if it's not exactly perfect. Your bowl cover will be "scrunchy" around the edges at the end so no one will be able to tell if you have perfect circle-drawing capabilities (which I do NOT!).
3. Repeat this process for a second piece of fabric.
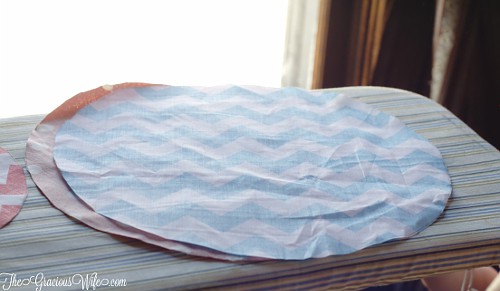
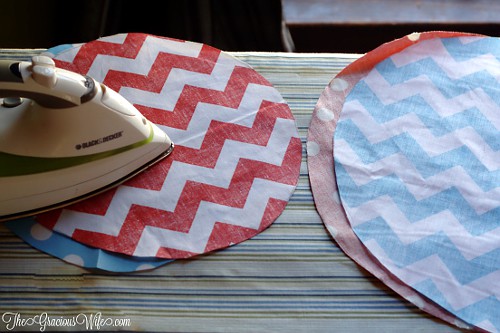
4. Cut out both of your circles, and iron smooth.
5. Now we're going to add the iron-on vinyl. Trace your fabric circles on the paper part of the vinyl. Cut out the circles and stick the sticky part of the vinyl to the side of the fabric that you want showing (Yes, stick it on the pretty side!). Then follow the directions on the vinyl to apply.
Some tips worth mentioning for applying the vinyl:
- Trim the vinyl
around your circle so that it matches up with the circle almost exactly, or it will try to stick to your ironing board.
- Cut off a big square of the iron-on vinyl
, and discard the actual vinyl portion, just keeping the paper. I found it easier to iron with the big sheet that fully covered the circle than trying to mess with little slips of my iron on the smaller circles and the vinyl sticking to the iron.
- KEEP THAT BIG PAPER SHEET until you're totally finished. You may find yourself needing to iron out some kinks throughout the process.
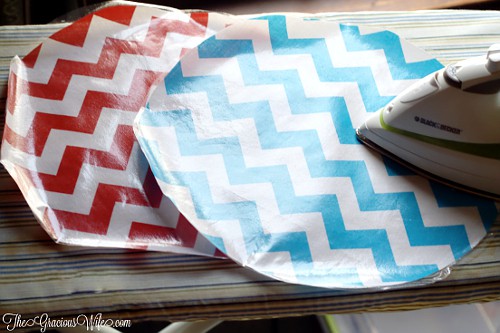
6. Once your vinyl is applied and cooled so that it's no longer sticky, take your circles and face them in towards each other so that the vinyl sides are touching. Add a few pins so that it stays, and then sew around the circle using a quarter-inch seam, leaving an opening large enough for your hand to fit through. I literally just placed my hand on the edge and made 2 little marks to indicate beginning and end. You can see my "hand hole" below. Remember to backstitch!
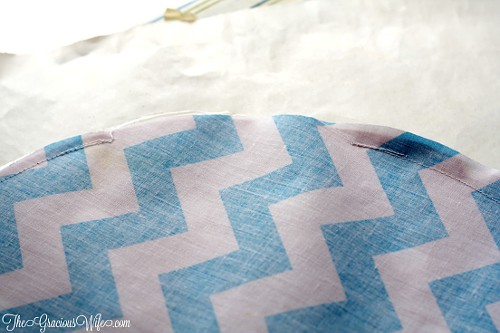
7. When you're done sewing the perimeter around the circle, reach your hand in and pull the bottom of the circle through the hole. You're trying to un-inside-out it. It's okay if your bowl cover gets a little crinkly! That's why you kept the ironing papers!
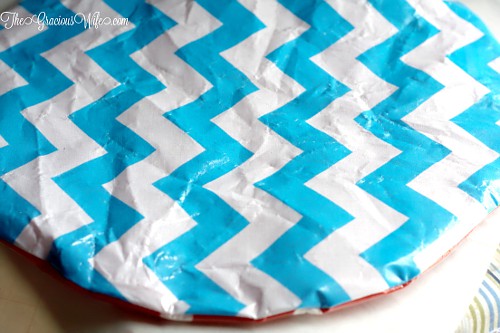
8. If your bowl cover needs it, use the paper you kept to run a quick iron over it to get rid of some of the wrinkles, and be sure to press down the seams so that it looks nice and flat and neat.
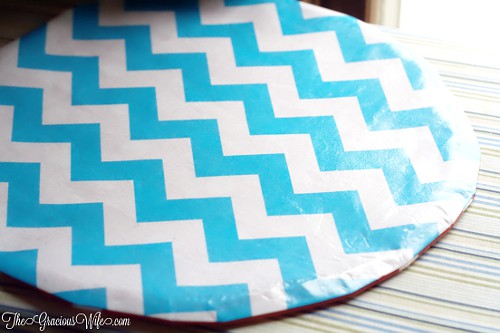
Here is where the tutorial will split.
DIY Washable Reusable Bowl Covers: Option 1
Option 1 will be the elastic on the inside in a channel so that your bowl cover is completely reversible and no elastic is showing.
9. Now we're going to sew a channel for the elastic. I couldn't get my elastic to go through the channel if I sewed it first and then tried to slide my elastic through (if anyone has any insight on that, I'd love to hear it! It was frustrating!). So I ended up placing my elastic inside the bowl cover all the way around the edges, and pinning it so that it didn't move around while I was sewing. You should have 2 tails of elastic still sticking out of your "hand hole."
10. Next I sewed the channel about an 1 ½ inches from the edges. This is just to keep your elastic from sliding around in the bowl cover once it's closed up. You can sew all the way around. You won't need that "hand hole" anymore.
11. Place your bowl cover on top of your bowl. Pull the elastic so that it tightens up on your bowl. The fabric should start bunching. You want it tight, but not so tight that it's difficult to put on or take off. Pin the two edges of elastic together at your sweet spot.
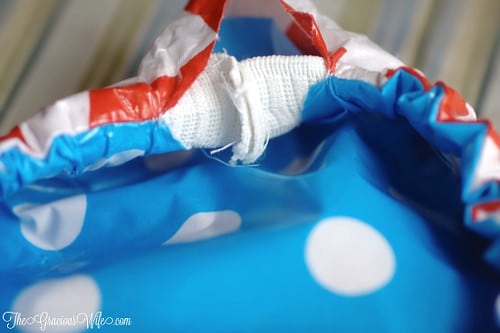
12. Make a quick seam where you pinned the elastic. Trim off any excess elastic.
13. Now just close up (and finish!) your bowl cover, with a hidden stitch or ladder stitch. If you've never done one or need a refresher, it's super easy. Just head to Fern and Freckle for a great hidden seam tutorial. It's where I learned to do it!
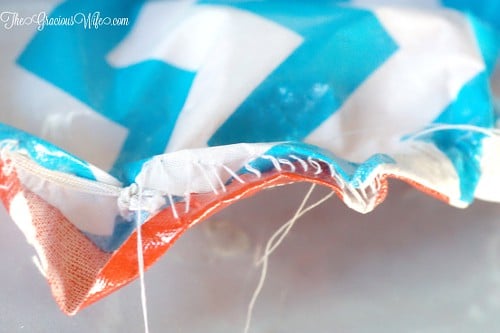
DIY Washable Reusable Bowl Covers: Option 2
Option 2 is, in my opinion, the easiest way, and the method that I'll likely be using for my future bowl covers. The elastic is visible on the inside of the bowl cover.
9. For Option 2, you'll be starting with the invisible seam to close up your bowl cover. If you don't know how to do one you can head on over to Fern and Freckle for an awesome hidden seam tutorial.
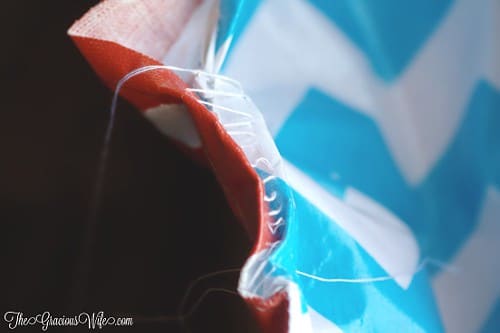
10. When your bowl cover is closed, lay it flat. Pin your elastic to the bowl cover at just the starting point, about a quarter inch to half inch away fro the edge. This pin is going to hold it all in place for you!
11. Now we're going to sew the elastic on. Loosen the tension on your sewing machine, and switch the stitch setting to your basic zigzag stitch. Start about an inch-and-a-half away from you placed the pin so that you have a long enough tail to sew the edges together at the end. Stretch the elastic tight and begin sewing around the edge of the elastic closest to the edge of the bowl cover. Continue this process all the way around the bowl, stopping an inch-and-a-half before you get to the end. Be sure to backstitch and keep your elastic stretched while you're sewing. If the part that you already sewed starts bunching, that's a good sign.
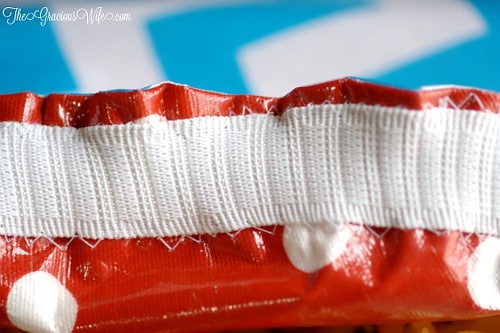
12. Pull the 2 tails of elastic at the start and finish points, and sew them together using a plain stitch. Cut off any excess. Then finish sewing the rest of the way around the bowl.
13. Repeat the process for the other side of the elastic (the inner side).
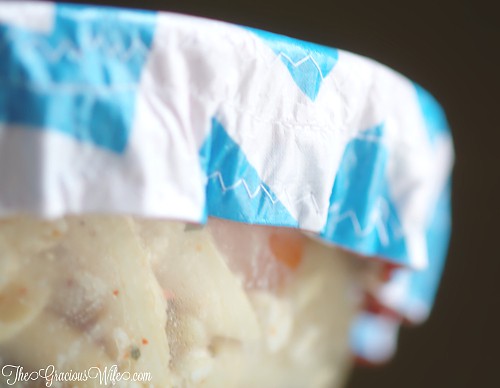
You're done! Whichever option you chose, you now have a beautiful reversible DIY Washable Reusable Bowl Cover, perfect for picnics and cook-outs all season long!
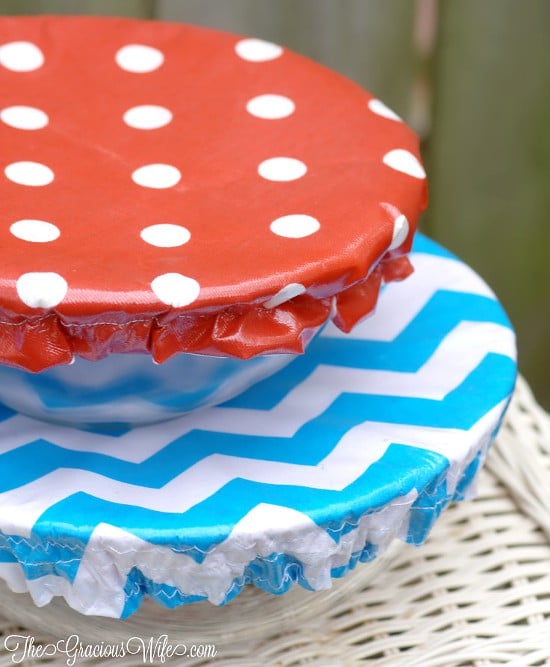
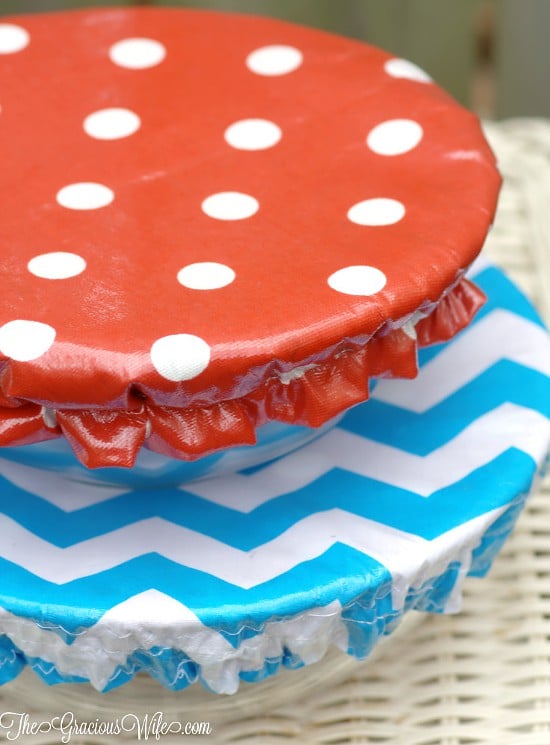
Care Instructions: To wash, just wipe down with warm soap and water and rinse. You can air dry or hand dry these. I DO NOT recommend placing these in the washing machine, dryer, or dishwasher. The heat will mess with the vinyl.
Did you like this Washable Reusable Bowl Covers Tutorial? Find more on my DIY & Crafts, Sewing, and Summer Days boards on Pinterest!
If you liked these DIY Washable Reusable Bowl Covers tutorial, you might also like:
Upcycle: Old Rake to Rustic Utensil Holder
How to Make a Quilt for Beginners - a full 5-part series on how to make a quilt from start to finish!
Never Miss a Thing!
Join our newsletter to get new recipes, tips, tricks, and tutorials every week!




Elisa says
These look great.! I am goibg to give these a go - thanks for sharing.
Michelle says
Thank you! Good luck! If you run into any questions, let me know 🙂
Roberta Rowden says
I'm new to this leaving a reply business so forgive me if I mess up...I assume Michelle you are the pattern giver? At any rate I'd like to share a thought if you don't mind. 1. when you are first applying the vinyl, would it be easier to just iron it on mostly the whole piece of fabric, then cut it out? 2. applying the elastic, how about sewing it on as you attach/'sew the two fabrics together, using the 1 inch elastic, ( measure around your bowl first, to get the length of elastic needed), then as you sew, attach the elastic at the same time, stretching it as you go around, then when you turn it right side out, the elastic is on the inside totally, sewn in and secure. Then top stitch around a quarter inch if you like, it wouldn't make a difference if you did or not.
OK, so I had two thoughts, lol. I'd like to know thoughts on mine. thanks, Roberta
ps: not sure if my 'website' is correct...I have a page on Facebook and that is it.
melissa says
What a great idea! Perfect for the holidays and as gifts! i know I would love a few of these as a gift!
Michelle says
Thank you! You're totally right. They would be super cute DIY gifts! And you could switch up the fabrics to personalize for each person!
Bonnie says
This is an awesome sewing tutorial. Now is the perfect time to whip some of these up to keep my food safe from flys during our Summer BBQs. I would love for you to link up at the Stitch It, Blog It, Share It Link Party going on now at behindtheseamssewing.com.
~Bonnie
Nicole says
Love these! Smart and simple! I'm going to pin do try this later. They would make great gifts! Found you on the Snickerdoodle Sunday link up. Thanks for sharing!
Cathy says
How creative! Great, great idea! I would love for you to share this over at my new link party Making Memories Mondays going on now!
Cathy
Sandra says
What a perfect idea!
Michelle says
Thank you 🙂
Kristina & Millie says
oh how awesome are these reusable bowl covers! and giving us multiple options to create our own!?!?! wowzers you are an awesome lady!! These will be so great for any type of get together or just to use in your own fridge too!
Michelle says
Thank you 🙂 Ours are definitely getting some good use already this season!
Pauline Molinari says
Such a great idea!! Thanks for sharing your crafty inspiration on this week's Monday Funday Party!
Kay says
i love these bowl covers. Do you think they could be made with cotton or knit fabric
Michelle says
Yes! The vinyl makes the fabric super durable, so cotton and knit would both work great. For the bowl covers pictured, both aqua fabrics and the red chevron fabric are actually cotton.
Sarah says
I wondering, do you think this would work with the vinyl tablecloths you can buy cheap at the dollar store? The ones with fuzzy on the back? That would be cheaper, give you more material to work with, and still be wipe-able. Or would they be too thick with two of them?
Michelle says
I considered that before making these. I buy them for our tables often since our kids are messy eaters and it's easier to clean up. However I only get about 6 months use out of them before they start tearing on me, so I decided to go with the cotton fabric instead. I do think they'll work. I would just be a little worried about durability.
Beezus says
You might also try using elastic thread. You hand wind it on the bobbin and sew regular thread on the right side of the fabric. You might have to sew three separate lines for it to be as get as you want, but it might be worth trying. Thanks for a great tutorial!
Janet says
I saw in your tutorial you were asking if someone could tell you an easier way to feed elastic through an already made chute. My mother always attached the end of the elastic to a large safety pin. When you are going through the chute you can feel the safety pin easier and can feed it around. Just make sure to secure the other end so you don't pull it through also. If you are the type who likes to have a tool for every job, you can go to your local craft store and ask them for an elastic feeder. It looks similar to a pair of tweezers with a little metal circle around it. It does the same thing and in my opinion works faster than the old safety pin method my mom taught me. Though around my house my sewing things always come up missing, so knowing the other way it a big help if you kids "misplaced" your feeder. I hope this helps, and once you learn how to do it this way it is so much simpler than adding it in first and sewing around it. I love this tutorial and can't wait to make my mother-in-law one. She has a fly phobia, so these are perfect!
Michelle says
Awesome! Thanks so much for the tips! And yes, my kids would totally try to lose the feeder on me. They got into my sewing box twice just this week! Lol
Susan says
My mom gave me an elastic feeder almost 30 years ago. I can't keep a seam ripper around to save my life (they develop legs) but I've had that for 30 years....she calls it her 'roach clip'. I nearly fell over when she said that ;D
Laurel says
I'm curious if you think this would work with oilcloth, to eliminate the vinyl step. Has anyone tried it?
Michelle says
It might! Let me know how it goes if you try it out!
Jamie says
Anyone tried this with Pul? It would make it a snap to throw it in the laundry
Tracy says
I was wondering about the use of PUL as well. I have some leftover from another project. It's washable, yet water proofish which would cut down on mess getting to the pretty fabric.
Dawn says
Wouldn't it be easier & cheaper to get some vinyl tablecloths @ the dollar store or yard sales? I think i'm going to try that instead of iron on vinyl & fabric. Good idea though.
Michelle says
We've bought the dollar store vinyl tablecloths and I find they're not very durable. So I was concerned that the bowl covers may need to be re-made often, and I was hoping for a longer term option (which I made these last Spring and all 4 are still intact to date!) But if you try it, definitely let me know how it goes!
Joleen says
To thread elastic through instead of pinning have you tried attaching a safety pin to the leading end so you have something firm to guide through? It still takes time but is easier than working with an elastic on its own.
Lisa // Cucicucicoo: Eco Sewing and Crafting says
Fantastic idea! So much prettier and so much less waste than using plastic wrap! Pinning! 🙂 Lisa
Marty says
Fun, useful & how retro! In the early 1960's my mother had these for picnics; they were made like your second option: vinyl oil-cloth fabric facing out on both sides with the elastic visible and sewn with a zigzag machine stitch.
Marty says
Fun, useful & how retro! In the early 1960's my mother had these for picnics; they were made like your second option: vinyl oil-cloth fabric facing out on both sides with the elastic visible and sewn with a zigzag machine stitch.
Paula says
Would oilcloth work instead of using the vinyl? That would skip the step of applying the vinyl?
Michelle says
I haven't tried it, but I imagine so. Let me know how it goes if you try it!
Karen says
I wonder if this would work with vinyl table clothes.
Veronica says
I was wondering instead of using two pieces of fabric, can I just put vinyl on both top and bottom of one piece of fabric? It wouldn’t be reversible but it’d still be mess proof and I’d save on fabric.
Michelle says
Absolutely!