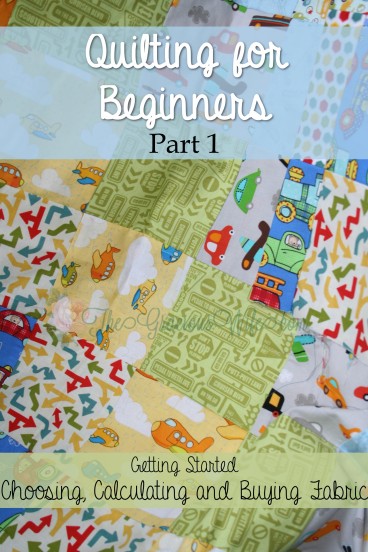
Part 1 in a 5-part Quilting for Beginners series. This section will walk you through getting started, planning, buying supplies and calculating the amount of fabric needed for your quilt. Make your own DIY sewing quilt with this step-by-step tutorial!
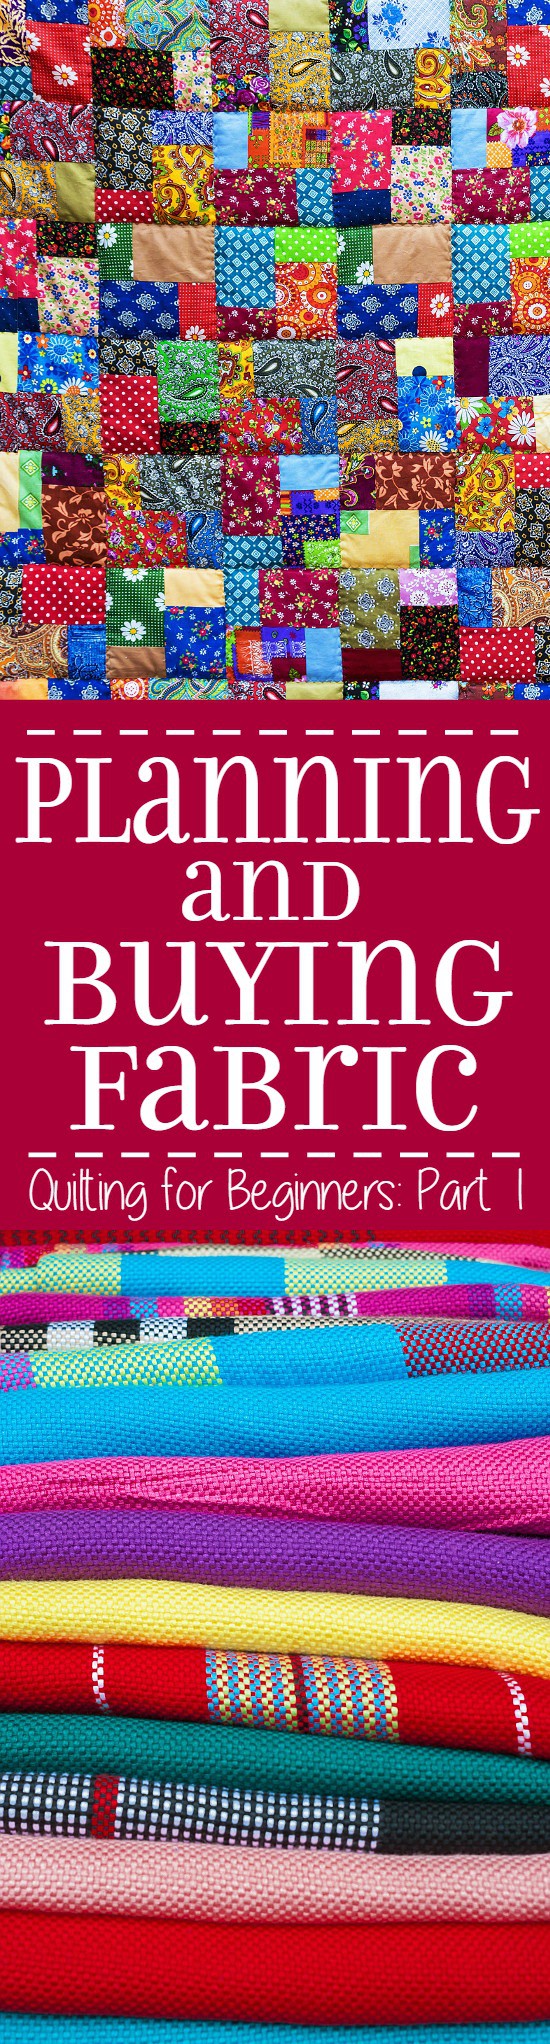
Planning and Buying Fabric for Quilts - Quilting for Beginners Part 1
Welcome to Quilting for Beginners! This will be a step-by-step series, great for beginners, with helpful links and tips.
When I was trying to learn to make a basic patchwork quilt last year, I had to visit many sites for each step of the process. So I wanted to create a collection of all of these steps in one place for others trying to learn.
Today we will discuss choosing your fabric and calculating how much you need.
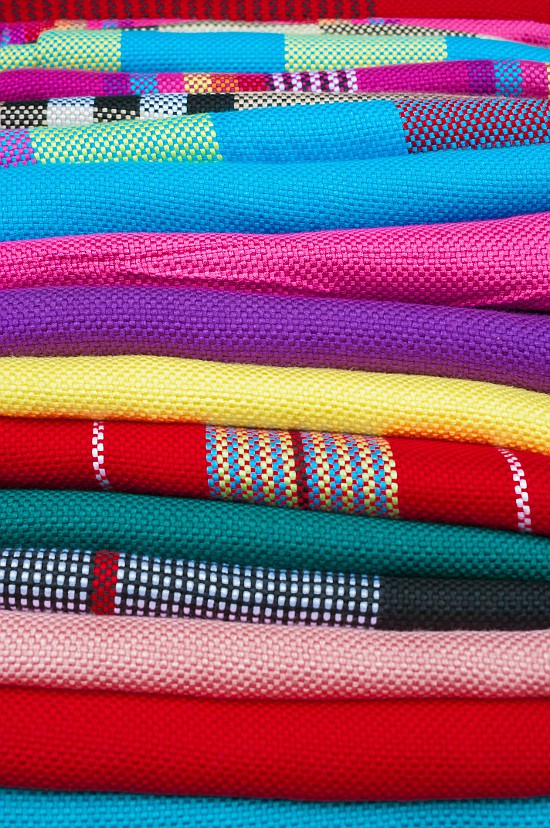
Choosing your Fabric
Before anything else, you need to choose your fabric. The quilts I've made have been for my children, so the fabrics have been more theme related (For example, antique roses for my daughter and in this tutorial, the quilt theme is "Things that Go" for our boys' new bedroom).
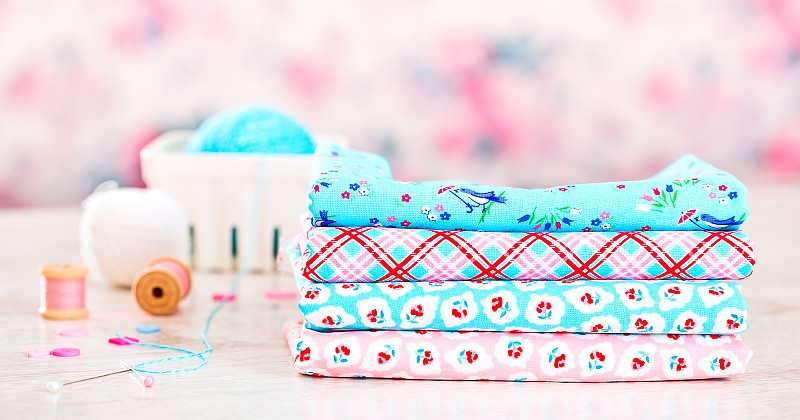
- Choose 4-8 fabrics that you like for your quilt.
- Cotton is the most common type of quilting fabric, but sometimes it's fun to mix in other textures, like minky, faux suede, or terry cloth.
- Many fabric designers design sets of fabric that match and look nice together in a series. If you're having trouble matching or choosing fabric, this is a great place to start. I'm a big online shopper, and I buy most of my quilting fabric from Fabric.com.
- Pre-cut square sets of fabric are also widely available at your local craft store or online stores. This takes all guess work out of matching fabrics (and you will get to skip the next step too, since it's already cut!)
- For more information about choosing fabric for your basic patchwork quilt, read In Color Order's "The Art of Choosing."
- You will also need to choose a backing. Regular or thick cotton works great. I LOVE to use minky fabric on the back of kids' quilts. So soft and cozy.
Planning Your Quilt
- Decide on the size of your blocks. For basic patchwork quilting, I usually use 6 inch blocks (not including seam allowance). When calculating how much fabric you'll need, you DO need to account for seam allowance, so that you purchase enough. I calculate for a half inch seam (though, I usually use a quarter-inch seam. Better to have too much fabric than too little). So my calculations will be for "7 inch blocks" (half-inch on each side of the square).
- Before you buy, you need to know how big you want your quilt. Standard measurements are as follows:
- Crib quilts: 36 inches x 40 inches
- Twin: 68 inches x 89-94 inches
- Full/ Double: 84 inches x 89 inches
- Queen: 90 inches x 94 inches
- King: 106 inches x 94 inches
- When you know the size of your blocks and the size of your finished quilt, you will be able to plan how many blocks you will need. For my example above, with 6 inch blocks to make a twin sized quilt, I will need 12 blocks across and 15 blocks down.
- IMPORTANT: Before your final calculations, you need to account for seam allowance. Seam allowance is basically the extra fabric you need to sew the blocks together, while still allowing your blocks to be the size you want. So, for my 6 inch blocks I need to include AT LEAST a half-inch seam allowance. This means I will have enough fabric for a quarter inch seam on each side of my block. I usually account for half-inch seams (adding an entire inch to my blocks), so that I have extra to work with in the cutting process.
- At this point, you have enough information to plug into this AWESOME quilting calculator (click HERE!), and let it do the rest of the work for you! My inputs looked like this:
- Width of Block (include seam allowance): 7
- Height of block (include seam allowance): 7
- Number of blocks across quilt: 12
- Number of blocks down quilt: 15
- Width of fabric**: 44
And the calculator tells me I need 5.8 yards of fabric. Round UP! to 6. Then just take that number and divide it by the number of fabrics you picked. So 6 divided by 8 fabrics is 0.75 yards of each. Just round up to 1 yard of each. So I will order 1 yard of each of the fabrics I chose to make this quilt, plus enough of the fabric that I chose for backing.
**A standard width for cotton quilting fabric is 40-44 inches. Double check your fabric widths and use the smallest number for this calculator.
These calculations are based on normal block patterns, where the blocks are sewn directly together. If you would like to add sashing (a border around each block), please read here.
Buying
After my planning and calculation
- I now know I need to buy 1 yard each of the eight fabrics I chose for the top.
- Plus, you need enough fabric for your backing. Your backing will need to be AT LEAST 4 inches larger (width and height) than your top. So for a 68"x 90" quilt top, your backing needs to be at least 72"x 94". You may have piece together your backing if you can't find one solid piece that is large enough.
- Batting is optional. You may not need or want to use it if you're using a thick backing, like minky. But it does give your quilt a bit more structure and makes it a little warmer. You will need to order enough for it to line up or be slightly bigger than your finished quilt top.
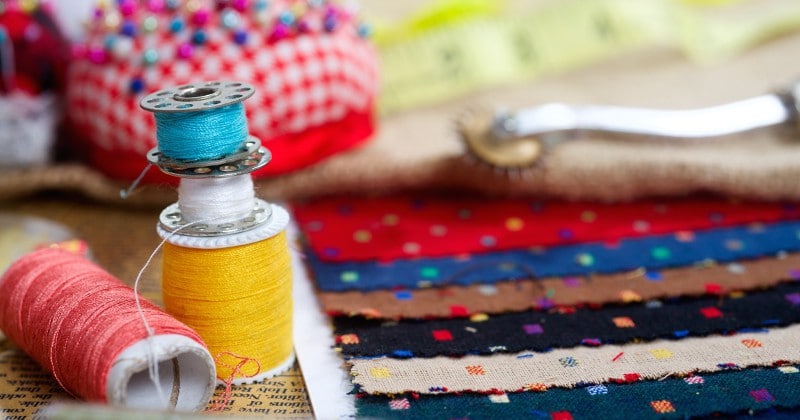
- Make sure to also have plenty of thread in your desired color!
Quilting for Beginners Supplies:
In addition to fabric, you'll need a few other things to start quilting. These are all of the supplies and brands I have, use, and recommend for sewing and quilting. You can get any of them by clicking on the links, and purchasing through Amazon.com
- Sewing Machine
- There are plenty of great sewing machines out there.
- Fabric - Craftsy.com has an entire section dedicated to beautiful fabric for quilting and other quilting supplies (Click HERE to shop fabric at Craftsy.com). Another of my favorite sites is Fabric.com.
- Sewing Machine Needles
- Make sure you have some good heavy duty sewing machine needles
because they'll be put to work piecing together your quilt top and quilting through multiple layers of fabric.
- Sewing Thread
- You'll need lots of thread. You can choose thread that matches your fabric and will blend in or thread that contrasts your fabric (but still fits with your quilt colors) to pop out.
- Pins
and Quilting Pins
- There will be so much pinning. Stock up! Also consider grabbing some large safety pins
or basting pins
!
- Batting
- Rotary Cutting Set
- This is an incredibly useful and accurate way to cut quilt blocks, or any fabric really. It also works for paper and scrapbooking (but I have a separate cutter for that because I don't want to dull the blade for fabric)
- Large Self Healing Mat
- My rotary cutting set (the one above) came with a smaller mat, but I found I needed an upgrade to cut pieces like borders.
- Fabric Shears
- extra sharp scissors for trimming up fabric without fraying it or making it look like you chewed it off with your teeth.
- Quarter-Inch Presser Foot
- A quarter-inch presser foot is a wonderful attachment for your sewing machine that will help guide you to make the perfect quarter-inch seam. We'll learn more about the quarter-inch seam in Part 3.
- Basting Spray
- Basting spray is probably the easiest way to baste together your quilt, and it's inexpensive, too. We'll also be talking more about basting and using basting spray in Part 4.
Next: Read Part 2- Washing and Cutting Quilt Blocks
Did you like this Planning and Buying Fabric for Quilts section? Find more like it on my Sewing and DIY & Crafts boards on Pinterest!
If you liked this Planning and Buying Fabric for Quilts section, you might also like
Quilting for Beginners - 5 Part Series

Washing and Cutting Quilt Blocks - Quilting for Beginners Part 2
Finishing Your Quilt Top - Quilting for Beginners Part 3
See More DIY & Crafts Projects
Never Miss a Thing!
Join our newsletter to get new recipes, tips, tricks, and tutorials every week!
Photo Credit: DollarPhotoClub.com

Marie Andrée Patry says
Thanks a lot, it´s really helpfull !
Jackie Howell says
Will we be aBLE TO PRINT THE 5 SERIES,
Michelle says
I haven't made a printable version but you can just print them right off the website.
Billiruth Wickey says
Thanks so much for this fantastic beginners quilting series. Although I've been making clothing, bags and accessories for decades and I do mean decades, the thought of actually making a quilt was very intimidating. Not anymore! I've made 4 baby quilts thanks to you! Unfortunately, I didn't take pictures before giving them away.
I'm hoping that you can help me with a very special quilt project. Long story short, I'd like to make 4 memory quilts out of one twin size quilt. My MIL made the twin quilt 20+ years ago but unfortunately she's no longer with us so I can't ask her. The twin quilt was made for our daughter who passed and I'd like to be able to make it into lap/cuddle quilts for our other daughters. I don't have any idea how to go about it and don't want to cut the original quilt before I have a plan. Any help you can give would be greatly appreciated.
Michelle says
It depends on what kind of quilt it was. You'd probably have to remove the actual quilting stitches to separate the top from bottom. Then divide the top into 4 parts, and remove the stitches to separate it into 4 parts. Then I would probably just try to add a border or some sort on all 4 of the parts, add a new backing, and re-quilt it all together. I hope that helps!
Deb says
how do I find series part 2,3 etc to view??
I'm attempting to make my first ever quilt...
I have fabric that I love and Want to use to make a king size.quilt. the squares are fat quarters 18 x 21..can you please advise me what size blocks to use....extra faric i would like to use as the binder??? around the edge...so if I use 10".squares I need 11". Sqaures for 1/4 inch seam.all around the square. Right??? I so nervous about sewing a large quilt without experience...but yet excited.....I want to make a basic square quilt . thank you for your time and attention...
Deb
Michelle says
There's links to all 5 parts in this article. Good Luck! https://www.thegraciouswife.com/make-quilt-beginners/
Rithu says
Very useful ...
Kate Hansen says
It was really helpful when you said to choose about 4 fabrics you like. My sister will be giving birth to her baby girl next month, and I am wanting to make a quilt as a gift for her, and I want to make sure I do everything right since I don't have that much experience with making quilts. I'll make sure to keep these tips in mind as I search for a fabric for the quilt to make for her!