Make this unique and pretty DIY Steampunk Butterfly Decor project with just a few simple supplies, including some vintage finds from your local thrift store.
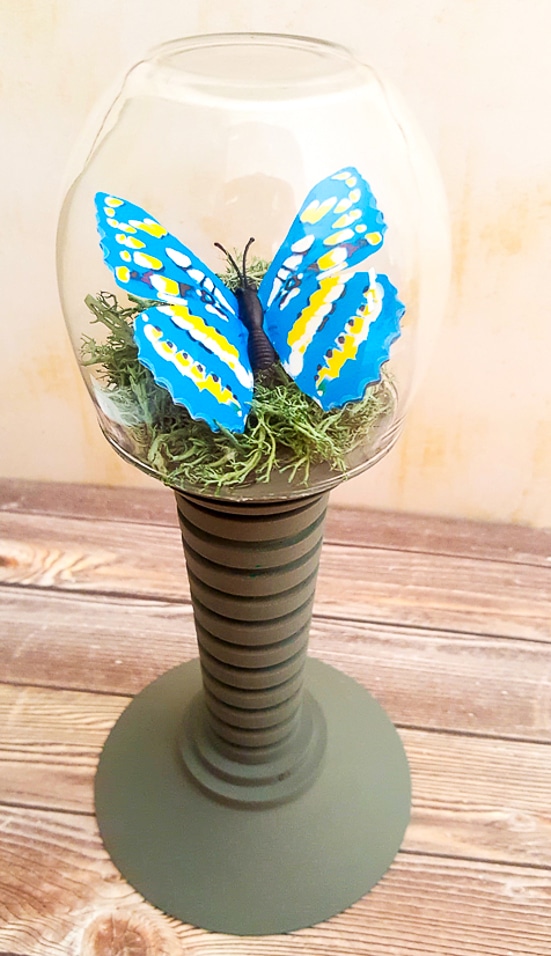
DIY Steampunk Butterfly Decor
I absolutely love designing my own home decor & thrift projects. This has got to be one of my favorites that I've done so far! It can be added to a vintage home style, steampunk, a gallery style, or simply any type of style you love! This DIY Steampunk Butterfly Decor is a great simple project for DIY-ing your stress away, and your pretty finished product will look lovely displayed in your home.
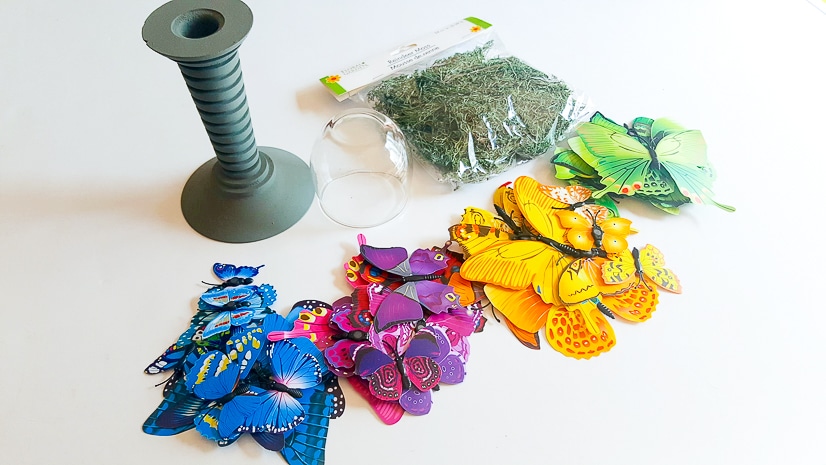
DIY Steampunk Butterfly Decor Supplies
You'll need three main supplies for your Steampunk Butterfly project:
Some additional optional supplies:
- Round Glass Jar
- Paint and paint brush
- Hot Glue and Glue gun
- Moss
DIY Steampunk Butterfly Decor Instructions
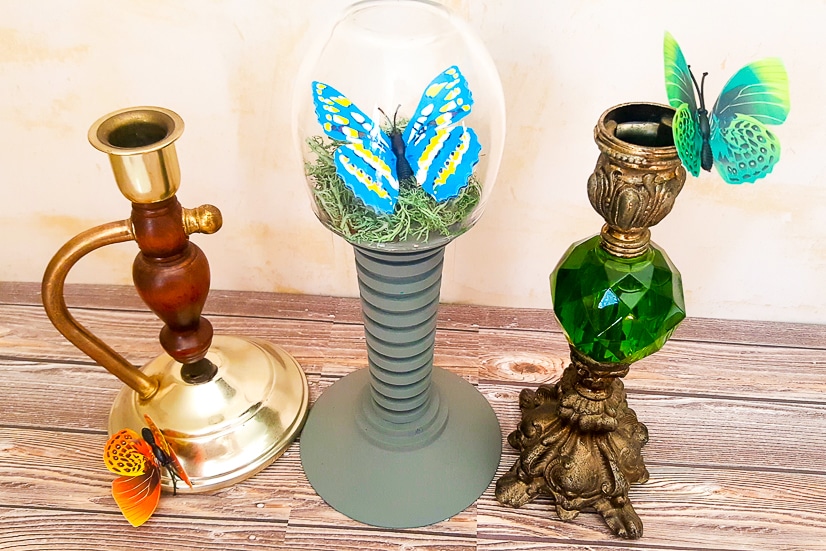
You can make the simpler versions with just the candlestick and butterfly by just adding a glue dot to your favorite butterfly and sticking it on. The instructions below are for the globe topped butterfly candlestick.
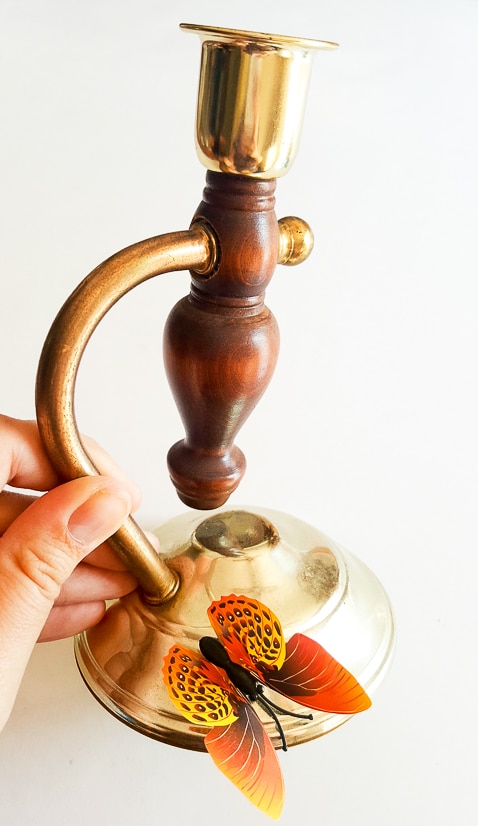
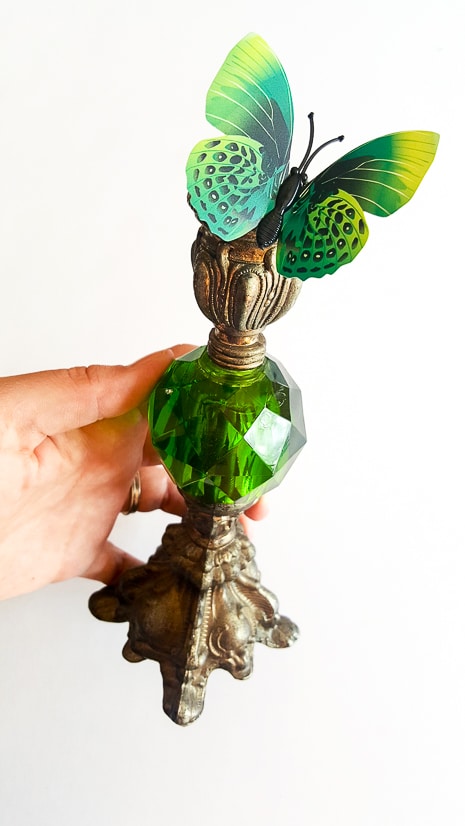
1. I started by finding an old ugly wooden candlestick holder at my local thrift store and a clear glass jar with a rounded bottom that would fit upside down on top of the candlestick holder. This was the hardest part! It's best to do this all in one trip so you make sure that they are the proper fit. If you don't have time, energy, or desire, you can check out these candlesticks on Amazon. And grab a round glass jar here.
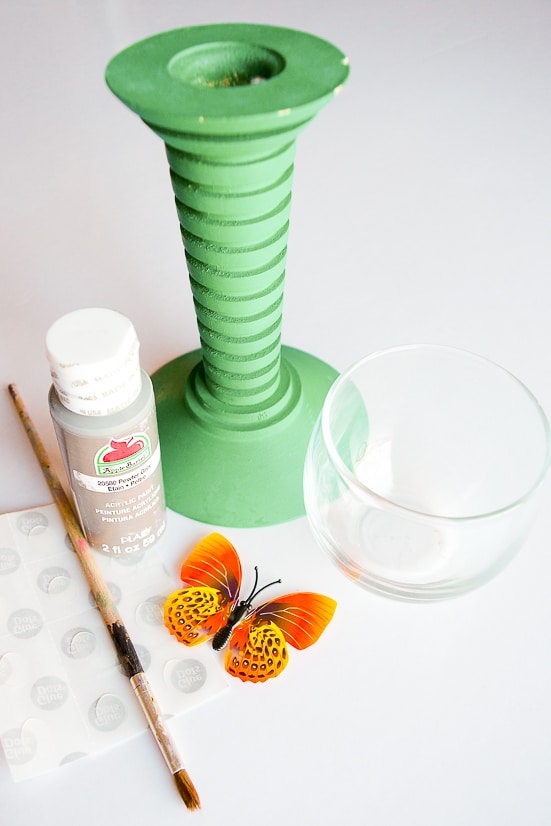
2. After bringing them home I painted the ugly candlestick holder with a simple green acrylic paint to blend in with my vintage steampunk display - but you can use any color you want. Make sure you paint the inside and outside of the candlestick holder so it is uniform.
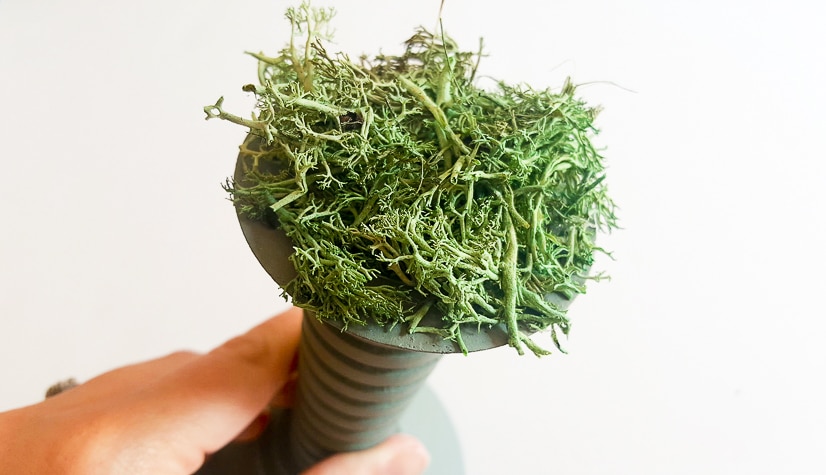
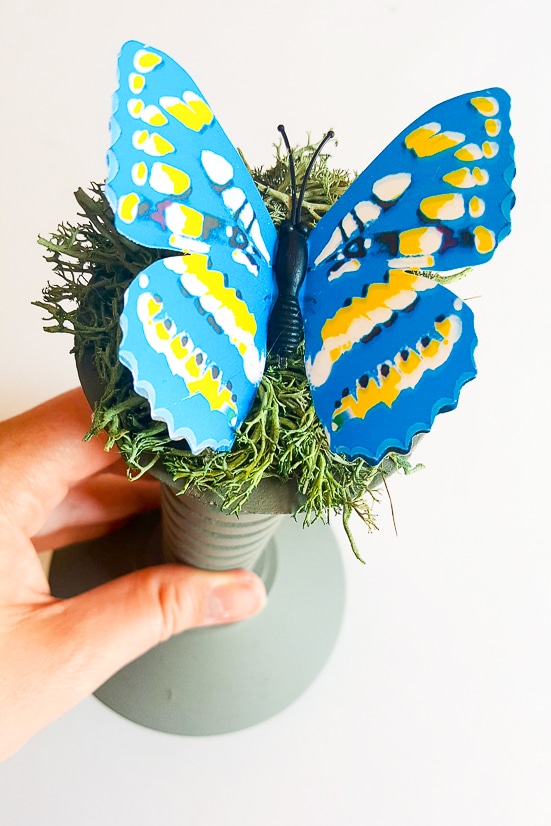
3. Once the paint has dried, hot glue a small amount of moss directly on top of the candlestick holder right over the hole where you would insert a candle. You'll want about 50% more moss on one side so that the butterfly is propped up inside the glass. Choose your matching color of butterfly and glue it right on top of the moss. If your globe jar is too big or too small to fit exactly on the candlestick, you can do this process in the jar lid.
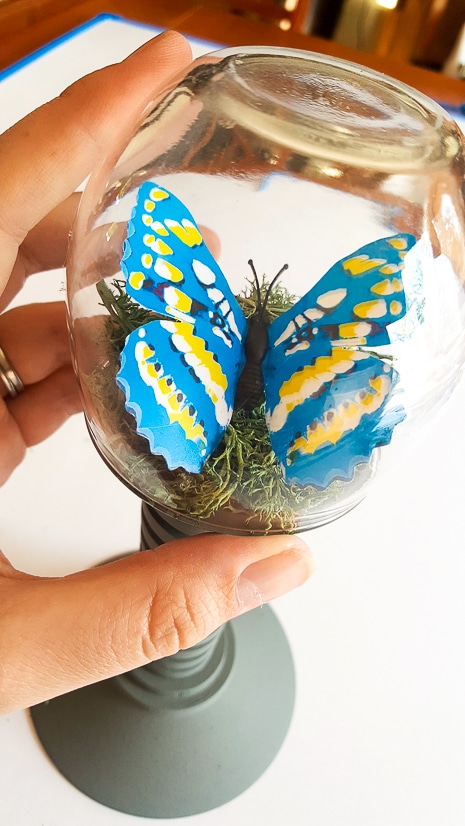
4. Carefully slip your glass over the top of the butterfly and moss decor and hot glue it snugly into place on the rim of your candlestick holder. Or if you used the jar lid, screw the jar carefully onto the lid. Then, glue the whole jar upside down, onto the candlestick.
Now you've got a unique and stunning little decoration that can fit into many home styles! Play around with it and add in small mushrooms, fairy garden displays, or even tiny skeletons if that's your style!
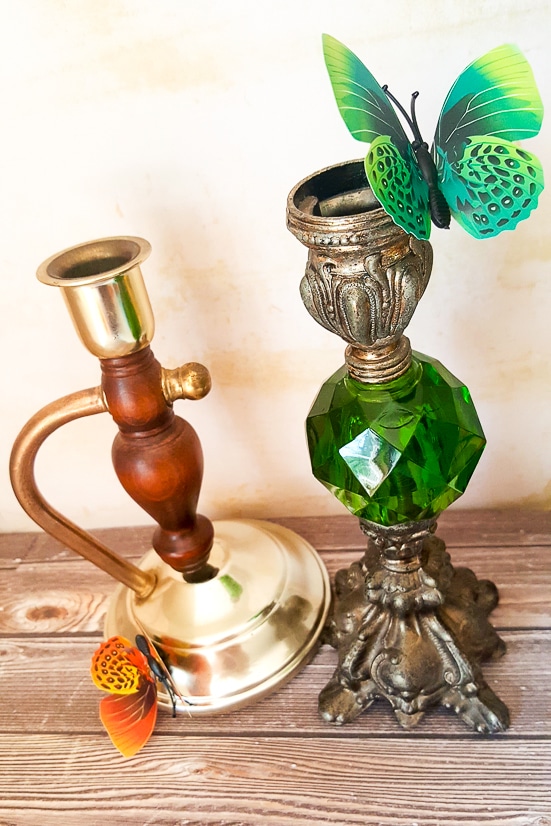
The other two candlestick holders I absolutely fell in love with because of their uniqueness! I simply purchased them, then added a Glue Dot onto the bottom of a butterfly and attached! That's it! Now I have 3 gorgeous and unique styles all for just a few dollars!
Don't have time to hit your thrift store for candlestick holders? Check out some of these!
Did you like this DIY Steampunk Butterfly Decor? Find more on my DIY & Crafts board on Pinterest!
If you liked this DIY Steampunk Butterfly Decor, you might also like
32 Fun Summer DIY Backyard Projects
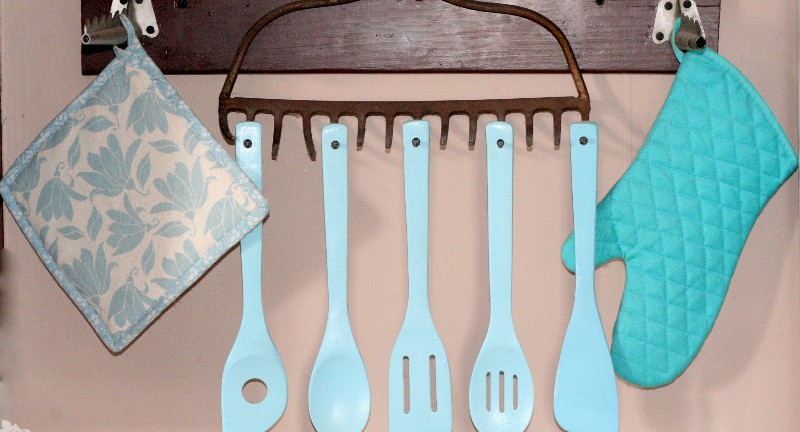
Upcycle: Old Rake Head to Rustic Utensil Holder
Never Miss a Thing!
Join our newsletter to get new recipes, tips, tricks, and tutorials every week!



Leave a Reply