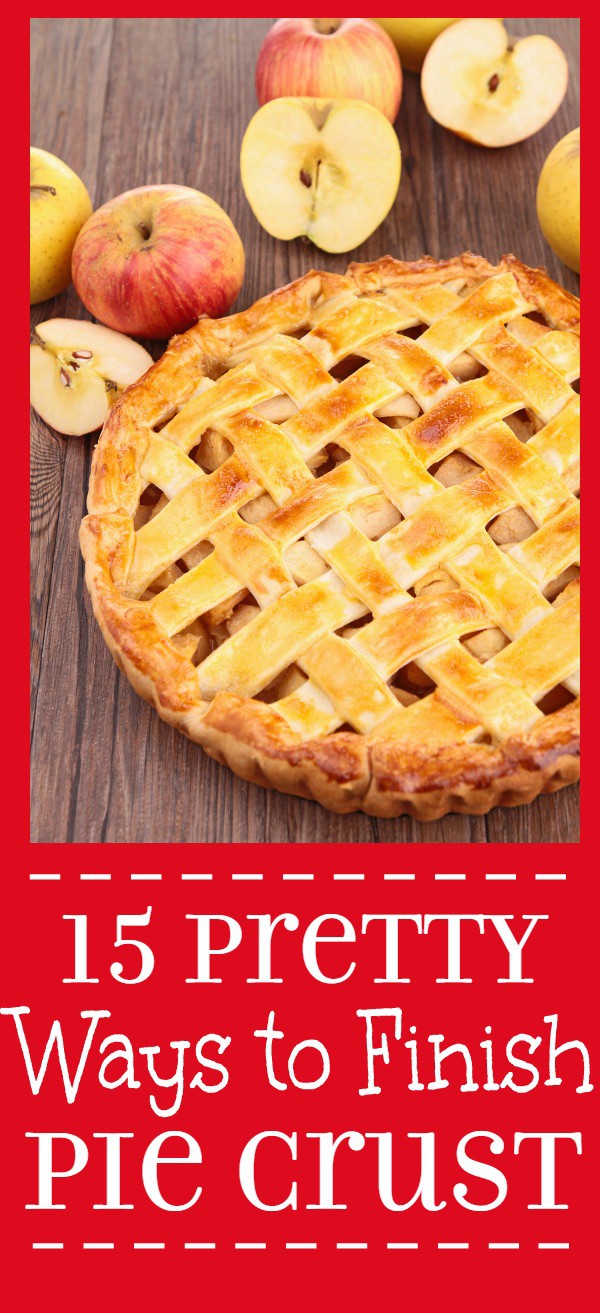
Make your pies delicious and beautiful too, with these 15 Pretty Ways to Finish Pie Crust Edges tutorials. You'll be a pie-making pro in no time!
Ways to Finish Pie Crust Edges
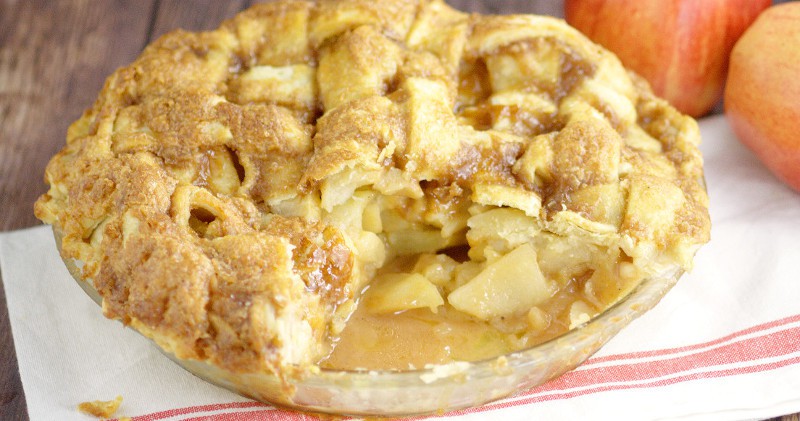
A pie is only as good as its crust, at least in my opinion. And there's no better way to spruce up your pie crust than with pretty finished pie crust edges.
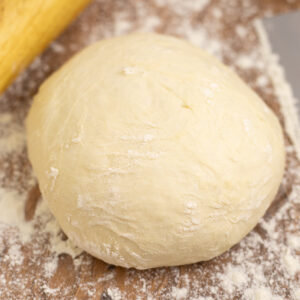
For most of these ways to finish pie crust edges, you'll already need your crust rolled out, trimmed, and tucked under. You can find my Rolling Out Pie Crust tutorial here, if you need to learn the basics. And I also highly recommend this easy No Fail Pie Crust Recipe that uses just 3 ingredients and turns out flaky and delicious every time!
15 Pretty Ways to Finish Pie Crust Edges
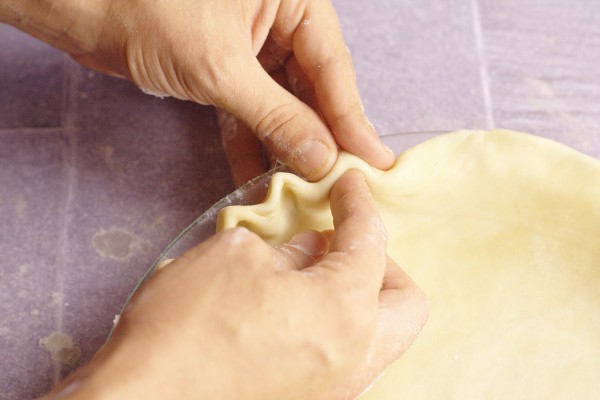
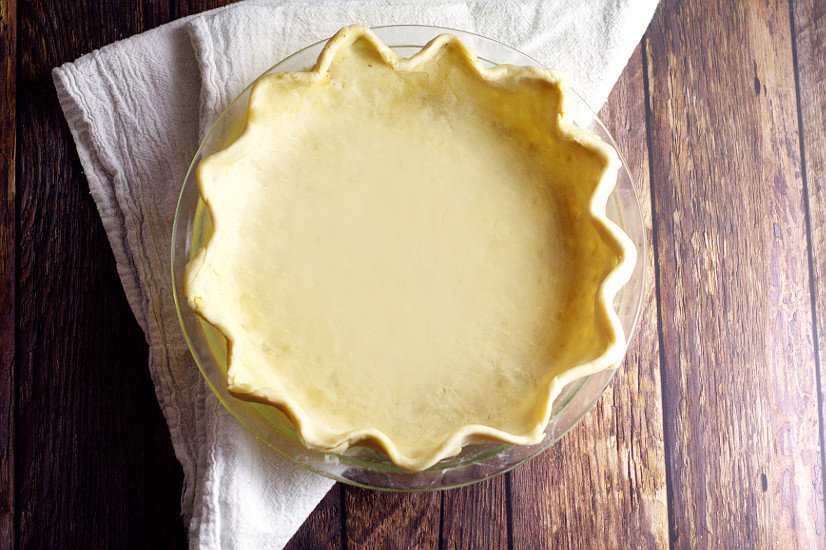
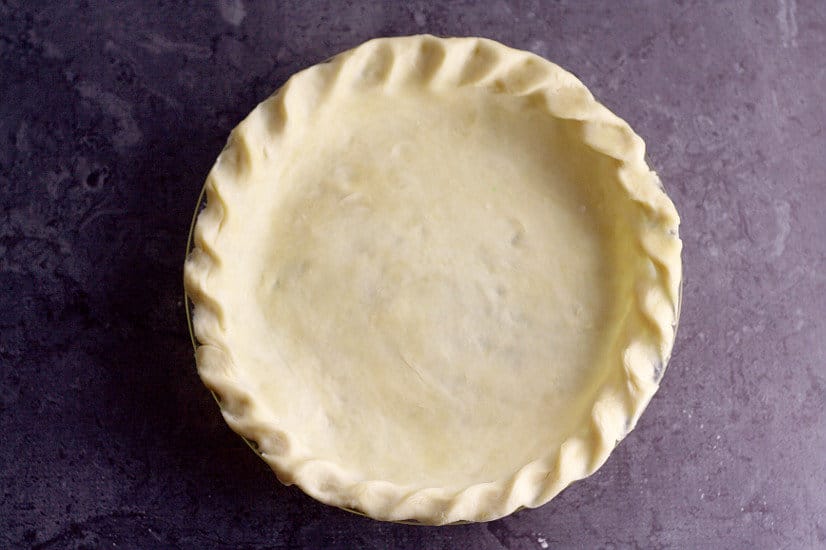
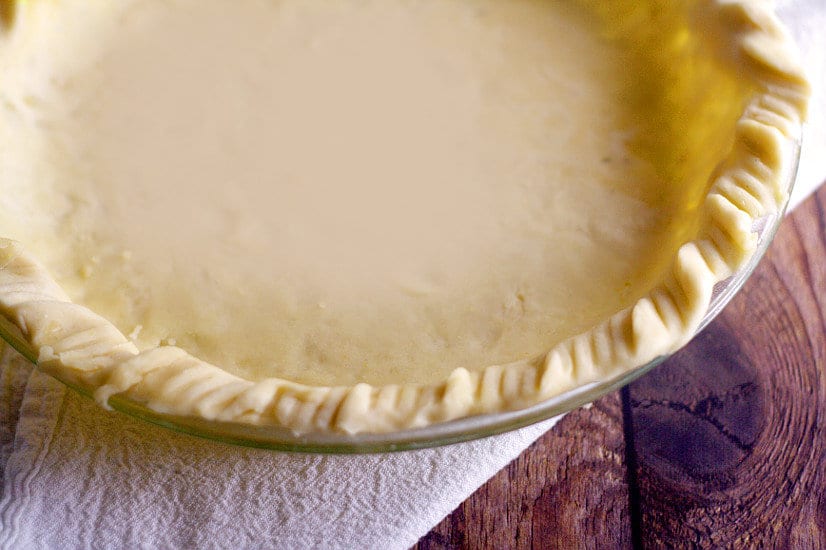
Fluted Pie Crust Edge
The fluted pie crust edge is the most common way to finish a pie crust. It's simple but pretty, and quick to do!
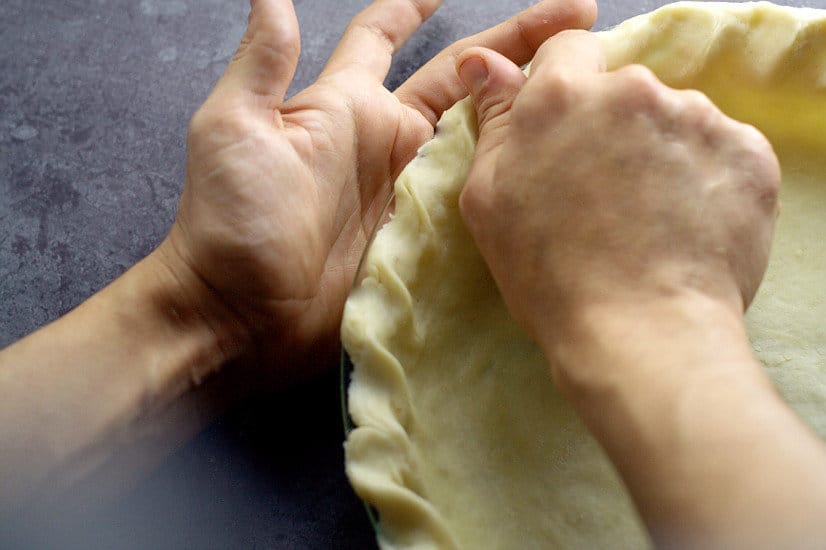
- Form the index finger and thumb on one hand into a pinching shape, and place it on the outside of the pie crust.
- Take the index finger on the other hand and place it on the inside of the pie crust between your two pinched fingers.
- Gently press your pinched fingers into the index finger on the other hand.
- Repeat the process all the way around the pie crust edge.
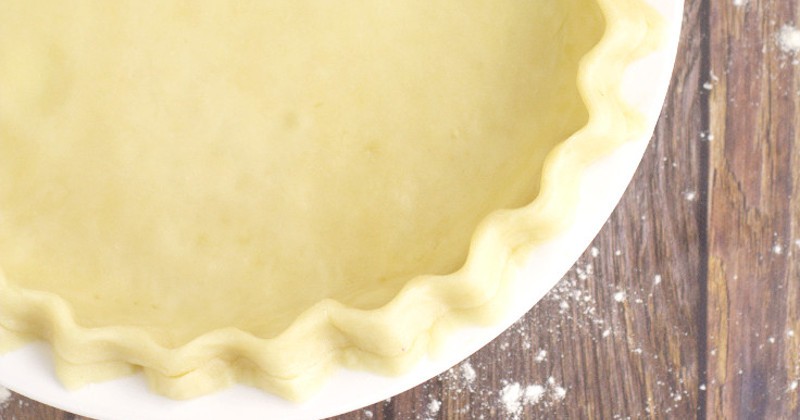
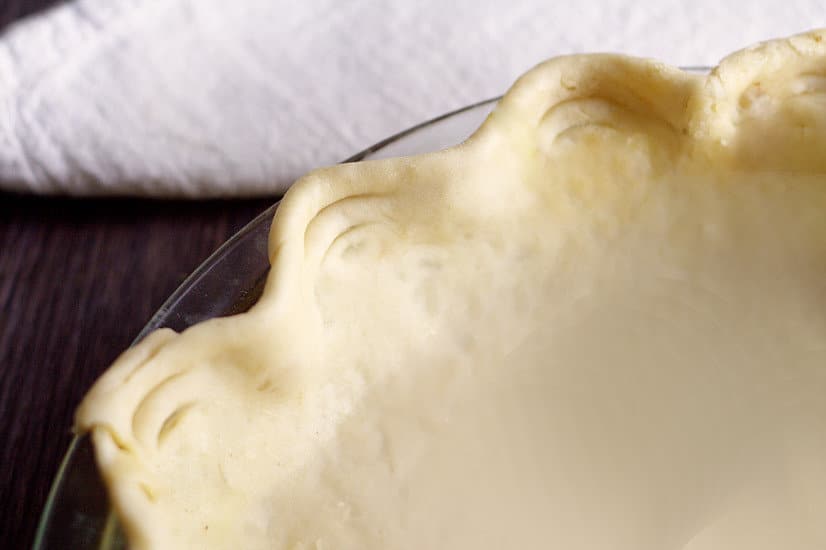
Scalloped Pie Crust Edge
The Scalloped Pie Crust Edge is very similar to the fluted edge, but the scallops are bigger. You'll be using your knuckles instead of just the tip of your finger.
- Place your bent second knuckle of your index finger on one hand on the inside of the pie crust.
- With the other hand, make a pinching shape using your index finger and thumb, large enough that it will fit around the knuckle on your other hand.
- Using the same technique as fluting, gently press your pinched fingers into your knuckle to create a scallop shape.
- Continue this procedure all the way around the pie crust edge.

Rope Pie Crust Edge
The Rope Pie Crust Edge is similar to the traditional Fluted Edge with just a little twist.
- You will be using your thumb and the flat part between your first and second knuckles to make the Rope Edge.
- Simply place your thumb and knuckle on the edge of the pie crust at about a 45-degree angle.
- Gently squeeze your thumb and knuckles together to form a crimp.
- Continue this process all the way around the pie crust.
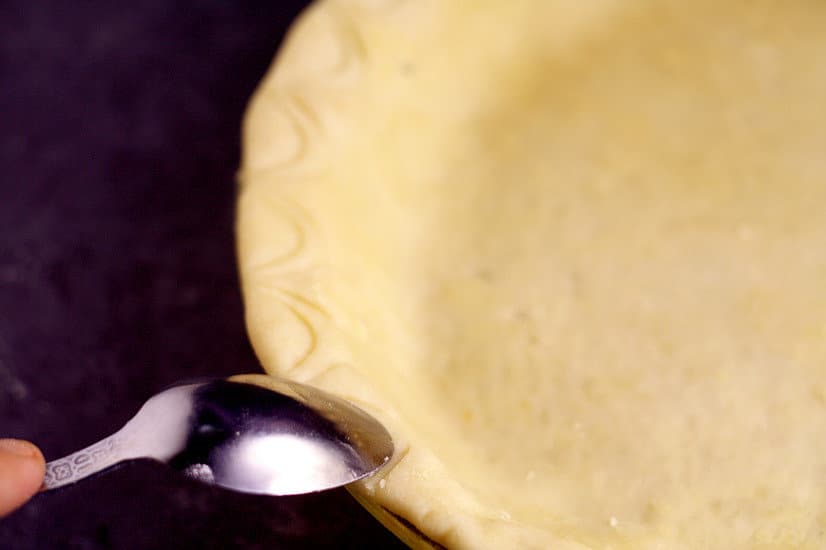
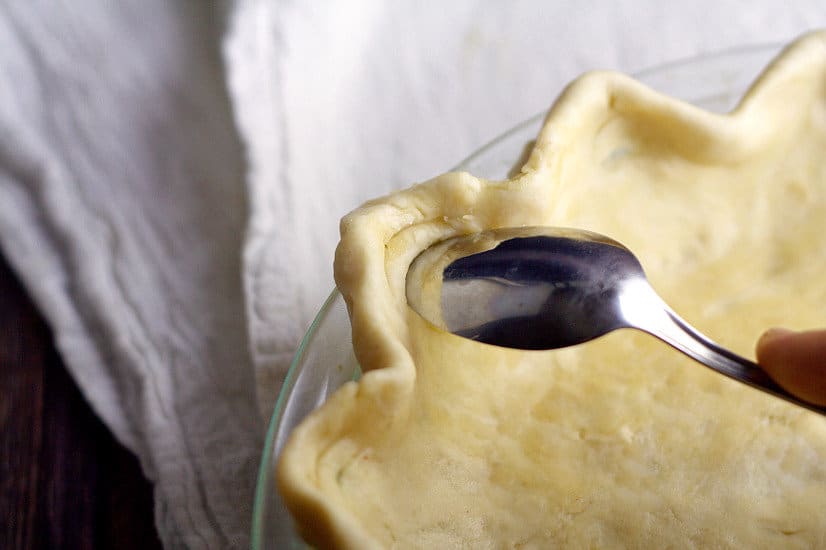
Imprinted Scalloped Edge
Imprinted edges are the way to go if traditional scalloping and fluting still scare you. Imprinting is even easier to do, but still looks beautiful. This Imprinted Scalloped Edge uses a spoon for the impressions.
- Press the rounded tip of a spoon into the edge of the pie crust, with just enough pressure to leave a definitive impression.
- Directly below the first impression, make another impression with the tip of the spoon.
- Continue this process all the way around the pie crust edge.
Double Scalloped Edge
Techniques that combine imprinted patterns and traditional fluting or scalloping can give you double the bang for your effort. This Double Scalloped Edge combines the traditional scalloped technique with the imprinted scallop technique for an extra pretty finish.
- Follow the directions for a traditional scalloped edge above.
- Then, with the rounded tip of a spoon make the imprints, like the imprinted scalloped, edge between each scallop formed with your knuckle.
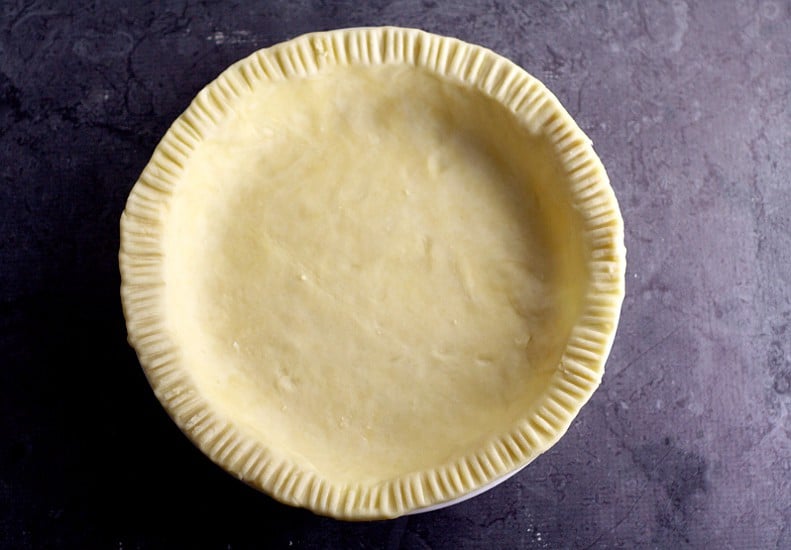
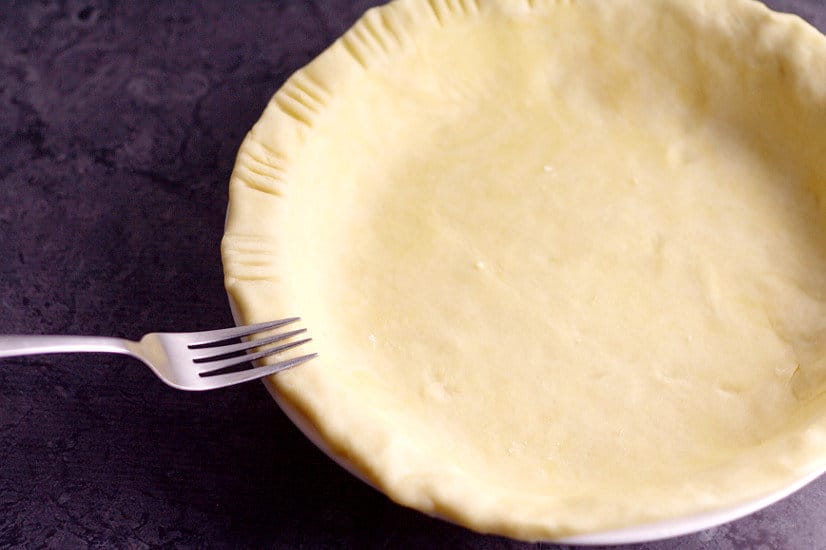
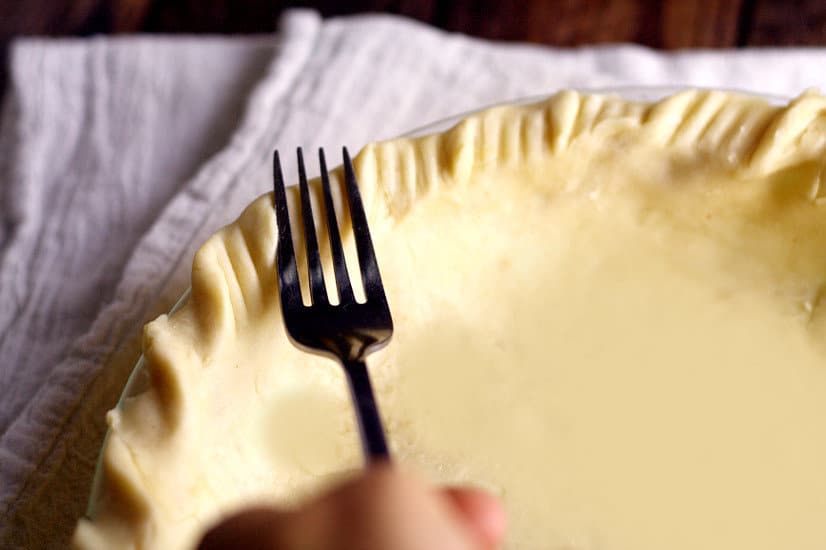
Full Forked Edge
The Full Forked Edge is another imprinting technique, this time using a fork. I love this simple technique for pot pies and to create a rustic pie look.
- Press the tines of the fork into the edge of the pie crust, with enough pressure to leave a noticeable imprint.
- Continue with the technique all the way around the pie crust edge.

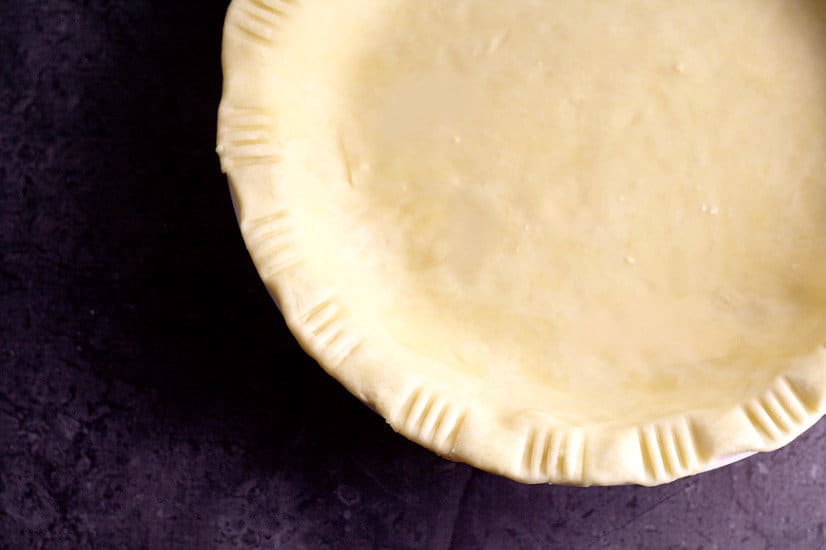
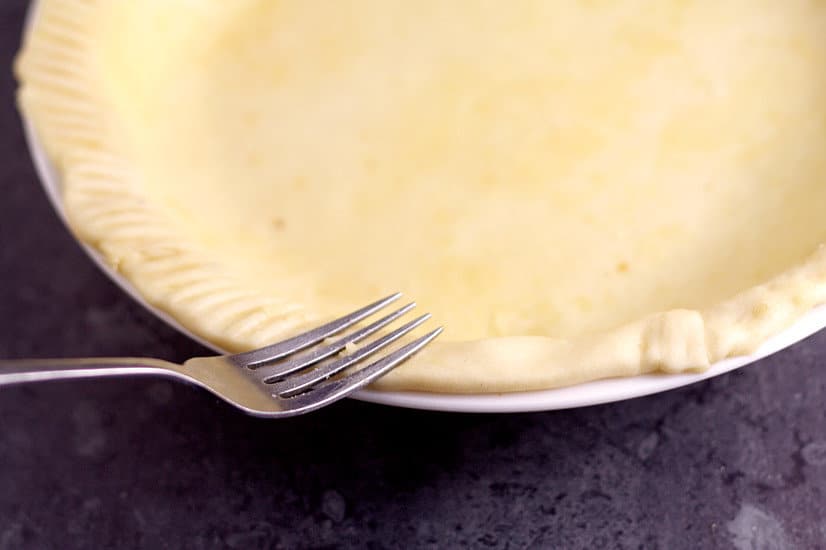
Partial Forked Edge
The Partial Forked Edge is similar to the Full Forked Edge, but leaves a small gap between each imprint for a pretty rustic pattern.
- Press the tines of the fork into the edge of the pie crust with enough pressure to leave an impression.
- Skip about a 1-inch space, and repeat the imprinting process.
- Continue with the technique all the way around the edge of the pie crust.
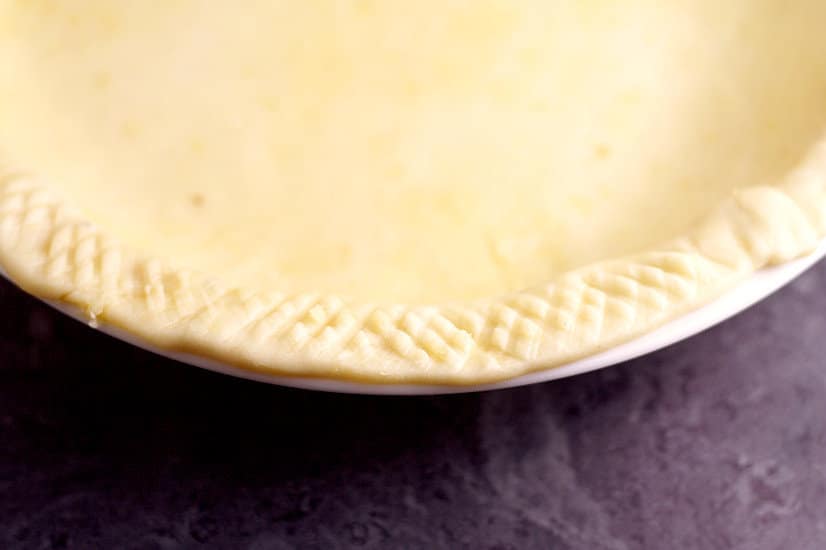
Criss-Cross Edge
The Criss-Cross Edge is another imprinting finishing technique using a fork, but this time we'll create an almost-checkerboard pattern, like when pressing down a peanut butter cookie!
- Hold your fork at about a 45-degree angle relative to the pie crust edge.
- Press the tines of the fork into the edge of the pie crust with enough pressure to leave an imprint.
- Switch the fork so that it's facing about 45 degrees in the other direction, and make another impression directly over the first.
- Repeat these steps all the way around the pie crust edge.
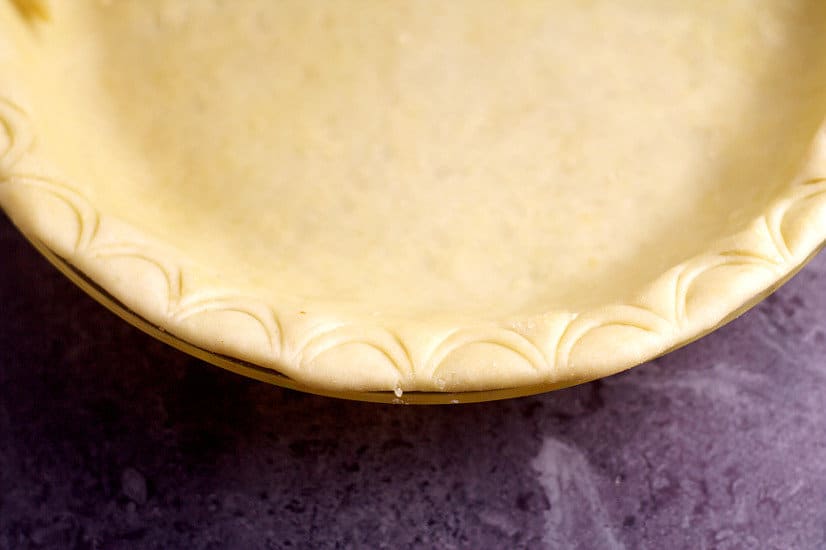
Petal Edge
The Petal Edge is another traditional and imprinted combination, this time using the fluting technique and a fork.
- Follow the directions above to flute the edge of your pie crust, making the flutes just a little bit bigger than you normally would.
- Then with a fork, press down the center of each flute, leaving an imprint.
- You can also do with with a Scalloped or Rope edge.
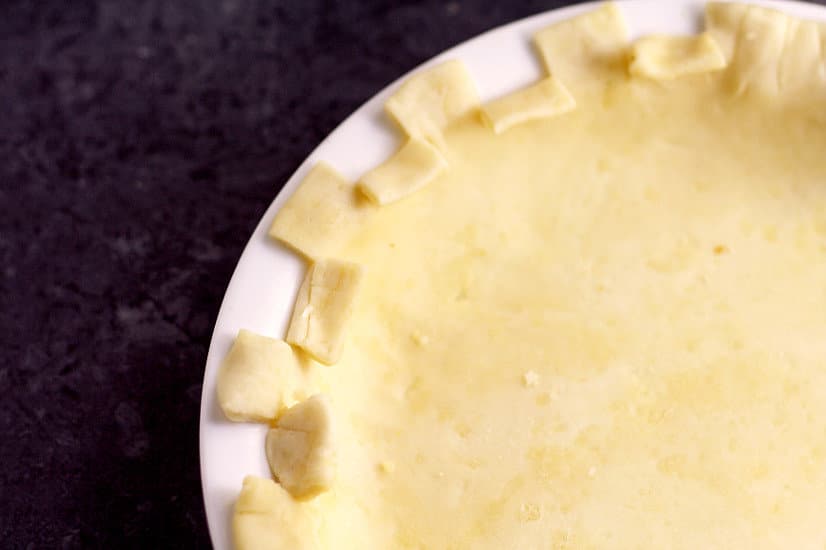
Checkerboard Edge
You can also finish a pie crust using scissors or kitchen shears! The next 3 techniques are super simple and all you need are your scissors.
- Using scissors or kitchen shears, cut the edge of the pie crust from edge to the middle, just about a half-inch in or to the inside edge of your pie plate.
- Continue this process all the way around the pie crust edge, leaving about a half-inch gap between each slit.
- After you've poured the filling into the pie crust, you can fold over every other tab you've created with the slits to create a checkerboard pattern,
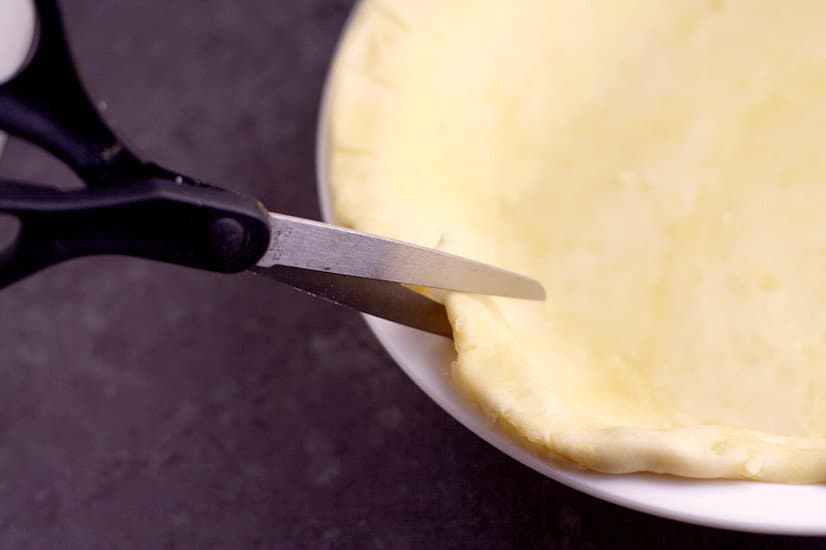
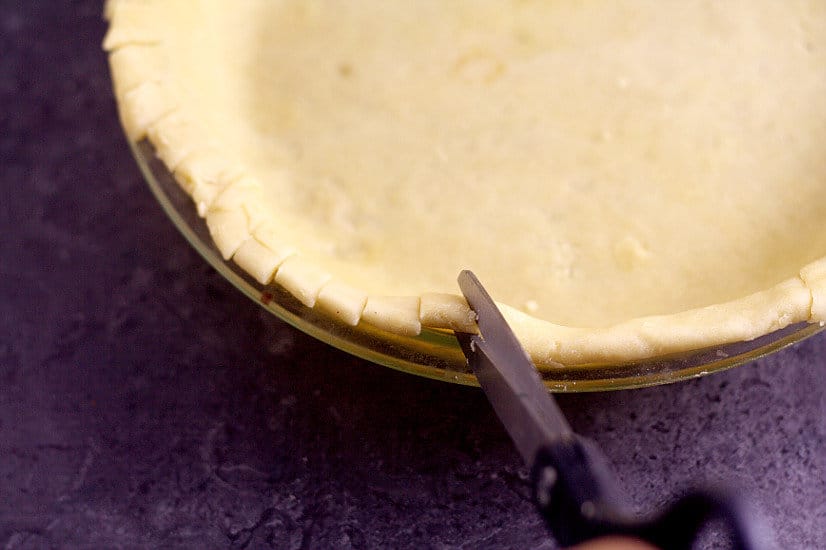
Tabbed Edge
- Using scissors or kitchen shears, cut a slit at about a 45-degree angle from the edge of the pie crust to about a half-inch in or the inside edge of your pie plate.
- Continue this process all the way around the pie crust edge, leaving about a quarter to half-inch gap between each slit.
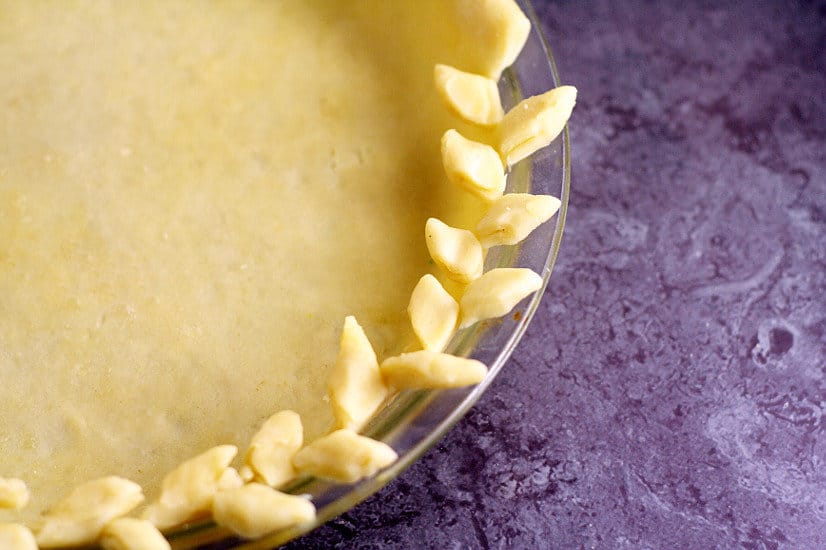
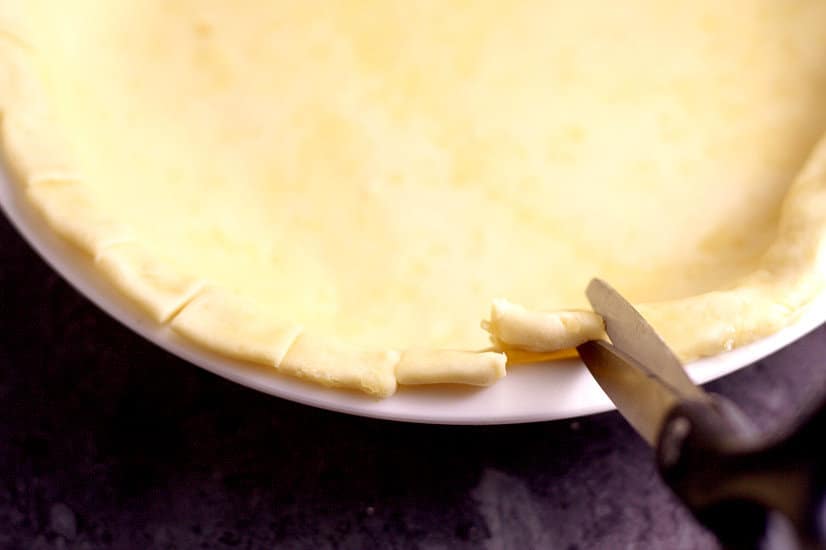
Vine Edge
The Vine Edge looks pretty and intricate but is really very simple to make using the Tabbed Edge cutting technique above and some quick re-shaping.
- Follow the instructions above to make a Tabbed Edge crust.
- Similar to the Checkerboard Technique, fold every other tab into the the center of the pie crust.
- Gently reshape all of the tabs with your fingers to round out the sharp corners, making them look like vine leaves.
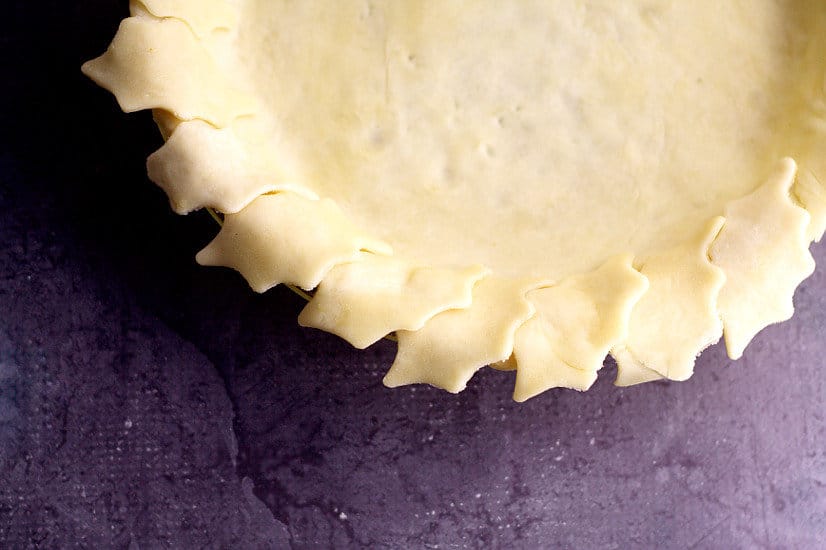
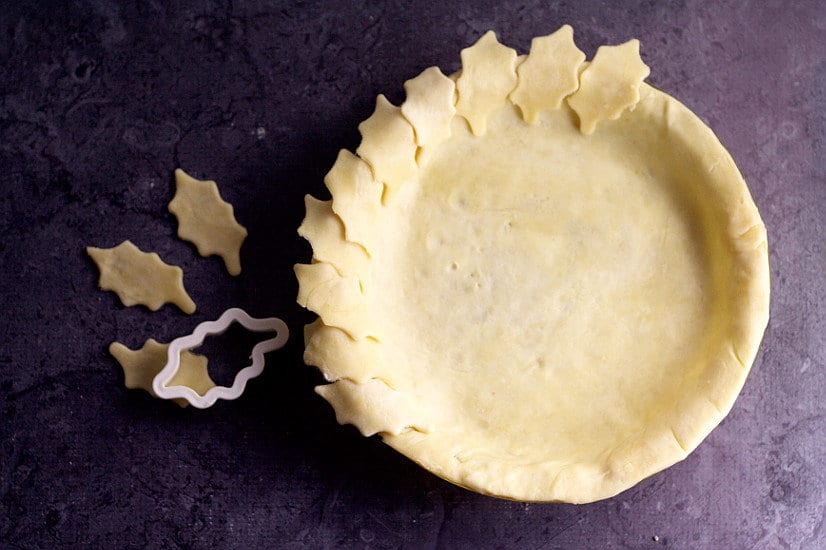
Cut-Out Edge
You can also vamp up a pie crust edge using simple cut out from cookie cutters.
- You will need a double pie crust for this technique. After the bottom pie crust is rolled out and placed in the pie dish (edges trimmed and tucked under), roll out the second pie crust, and cut out your shapes using the cookie cutter.
- Lightly wet the outside rim of your bottom pie crust so that the cut outs will stick better. You can use a pastry brush for this, or just a clean damp rag or paper towel.
- Lay your cut outs around the crust in any desired pattern. You can even lay some on top of the filling once you've poured it in.
Try one of these fun Mini Cookie Cutter Sets for your pretty Cut-Out Edge Pie Crust:


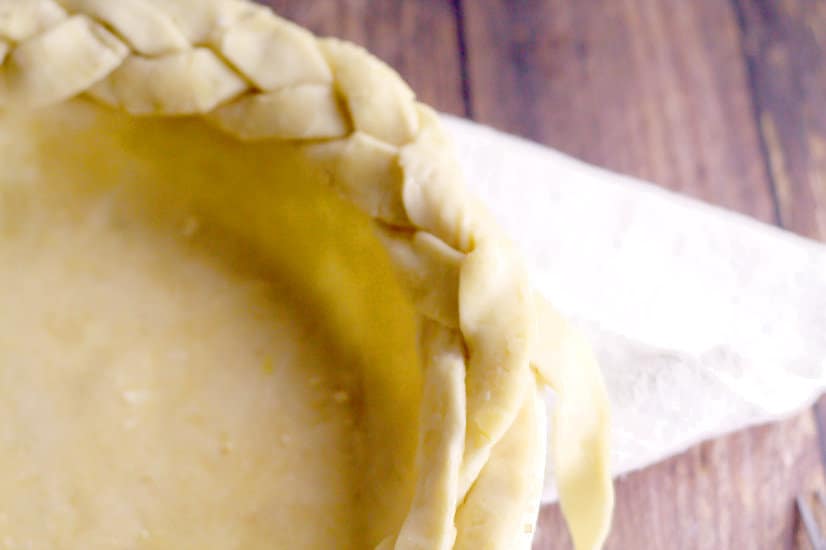
Braided Edge
A simple braid can make a big impact, and they're not just for beauty purposes! You can make a simple and easy braid for a beautiful, intricate-looking pie crust. And I promise you, it's no more difficult than braiding hair!
- You will also need a double pie crust for this technique. After the bottom pie crust is rolled out and placed in the pie dish (edges trimmed and tucked under), roll out your top pie crust and cut it into thin quarter to half-inch strips. I use a pizza cutter to cut the strips because I think it's quicker, but a simple kitchen knife will do the trick just as well.
- Take 3 of the strips, laying them vertically right next to each other.
- Braid your strips until you have a braid that's long enough to fit all the way around the pie crust edge. If your first 3 strips are not long enough to make a long enough braid, simply grab another strip and press it into the end of the first one to make a longer "rope."
- Lightly wet the outside edge of the bottom pie crust using a pastry brush or clean, damp rag or paper towel.
- Place the braid around the edge of the crust and press gently to adhere.
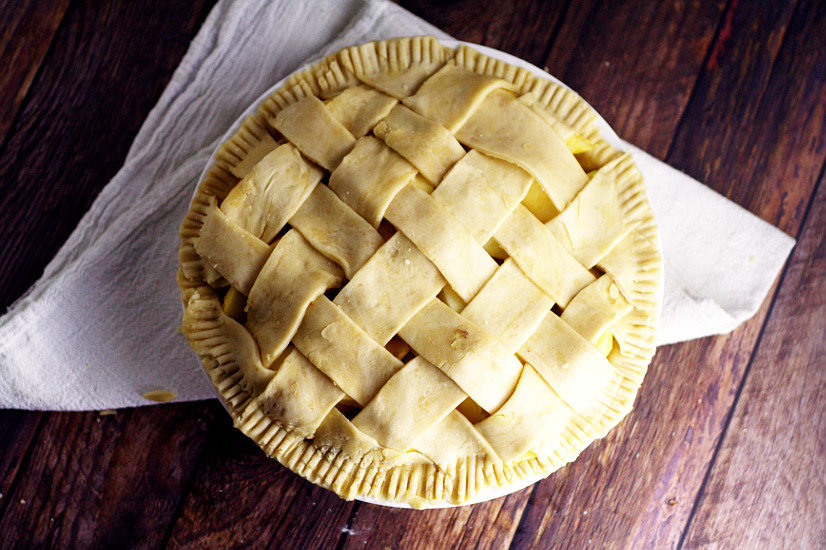
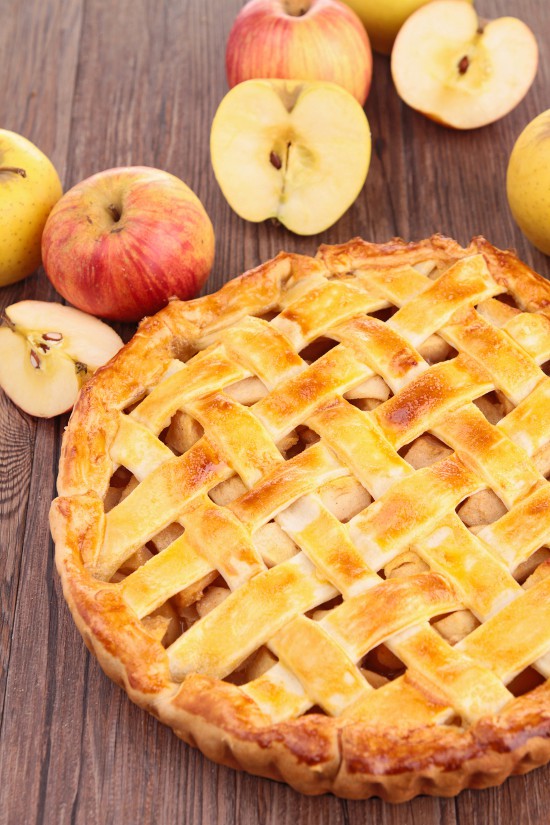
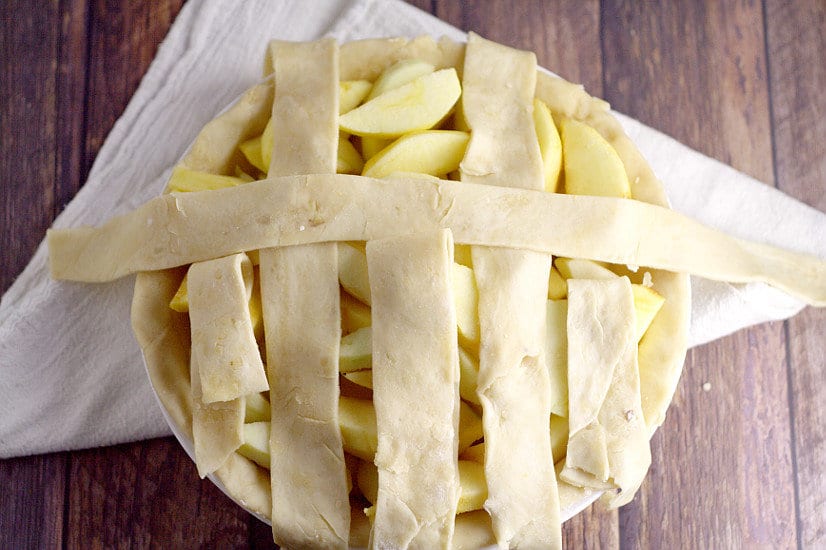
Lattice Crust
Oooh, the Lattice Crust. I've heard many wishes for being able to make a lovely homemade lattice crust, so I've really wanted to make sure to include instructions here. It really isn't as difficult as it looks.
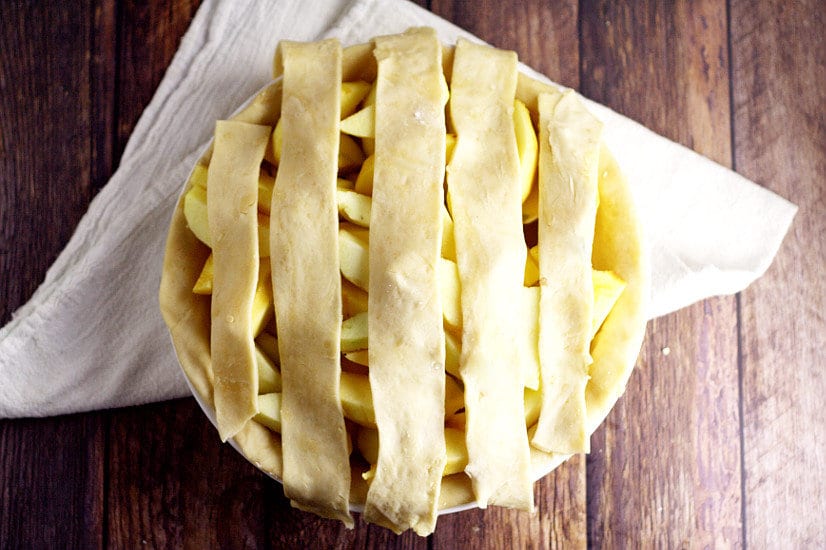
- You will need a double pie crust for the lattice crust. The bottom crust should be rolled out and placed in the pie dish. No need to trim or tuck under yet, but do add the pie filling.
- Then roll out your top crust. I find it easiest to try to roll it out in a square-ish shape.
- Cut the top crust into strips about 1-inch thick. I use a pizza cutter for this part.
- Lay half of the strips the same way across the pie with a little space in between each strip.
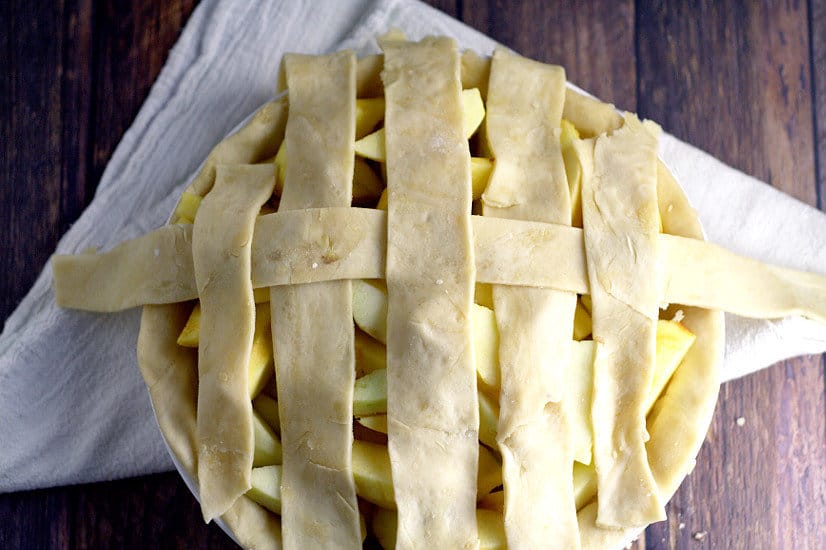
- Now fold back every other strip so that every other strip is folded back half way (over-hang is okay).
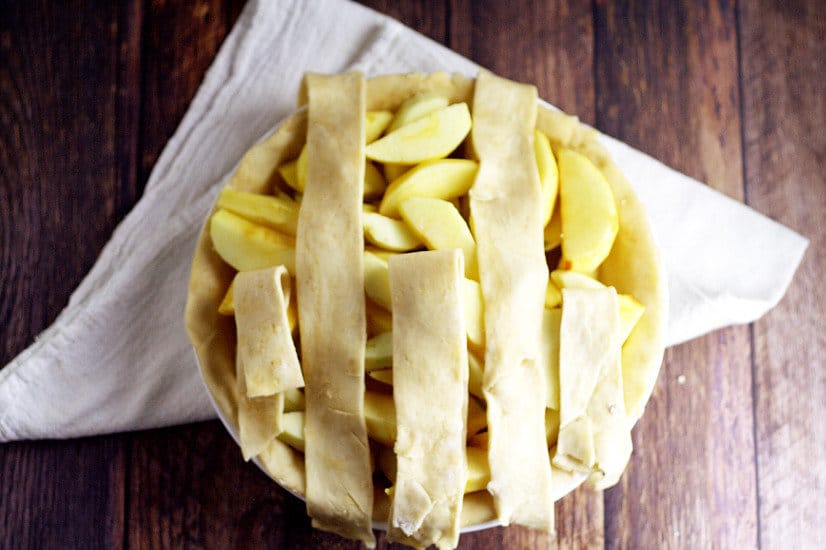
- Place one of the remaining strips (one that's not on the pie yet!) across the strips that aren't folded back. Then unfold the strips so that they're covering the new strip you just added.
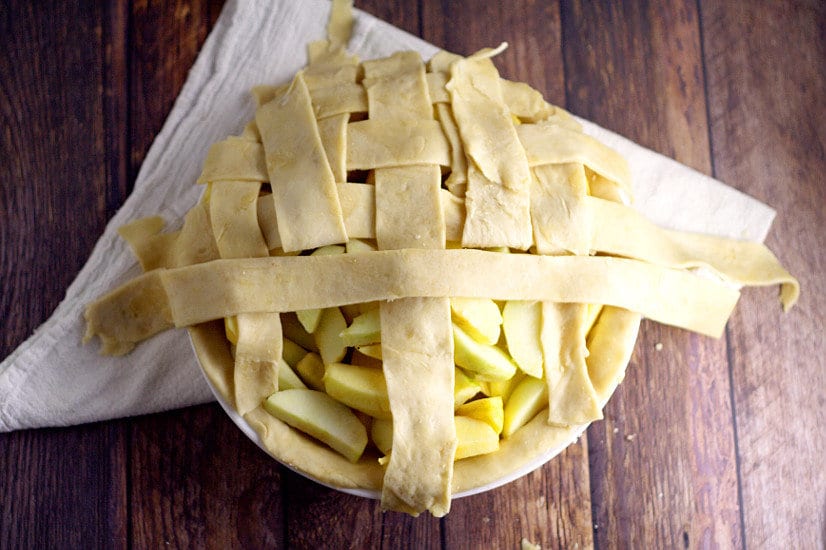
- Now fold back the strips that you DIDN'T fold back last time, which should still be every other strip. They should fold back up to the new strip you added in the opposite direction. Place another remaining strip across the pie, then unfold the strips.
- Continue this process across the pie in both directions until the lattice crust is completed.
- Then trim the edges leaving about a half-inch of crust hanging over the dish. Then tuck this part under and finish by crimping the edges using any of the methods above. I love finishing a lattice crust with a Full Forked Edge for that extra rustic feel.
Did you like these Pretty Ways to Finish Pie Crust Edges tutorials? Find more on my Desserts and In the Kitchen boards on Pinterest!
If you liked these Pretty Ways to Finish Pie Crust Edges tutorials, you might also like
See More Pie Recipes
Never Miss a Thing!
Join our newsletter to get new recipes, tips, tricks, and tutorials every week!


Victoria Charbonneau says
I just came across this post and really appreciate the clear instructions along with the pictures. I've been wanting to do a lattice pie crust and now I know I can do it! Thank you!