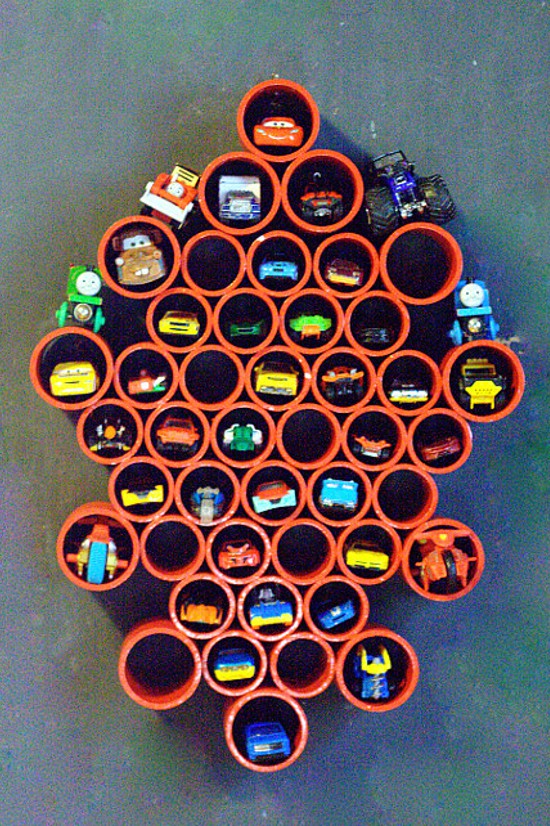
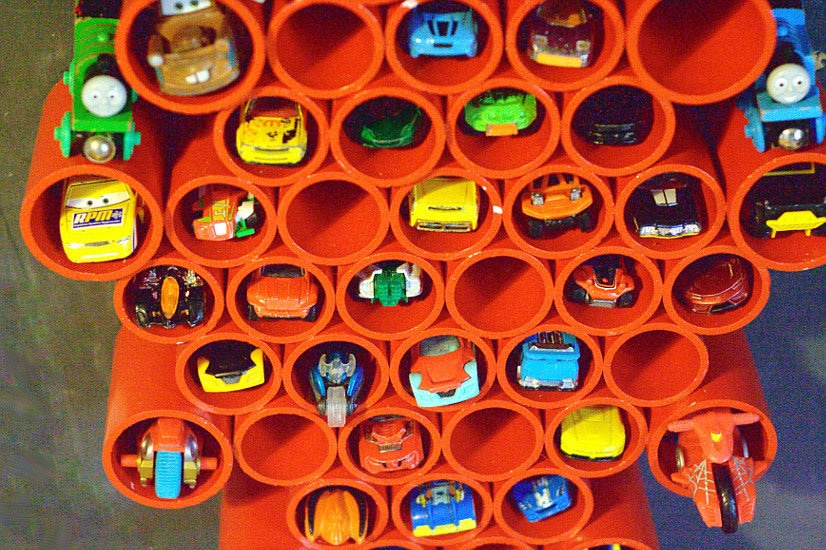
Organize all of your boys' Matchbox with this DIY Matchbox Car Storage for the wall. It's super easy and the kids will love it! (and you'll love it too, when there is no longer a Matchbox car explosion all over your playroom.
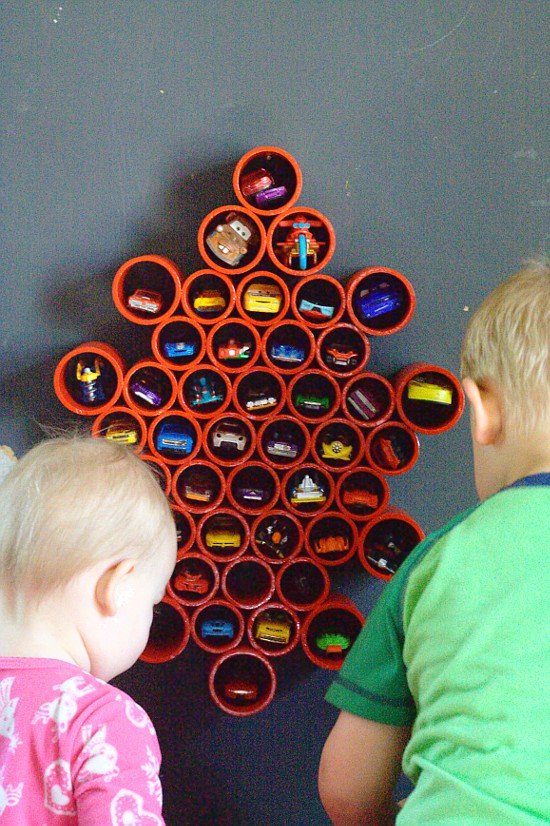
DIY Matchbox Car Storage
If you have young boys at home, like me, chances are you also have the five-million Matchbox cars that come with them! Matchbox cars make great stocking stuffers, gifts, and more, and the boys love them so it's pretty easy to understand how we came to have so many. We used to have a small bin to contain all of the Matchbox cars, but my kids think bins are for dumping out and refilling with a random assortment of things to carry all over the house. So that wasn't really working for us.
That's when I saw a cute DIY Matchbox Car Storage idea for the wall on Pinterest that was adorable. Unfortunately, it was just a picture with no tutorial, so I made up my own instructions for a DIY Matchbox Car Storage, and wanted to share it with you here. So here's what you'll need to make your own DIY Matchbox Car Storage:
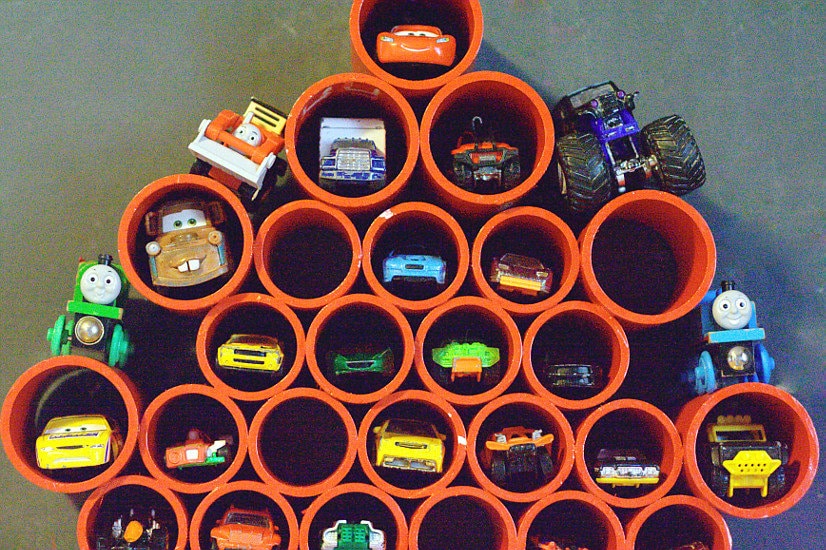
Supplies for DIY Matchbox Car Storage
- PVC pipe
(We used two sizes, 2-inch and 3-inch)
- PVC Glue and Primer
- Spray paint
- Hook for hanging
Directions for DIY Matchbox Car Storage
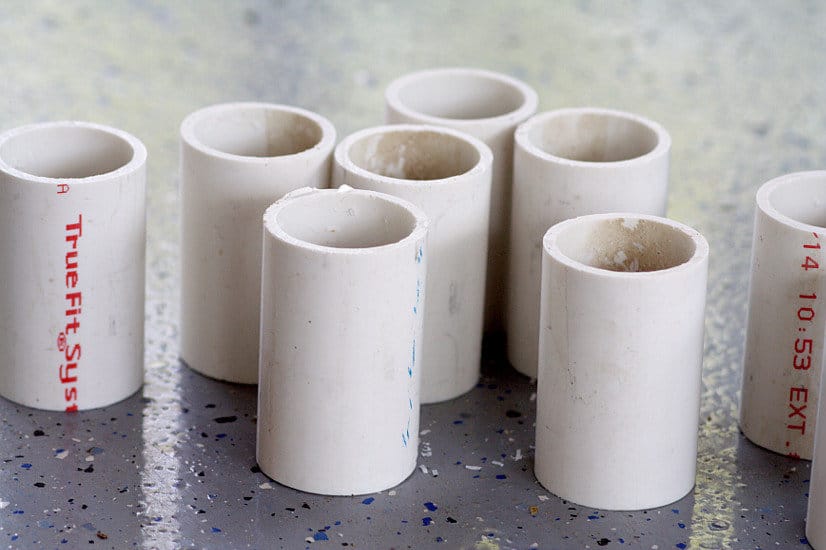
1. Cut PVC pipe into 3-inch pieces. You can have however many pieces you want or need. It turns out that I actually needed more pieces, as I underestimated the number of Matchbox cars we had! I also enlisted Mr. Gracious' help with this part because I am not to be trusted with power tools or sharp objects.
2. Arrange the pieces into any pattern. We chose a diamond-ish shape. Consider that if you go a more horizontal route than the one we made, you may need more than one hook for hanging.
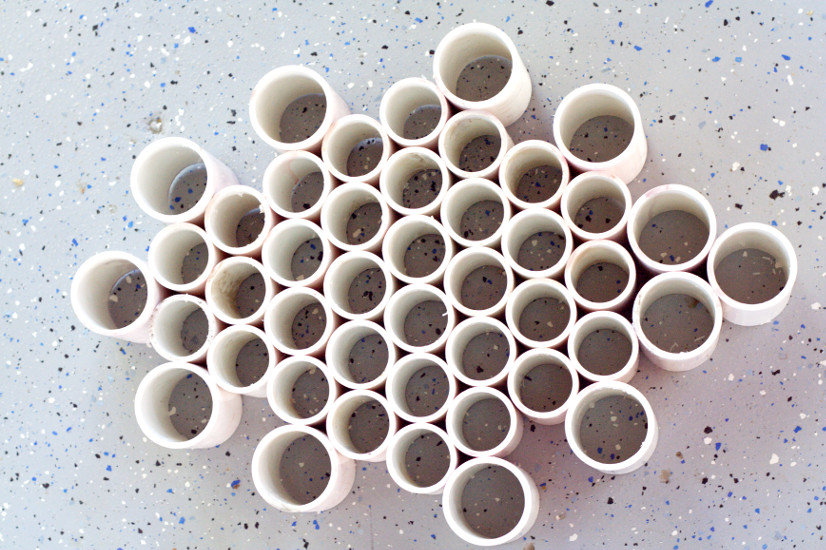
3. Glue the PVC pieces together with the PVC glue into the shape you designed. Be sure to clean the PVC pipe with the primer first. You won't need much glue because it's super sticky. Just brush it on the side of the PVC and stick it together. Also, be aware that the fumes from the glue are STRONG so you'll probably want to head outside for the gluing or do it in a very open and well-ventilated room. When all the pieces are glued together, allow the structure to dry fully.
4. Once it's dry, it's ready for paint. This is another step you'll want to do outside. Just spray to cover the entire organizer. You'll probably need to do at least 2 coats. Allow to dry.
5. When your DIY Matchbox Car Storage is dry, it's ready to hang and use. Drill a hole in the top piece (or multiple holes if you have a horizontal structure). Screw the hook into the wall. Then hang the DIY Matchbox Storage up, and it's ready to go!
Our kids love this DIY Matchbox Storage because now they can always find, and even display, their favorite cars!
Did you like this DIY Matchbox Storage tutorial? Find more on my Organization, Organize and Decor for Kids, and DIY & Crafts boards on Pinterest!
If you liked this DIY Matchbox Storage tutorial, you might also like
How My Sons Helped Me Understand My Husband
10 Mom and Son Date Night Ideas
Never Miss a Thing!
Join our newsletter to get new recipes, tips, tricks, and tutorials every week!






Nicole says
What a wonderful storage ideas for Matchbox and Hot Wheel cars. I sure know we have a TON of them and they are horrible to step on so storing them is a MUST! Thanks so much for sharing, pinning for other moms to see!! Have a happy New Year!
Tammy says
I fell in love with this, until I went to buy the supplies needed:( My son has over 200 cars, this would have cost me $50 for 10 cars. I live in Canada, prices are very expensive. So, I bought some wood shelving for $20 and was able to store 150 cars, however, I still have the stupid bin lol. I think my son needs to learn how to down size lol. I am going to use this idea elsewhere, makup brushes, eyeliners ect. So thank-you so very much!! Keep up the great work you do for us all!!!
Michelle says
Oh no! I can't believe it's that expensive! I ran it past my husband, and he said maybe drainage pipe for like gutters would be more cost effective, but still work?
Roberta says
Great way to organize toy cars! I am sharing this on Pinterest.
Orsi BNC says
Love it, love it, love it ! Exactly what I needed. Because yes, the cars on the floor drive me bananas. I wonder if I can convince my husband to play handyman over the weekend? 🙂
Darlene says
How did you hang this cute idea on the wall?
Michelle says
We put a 90-degree hook in the wall and drilled a hole in the top of the top little tube up there. Our kids are rambunctious and it held up pretty well.