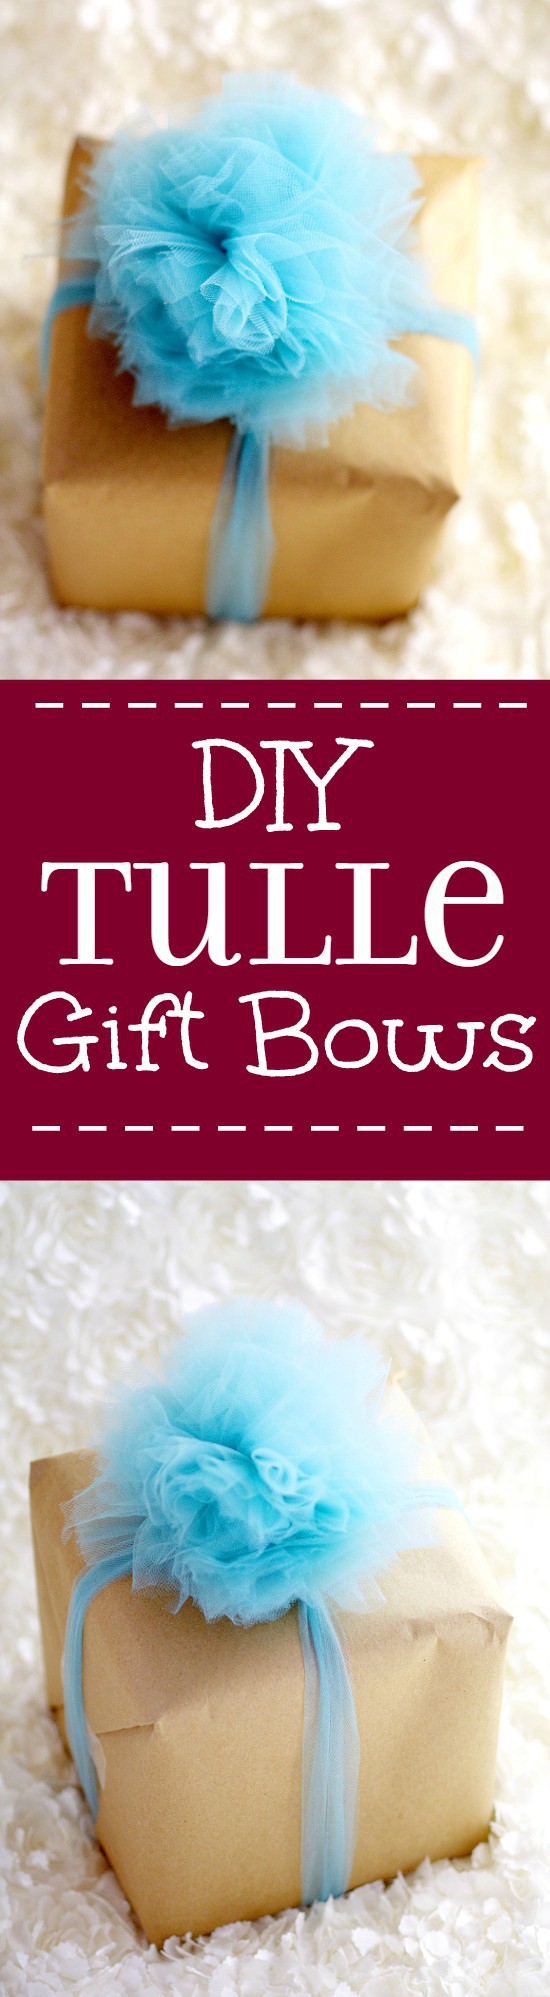
Learn how to make a beautiful and totally easy DIY Tulle Gift Bow to add a pretty finishing touch to all of your gifts.
DIY Tulle Gift Bow
Did you finish all your Christmas shopping over the weekend? For once, I did! I just need to buy for one more person, and grab a few books for the kids, and I'm done! I'm pretty proud of my procrastinating self (and I do owe a bunch of credit to this amazing Printable Christmas Planner that helped me get all my ducks in a row!).
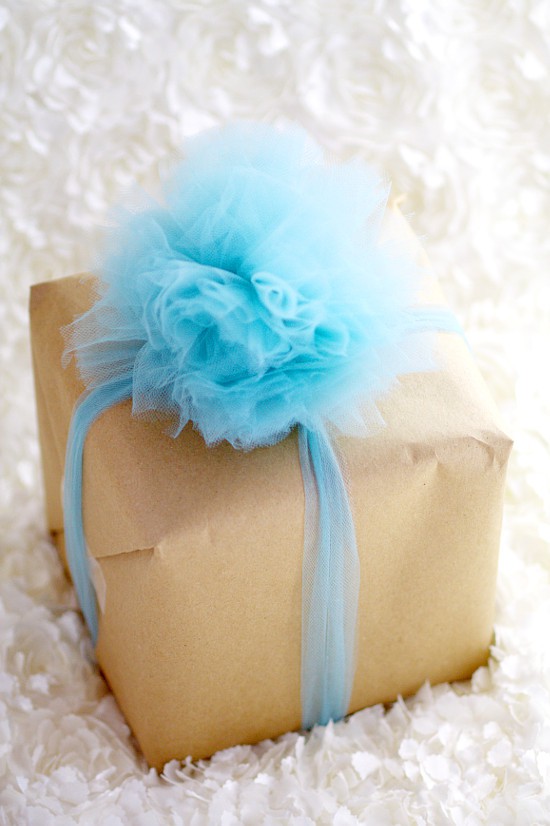
So now that the shopping frenzy is over, it's time to start wrapping! And I wanted to share a really pretty and totally easy DIY Tulle Gift Bow tutorial. really adds a lot to a gift, so you don't even need pretty paper! Which is fortunate for me, because I love wrapping gifts in brown postal paper. I think it gives a nice classic and rustic feel, and then I can dress them up with ribbons and bows, like DIY Tulle Gift Bow.
Let's get down to business. Here's what you'll need to make your DIY Tulle Gift Bow:
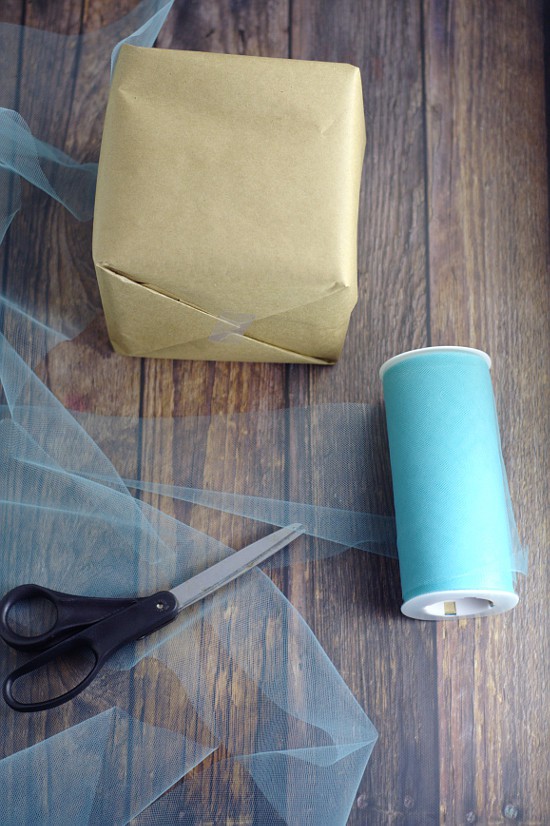
DIY Tulle Gift Bow Supplies
- A spool of tulle
, in any color your heart desires (I used this aqua tulle spool
, but Amazon has tulle in basically any color
)
- Scissors
- A wrapped gift
DIY Tulle Gift Bow Directions
1. If you want to have the tulle in a criss-cross pattern over the gift, like the one I have pictured, you'll need to cut a piece of tulle that's long enough to go around both sides of your gift with a little extra on the ends. If you'd rather dress the gift up your own way and tape the DIY Tulle Gift Bow on at the end, you'll need to cut a piece of tulle about 10-inches long.

2. Take the spool of tulle, and wrap the tulle around your hand, about 20 times (Using your hand will give you a 4-6 inch bow. If you want a bigger bow, you can spread your fingers while you wrap the tulle or wrap it around a book. You'll want to wrap it around 5-10 more times to make sure it stays equally as fluffy.) This works best if you just leave the spool of tulle on the ground and just pull on it to wrap, instead of trying to juggle the actual spool around your hand.
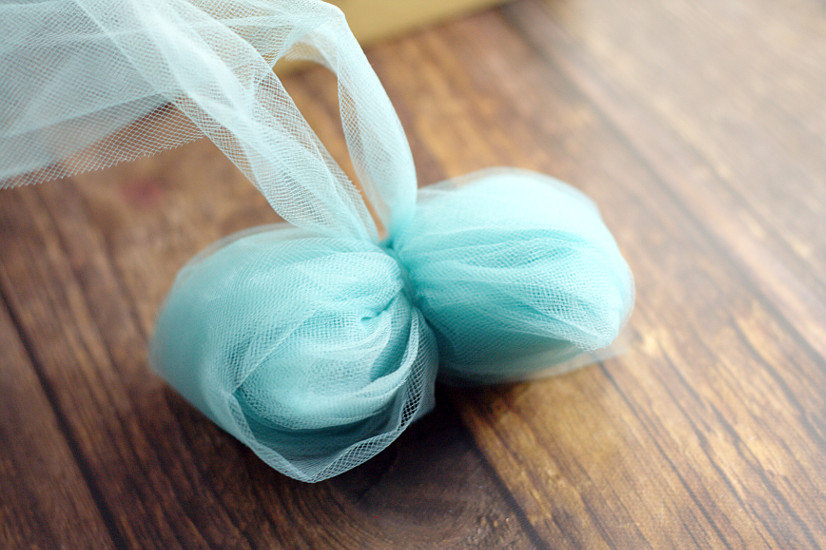
3. Pull the bunch of tulle off of your hand (or book) carefully so that it hold its shape, and grab the long piece of tulle you cut in step 1. Tie the long piece in a tight knot around the center of the bunch. It should look a little like a tied bow at this point.
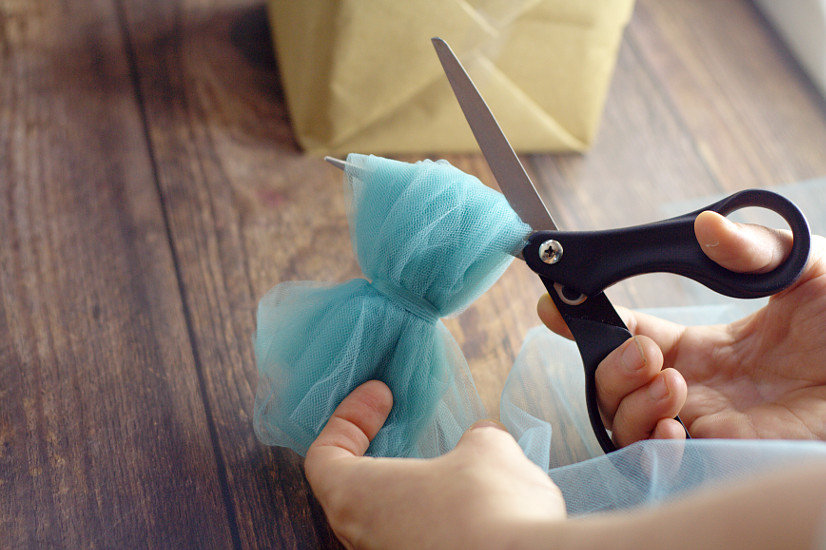
4. Stick the scissors in the loop on one of the ends and cut. Do the same for the other side.
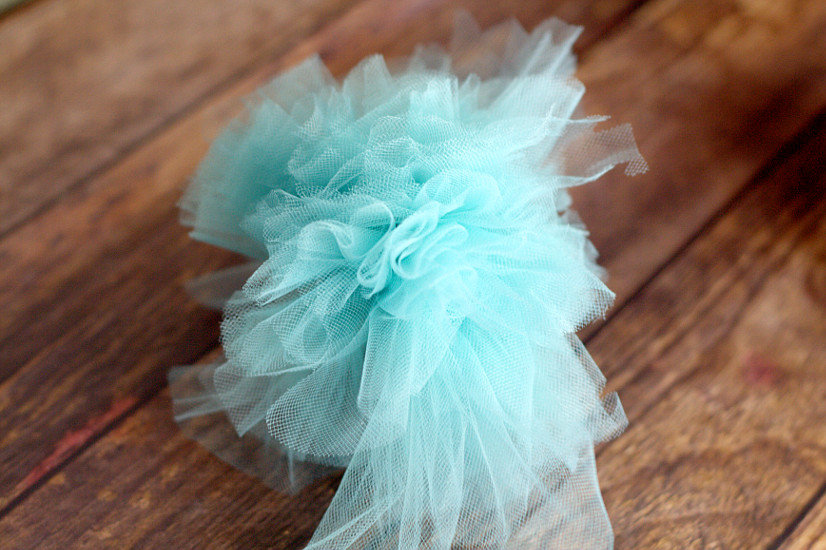
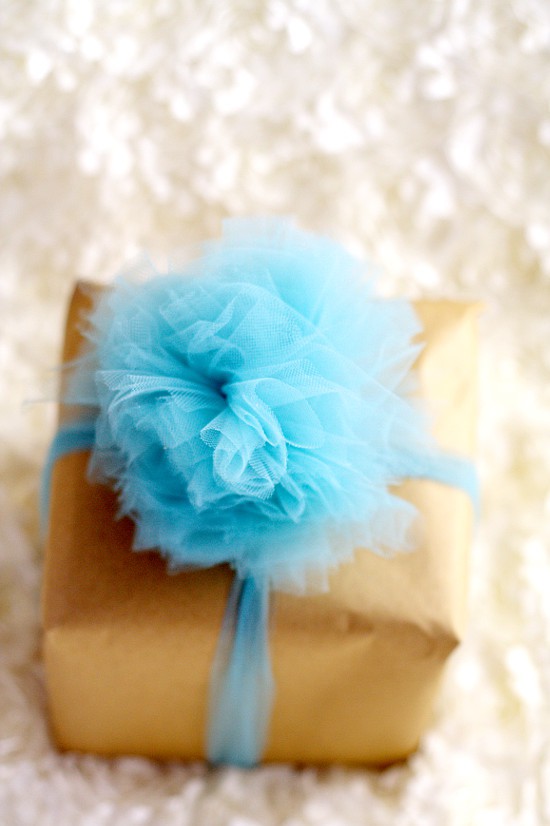
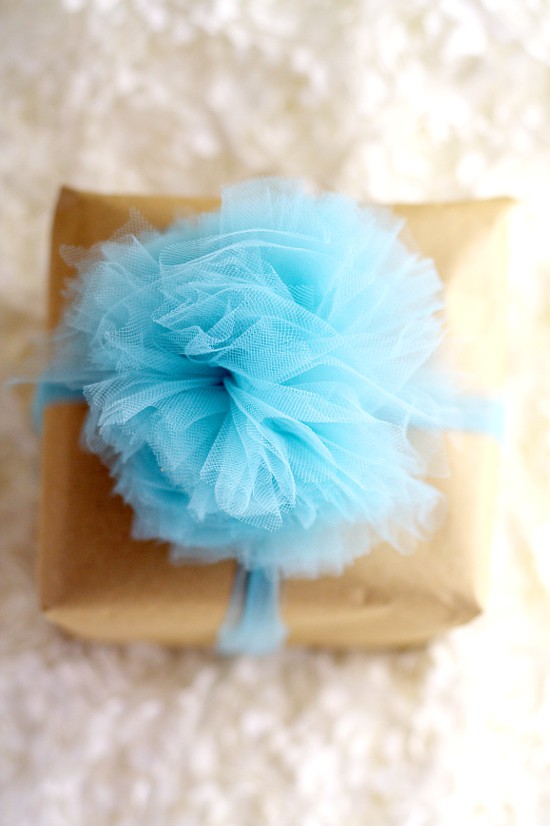
5. Fluff your bow out and trim any pieces that look a little crazy or out of place.
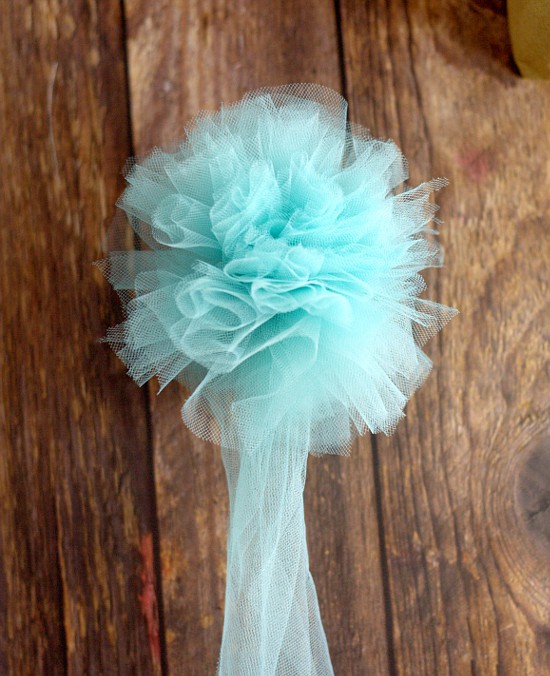
6. If you're taping the bow on, you're done! Tape away! If you want to wrap it around, as pictured, place the DIY Tulle Gift Bow on the top of your gift. Then bring the long ends of the tulle to the bottom of the present. Cross them down there and bring it back to the top on the opposite sides. Tie a little knot, so it stays. Trim the ends. Then push the knot under the tulle bow to hide.
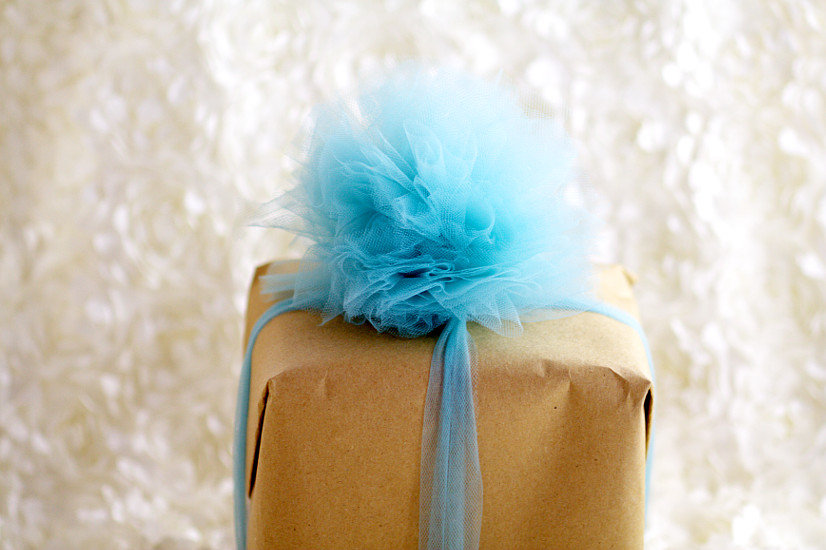
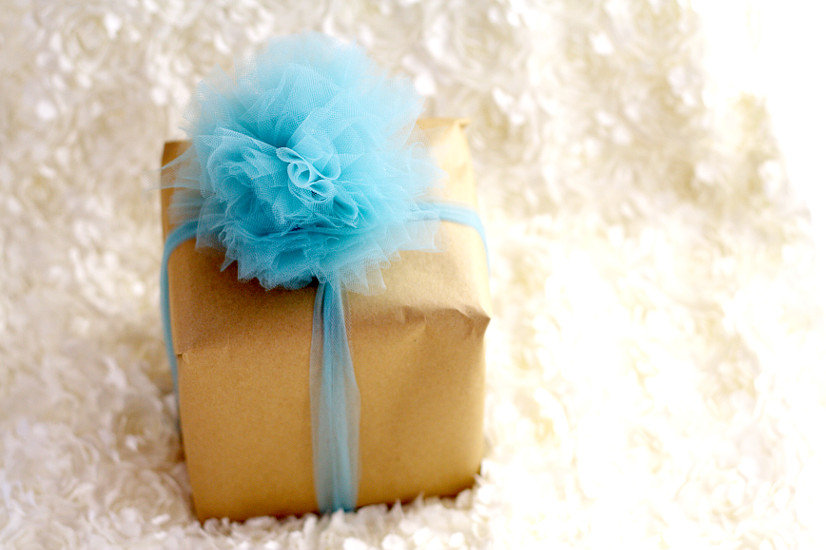
Ta-da! Beautifully wrapped gift with your own DIY Tulle Gift Bow in just 6 easy steps!
Did you like this DIY Tulle Gift Bow tutorial? Find more on my Christmas, Gift Ideas, and DIY & Crafts boards on Pinterest!
If you liked this DIY Tulle Gift Bow tutorial, you might also like
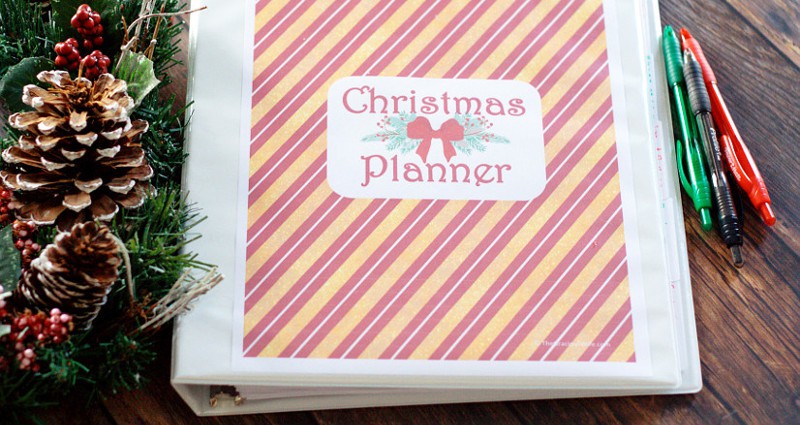
Christmas Gift Planner Printable

See More Christmas Ideas and Recipes
Never Miss a Thing!
Join our newsletter to get new recipes, tips, tricks, and tutorials every week!


Jeanette Hopkins says
Your directions were clear, precise and simple. The easiest ones to follow🤗
Diane says
Your instructions were easy to follow. I looked at several before yours and I couldn’t follow them. I think my shower gift is beautiful.
Michelle says
Oh, this would definitely be pretty for a shower! I'm so glad it worked for you.
Trisha says
Thanks for the easy directions. I checked a few others out, but they were more complicated than they needed to be.
My shower gift looks amazing!
Laurie G says
I can't believe how easy this was. Black tulle for a 40th birthday gift looks amazing! Thank you so much for sharing.
Lydia says
Directions were easy to follow and clear. Thank you very much for helping me spruce up my gifts 😌