This is a sponsored post written by me on behalf of Faultless/Bon Ami Company for IZEA. All opinions are 100% mine.
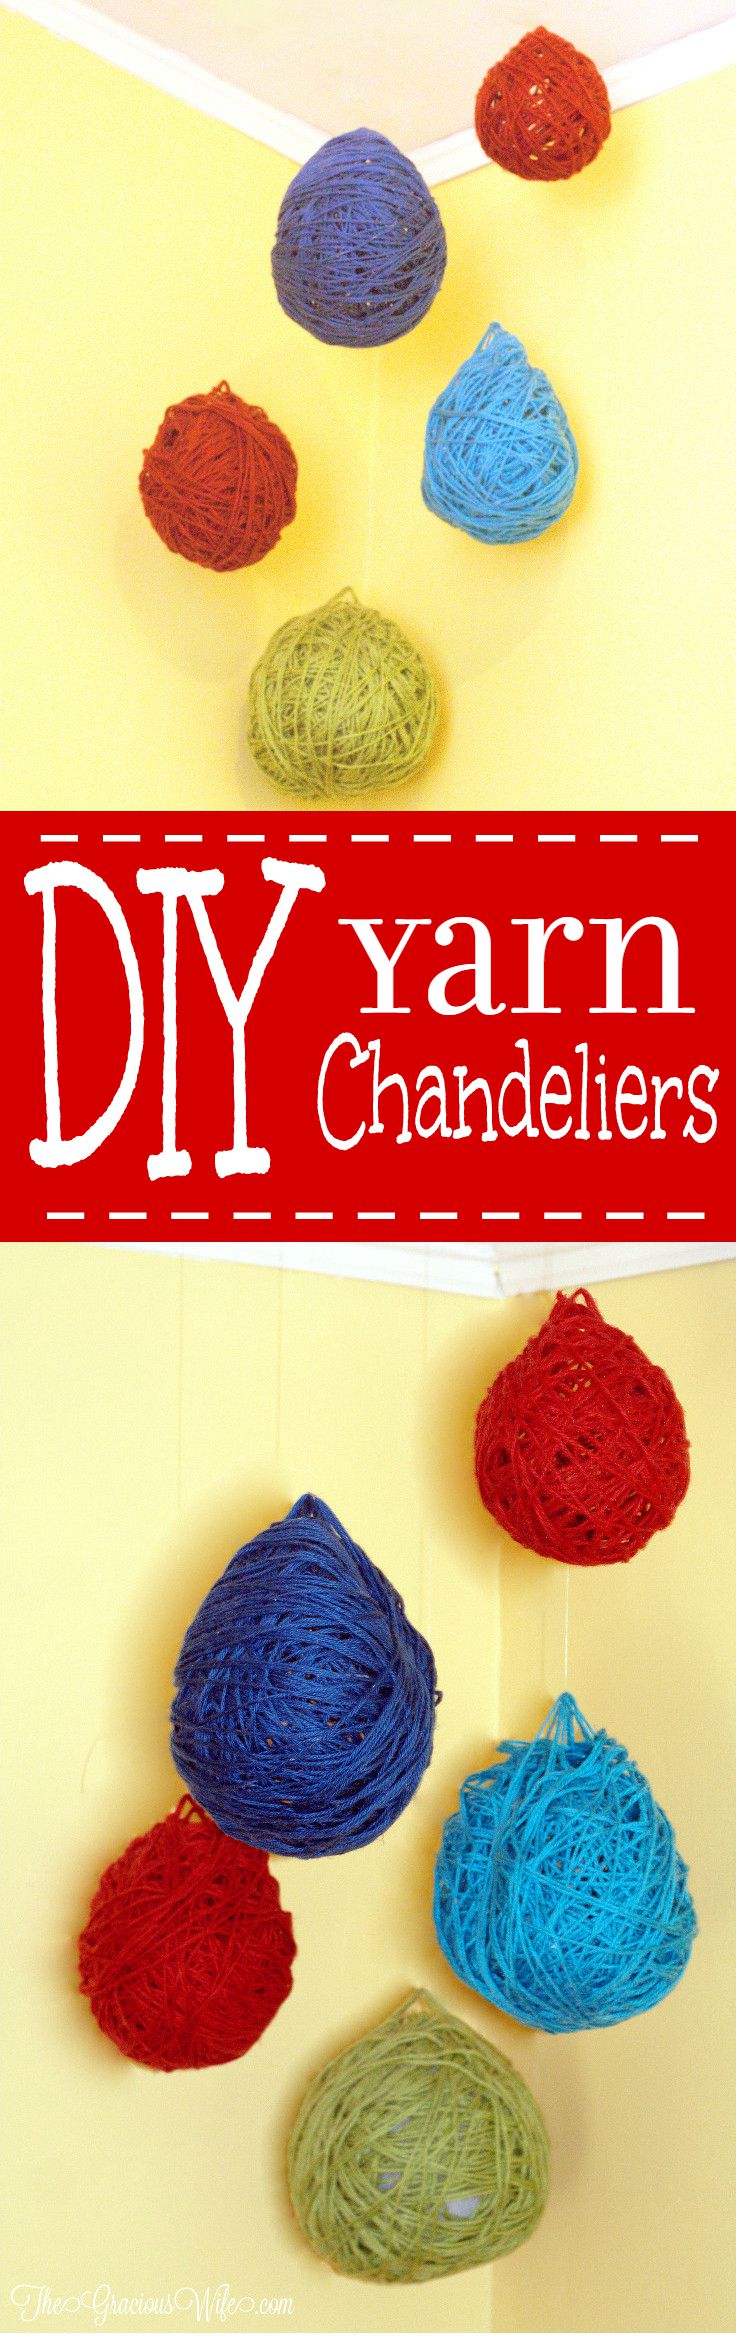
DIY Yarn Chandeliers are a fun and easy DIY craft that is perfect for DIY home decor in any room of your house and also super cute for a party.
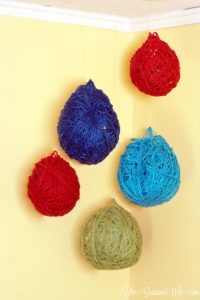
DIY Yarn Chandeliers
Having three small kids can be a tiring gig. There's lots of additional chores that seem to multiply exponentially with kids. Take ironing. I'll be honest, I'm not the best iron-er. My own mom used to have me iron my own shirt every morning before school using Magic Sizing. I tried my best, but even then I didn't have it together in the ironing department (Apparently, you have to turn shirts with vinyl on them inside-out, or you'll melt it all over the iron, ruin the shirt, and have to desperately try to scrape it off the iron. Who knew?)
Anyway, after getting married and moving out I vowed to never iron again. Then we promptly had three, crazy, and ALWAYS wrinkly kids, and my vow was short-lived. The boys' clothes weren't so bad. Just simple T-shirts (that I now knew to turn inside out!) and some collared shirts or button-downs here and there. I ironed them, they'd be nice and wrinkle-free for a few minutes... Until the boys actually wore their clothes, and then they'd be a wrinkled mess again.
When we had our daughter, I was like Yay! No dress shirts to iron! But then I got a load of all of those cute little girl dresses with all of those thousands of near impossible to iron pleats! WHY?!
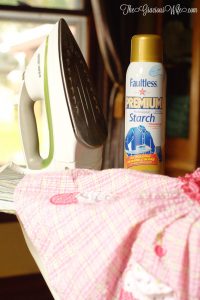
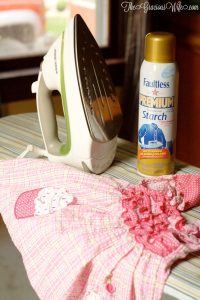
Now if I'm going to take the next hour to iron all of those teeny tiny pleats, they better stay that way. Enter Faultless Starch. They mean business, and if you want to iron clothes and have them actually stay that way, use it. Seriously, it's a sanity saver.
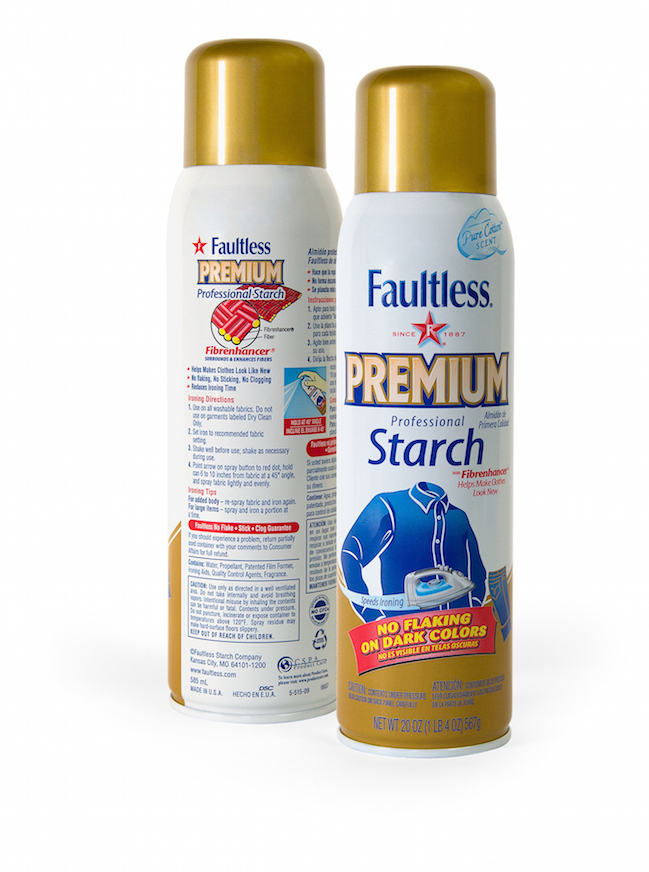
Faultless offers a variety of products ranging from classic starch to heavy duty, and they also have a new Faultless Premium Starch, which never clogs, flakes, or sticks. Faultless Premium keeps clothes looking new and fresh, and you'll feel like a much better mom when your kids aren't running around looking like little ragamuffins. Faultless Premium is easily accessible and you can find it in the laundry aisle at most major retailers. If you'd like to know where you can find it near you, you can use this find a store tool.
DIY Yarn Chandeliers Tutorial
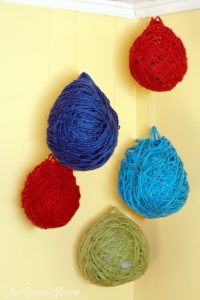
Faultless Premium is, of course, great for ironing, but you can have a little fun with it too, like with these DIY Yarn Chandeliers. We're currently remodeling our boys' bedroom, with bright colors and a "Things that Go" theme. I wanted to make a little something to decorate. I really liked those paper pom poms, but I see them everywhere and wanted to try something a little different. So I made these DIY Yarn Chandeliers from yarn and Premium Starch.
What you'll need to make DIY Yarn Chandeliers
- Faultless Premium Starch
- Balloons
- Yarn or thick crochet string in the colors of your choosing
Optional Supplies
- I used a little petroleum jelly on the balloons to make sure I could slide them out without collapsing the DIY yarn chandeliers. I would actually recommend NOT using it unless you're planning on using a heavy dose of the acrylic spray. I felt like the ones I used petroleum jelly on were actually weighed down quite a bit and would have had a better structure had I left out the petroleum.
- Acrylic spray for crafting - this will give your DIY yarn chandeliers a little extra sheen and help them to last longer
- Fishing line - I used fishing line to hang my DIY yarn chandeliers to give them a floating effect, but plain string or even the yarn that you used previously would also work.
Directions for DIY Yarn Chandeliers
1. Blow up your balloons to the desired size. I made three medium-sized and two small ones. I will note that my smaller ones were more willing to hold their shape.
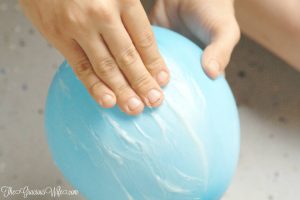
2. If you're using petroleum jelly, spread some over the entire balloon.
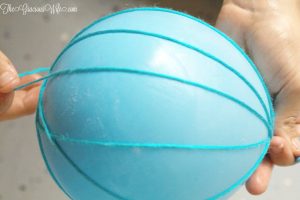
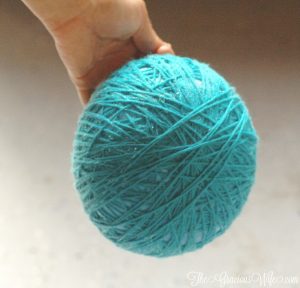
3. Wrap the balloons with the yarn. I really didn't have a system for this. I just kept wrapping in every crazy direction until the balloon was fully covered.

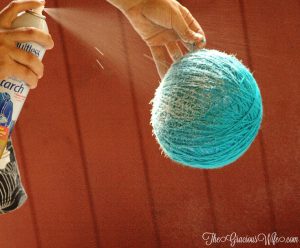
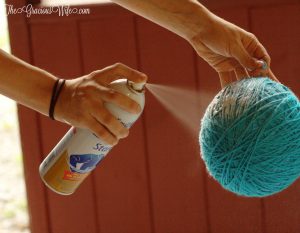
4. When your balloons are adequately wrapped in yarn, spray each one generously with Faultless Premium. The yarn should be very wet. You want to make sure it's fully saturated so that it holds.
5. Now is the hard part. You have to wait for the DIY yarn chandeliers to dry. This could take 1-2 days, and yes, you actually have to wait. I tried speeding up the process by using a fan and a blow-dryer on cool and just ended up with a wad of yarn. Not pretty. My smaller ones dried totally in about 24 hours, and my medium ones took about 36 hours. Larger DIY yarn chandeliers would likely take the full 48 hours. There are a few ways you can allow these to dry:
- Tie a string to them and hang them on a hook or nail, if you have a spare one in your house somewhere that you can use.
- You can use a clothespin to pin them to a string or clothes hanging line. If you do it outside, just make sure there's no rain in the forecast!
- If neither of those options will work for you, you can grab a cup or jar and place your DIY yarn chandelier on top to finish drying with minimal touching.
6. If you're using spray acrylic, you can spray the DIY yarn chandeliers with it once they're done drying. And then wait again for the acrylic to dry.
7. When everything is finally done drying, you can carefully pop the balloon and slide it out of one of the holes in your DIY yarn chandelier.

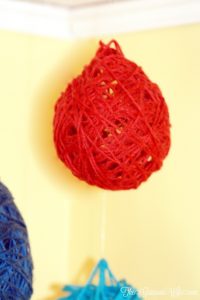
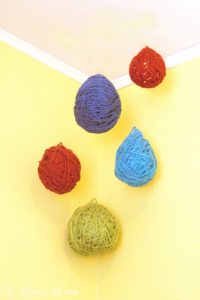
8. Attach your fishing line or string to hang, and you have a cute little DIY Yarn Chandelier for any room of your house that needs a little extra sprucing.
If you'd like to make these DIY Yarn Chandeliers or even just try out Faultless Premium for your ironing, you're in luck because right now, I have a $1 off Faultless Premium Coupon to share with you! Download it now and get crafty for less!
And I have even more great news! Faultless Premium is also $1,000 along with a year's worth supply of Faultless Premium Starch with their Faultless Starch Giveaway ! You can enter to win by visiting the Faultless Starch Giveaway page, watching the Ironing Board Sam Video, enter your information, and remember to share this link with your friends: http://bit.ly/1FP5Up4
You can also follow Faultless on Facebook for more great tips and tricks!
Do you have any fun Faultless Starch crafts or tips? Share with me in the comments!
Did you like these DIY Yarn Chandeliers? Find more on my DIY & Crafts and For the Home boards on Pinterest!
If you liked these DIY Yarn Chandeliers you might also like
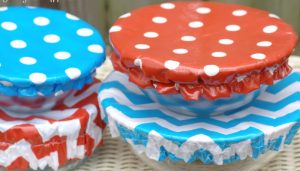
DIY Washable Reusable Bowl Covers

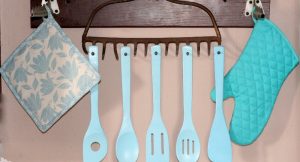
Upcycle: Old Rake Head to Rustic Utensil Holder
Never Miss a Thing!
Join our newsletter to get new recipes, tips, tricks, and tutorials every week!

All that's Jas says
So colorful. Great idea! So happy you shared it with Thursday Favorite Things blog hop!
DIY April says
How fun! I just bought my first home and will need a lot of lighting after living in a small condo. I'll definitely keep this in mind.
Alexandra says
These Yarn Chandeliers are so fun! I haven't attempted any yarn crafts that require the shaping from the balloons but I am so amused by them. Neat idea.
Hoping to see you at our Yarn Fanatic Party
Beverly says
What a fun project idea! This would be great for birthday party decor. Thanks for sharing on Snickerdoodle Sunday!
Kristina & Millie says
how fun, lovely and easy to make! I tried some with the glue - didn't work - I didn't realize the starch was needed! Now I can try again and have success! 🙂 Thanks for sharing with us at Snickerdoodle Sunday!