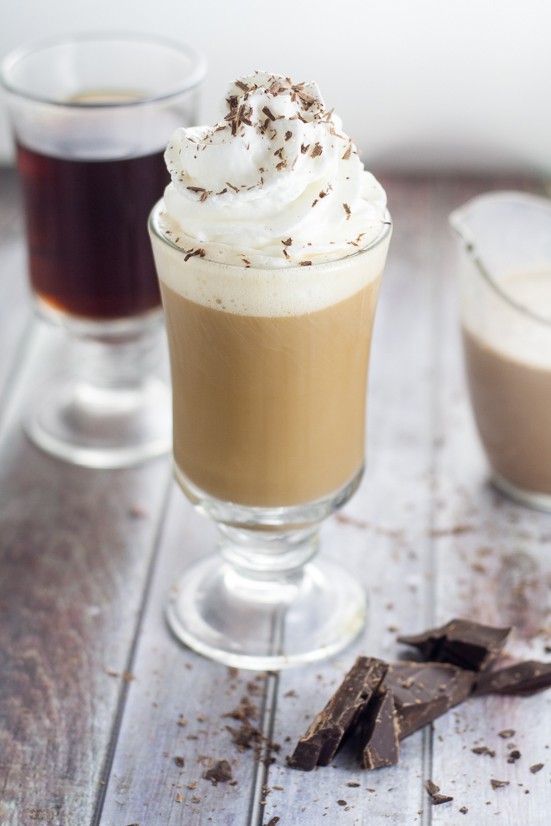
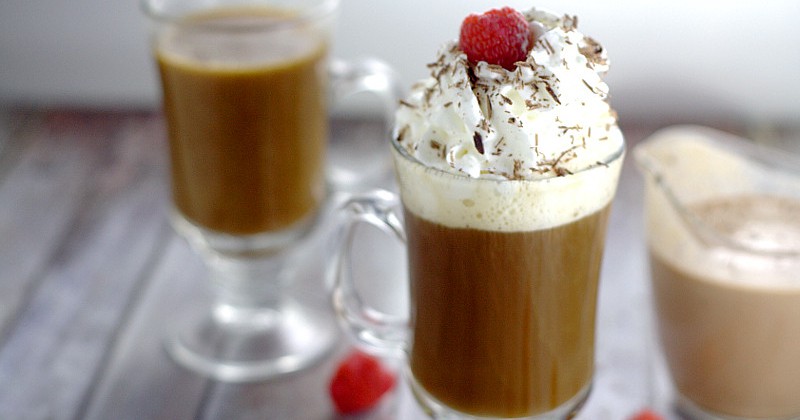
Make this Homemade Chocolate Coffee Creamer recipe in minutes using simple ingredients to turn your morning coffee into a delightful mocha treat!
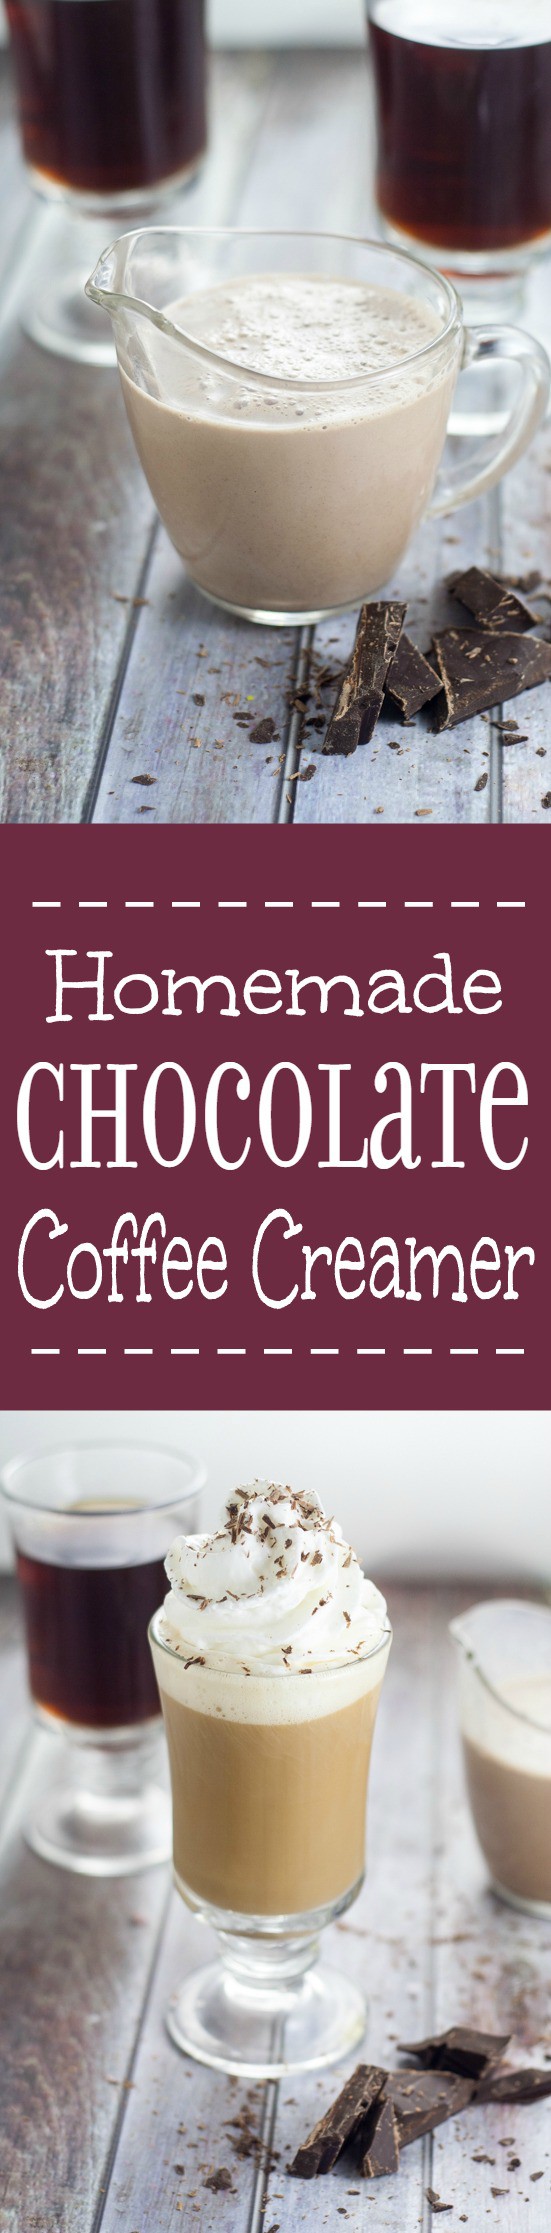
Homemade Chocolate Coffee Creamer
Well, since we missed our homemade coffee creamer recipe last month, I figured we better double up on them this month. And what could be better than a decadent Homemade Chocolate Coffee Creamer to turn your morning coffee into a decadent mocha treat?! Thankfully, this recipe is super simple to make in just a few quick minutes, and you probably already have most of the ingredients on hand!
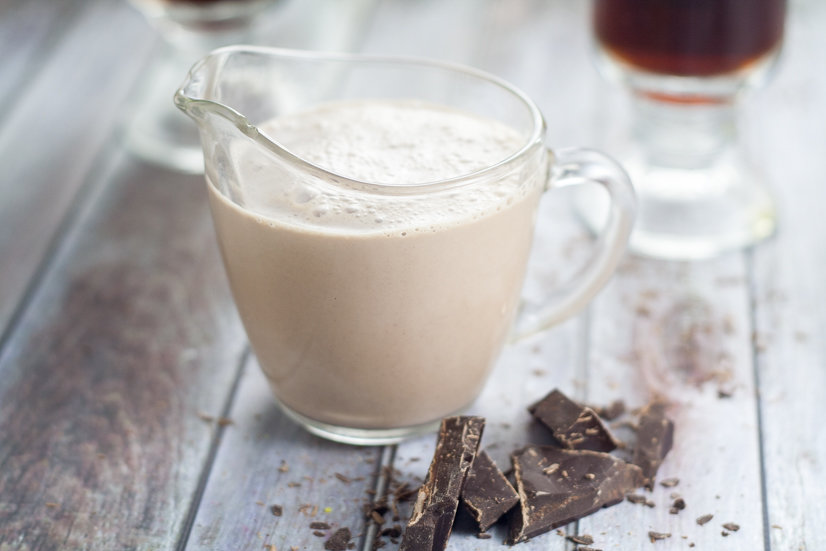
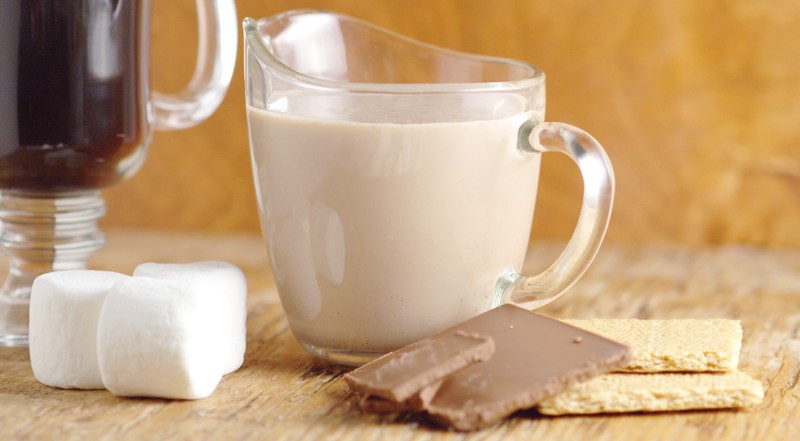
For this chocolate coffee creamer, you can choose to use either cocoa powder or chocolate syrup. Both are delicious, so you really can't go wrong. But for the cocoa powder, you'll want to follow the directions carefully and pour the hot milk mixture over top of the cocoa powder so that it mixes in smooth without any clumps.
Homemade Chocolate Coffee Creamer Recipe
Homemade Chocolate Coffee Creamer
Ingredients
- 1½ cup cream
- 1½ cup milk
- ½ cup granulated sugar
- ½ cup chocolate syrup OR 2 tablespoons cocoa powder
- 1 teaspoon vanilla
Instructions
- If using cocoa powder, place in a large bowl and set aside.
- Place cream and milk in a large saucepan over medium heat. Heat until steaming, but not boiling.
- Add sugar to the cream mixture and stir to combine.
- If using chocolate syrup, add it now, and stir to combine.
- Remove from heat, and stir in vanilla.
- If using cocoa powder, pour the hot milk mixture over cocoa powder and stir vigorously to fully combine.
- Place in containers with lids, and refrigerate.
Notes
Nutrition
Did you like this Homemade Chocolate Coffee Creamer Recipe? Find more on my Breakfast and In the Kitchen boards on Pinterest!
If you liked this Homemade Chocolate Coffee Creamer recipe, you might also like
Homemade Chocolate Raspberry Coffee Creamer
Homemade S'mores Coffee Creamer

Homemade Cinnamon Dolce Coffee Creamer
See More Breakfast Recipes
Never Miss a Thing!
Join our newsletter to get new recipes, tips, tricks, and tutorials every week!


Olivia says
I have always wondered how to make homemade coffee creamer. This looks delicious.
Thank you for sharing with Thursday Favorite Things Blog Hop.
Olivia
Reinvented Collection
Melissa says
How long will this last in the refrigerator?
Michelle says
It should last until the expiration on your milk and half-and-half or cream.
Mary says
Sounds delicious, must try. Are you using unsweetened cocoa powder?
Michelle says
Yes
Loretta Rowe says
I am eager to try your recipe. It seems like every time I find a prepared chocolate creamer in the stores, they discontinue it, no matter what brand it is. I will let you know how I rate it once I make it and try it.
Ann bartley says
Very good flavour I will keep making this and some other three recipes
Scott L says
I made your recipe for Mocha creamer and it was better than anything at the store or any coffee shop I’ve tried. Thanks for sharing, I will try some of you others soon.
Michelle says
Yay! I'm so glad you liked it!
Kimba daniels says
How long will it last?
Michelle says
I usually go by whatever the expiration date is on the milk and/or cream.
Lois says
If I don't have cream (I am trying to limit sat fat), can I go with all milk? How would that affect the result?
Michelle says
It would be thinner and less rich, but would still work over all. You can also try fat free half and half instead of cream
Debi says
Outstanding, easy to prepare and dellicious 😍
Sam says
can this be used in iced coffee?
Michelle says
I don't see why not!
Terry says
The chocolate creamer is excellent. Thank you for sharing
Lola says
Thank you; this is one of my favorite homemade creamers.
Hailey Sarver says
Is the cream the recipe calls for heavy cream?
Michelle says
Yes
Debbie Atkinson says
Great tasting and easy to make. Changed it slightly. Rather than using half milk/half cream, I just use half and half. Also I mix the sugar and cocoa together in the pan, then turn on the heat and add the half and half and stir. I continue to stir frequently until bubbles start to form around side of pan, then remove from heat. Thanks for the recipe! It's all I use now.