Part 4 in a 5-part Quilting for Beginners series. This Basting and Quilting section will walk you through basting and ditch quilting your quilt. Make your own DIY sewing quilt with this step-by-step tutorial!
Basting and Quilting - Quilting for Beginners Part 4
We're nearing the end of our quilt! By now, you should have calculated and bought your fabric, washed and cut your quilt blocks, and sewn together your quilt top. Are you caught up?
If not, you can get started here:
- Part 1: Choosing, Calculating, and Buying Fabric
- Part 2: Washing and Cutting
- Part 3: Piecing Your Quilt Top
Today, we're going to work on basting and quilting.
Basting
There are 2 types of basting: pin basting and spray basting. I will give you an overview of both, but I'll tell you ahead of time, I much prefer spray basting for myself.
The first couple steps are the same for both pinning and spraying.
1. Create your quilt back.
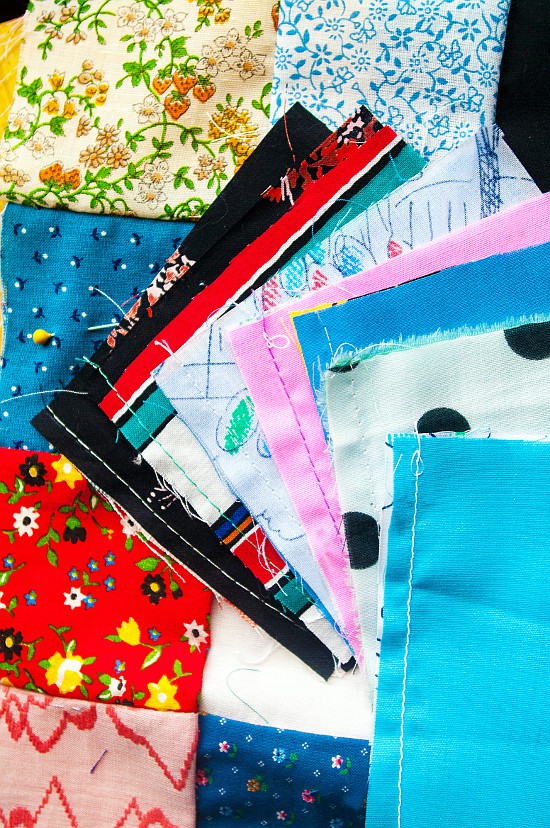
Your quilt back will need to be at least 4 inches larger, in each direction, than your quilt top. So if your quilt top is 68" x 90", your backing will need to be at 72" x 94". You may need to do some piecing for this part if you're making a larger quilt. I made a large twin quilt for this tutorial, so I did end up piecing my backing using minky and some fabric scraps leftover from my top. If you have one piece of fabric that's large enough, that's great! (and will make your life easier for this step!) Just cut it down to the desired size with your rotary cutter.
2. Lay out your backing.
Lay out your backing on the floor or a large enough surface that it can lay totally flat. You will want the face (the pretty part that you want facing out when you're done) facing down, so you can see the "ugly" part of the fabric.
3. Secure your backing.
You will want to secure your backing to the surface you are working on. Do this by taping (with masking or painter's tape) or pinning with T-pins (best if you're working on carpet) each corner down. You want it taut, but NOT stretched. Stretching will cause puckering during quilting. Tape in one corner, then in the opposite corner to make it tight. If your quilt is large, add a couple extra to the sides, using the same pattern. Tape on one side, then tape on the opposite to keep it tight.
Pin Basting
When you're happy with your secured back, add your batting (which should be approximately the same size as your backing, if you're using any). Batting is sometimes considered optional. It depends on how thick you want your quilt, really. And it's easier to do without if you're using a thick backing fabric, like minky. So if you're using batting, center it on your backing. Then add your top, centered on the batting.
Basting pins are essentially short, curved safety pins.
Avoid pinning in the seam lines. You'll likely ditch quilt your seams, making more work for yourself unpinning and re-pinning.
Start pinning in the center, and work your way out. You'll want one pin every 6-8" in all directions (to the top, bottom, left, and right). Too few pins will cause your quilt top to move during quilting, causing tucks.
Fastening all those pins can cause some serious wear and tear on your fingers. You may want to consider getting a pin fastener like Kwik Klips to save your poor fingers.
Spray Basting
Spray basting is my preferred method, mainly because it's less tedious and time-intensive (we're all busy right?!). You can find basting spray HERE. A couple of warnings about spray basting before I get you started:
- Spray basting is NOT recommended if you're pregnant. It's like spray painting, with the fumes and such, and just not a good thing for you or your babe right now.
- If you have little munchkins running around, you'll probably want to wait until nap time or bed time (which is usually the only time I can get anything done anyway!) for the same reason as above.
- Spray basting can get messy. You may want to consider doing it outside or on a tile surface. I've done it on carpet, with success. You just have to be super neat and careful.
- ALWAYS spray in a well ventilated area.
All that being said, it really is a super simple way to baste your quilt and it's the method that I use the majority of the time.

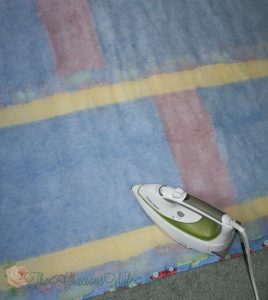
Let's get started. After securing your backing, lay out your batting (skip this step if you're not using any). Center the batting on the backing. I always lightly iron my batting to make sure it's nice and smooth.
Fold the batting down in half and start spraying a 6 inch strip on your backing. Fold the batting back up to cover your sprayed strip. Press down to secure. Repeat the process, spraying 6 inch strips then pressing down, until you've finished the whole side. When the first side is finished, start on the other half using the same method.
When your batting is secured, you will want to use the same process with your quilt top. Lay it out, centered on the batting and back. Fold in half and spray 6 inch strips until the entire top is secured.
Ta-da! That's it. Spray basting is pretty simple.
Quilting
There's quite a few types of quilting. Some are more complicated than others. For this beginner's tutorial, I will be talking about Machine Ditch Quilting. This simply means we'll be quilting with a machine in the seams, or ditches, of your quilt top.
This method is simple and effective.
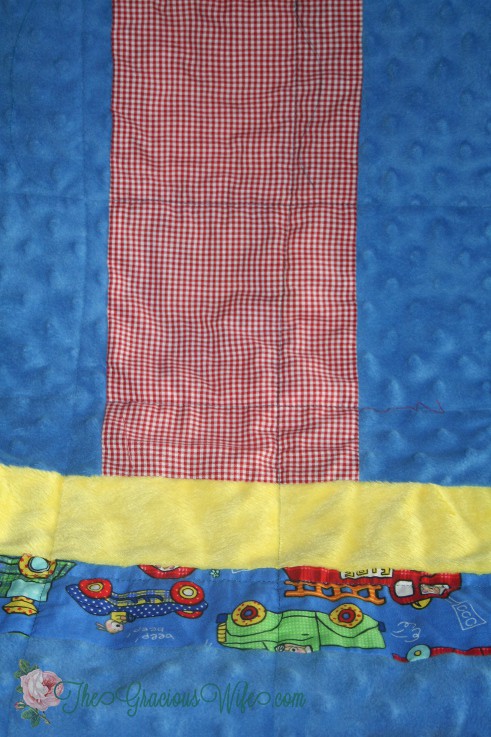
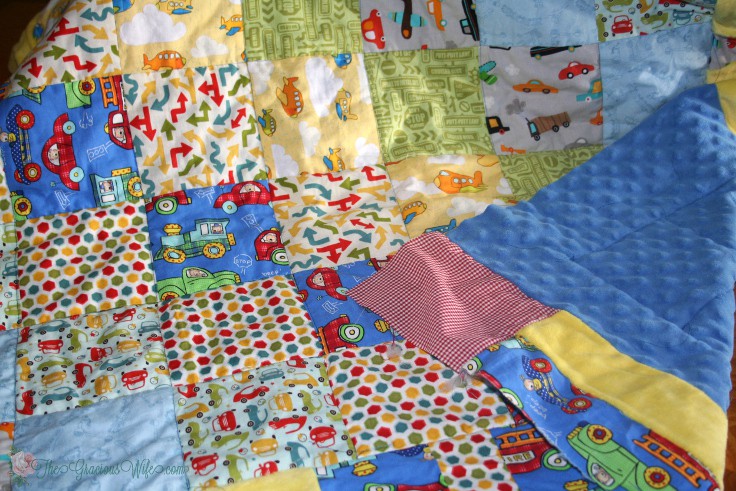
Start off by stitching with your machine down the center seams of your quilt. This is just to make sure everything is secure. It should look like a giant plus sign. Then, continue stitching your seam rows one by one. You'll just be stitching in a straight line, and it should look somewhat like a checker board when you're done. The pattern on the back of your quilt will match the pattern of the blocks on the front of your quilt.
Next: Read Part 5- Binding Your Quilt

Did you like this Basting and Quilting section? Find more like it on my Sewing and DIY & Crafts boards on Pinterest!
If you liked this Basting and Quilting section, you might also like
Quilting for Beginners - 5 Part Series
Binding Your Quilt - Quilting for Beginners Part 5
See More DIY & Crafts Projects
Never Miss a Thing!
Join our newsletter to get new recipes, tips, tricks, and tutorials every week!
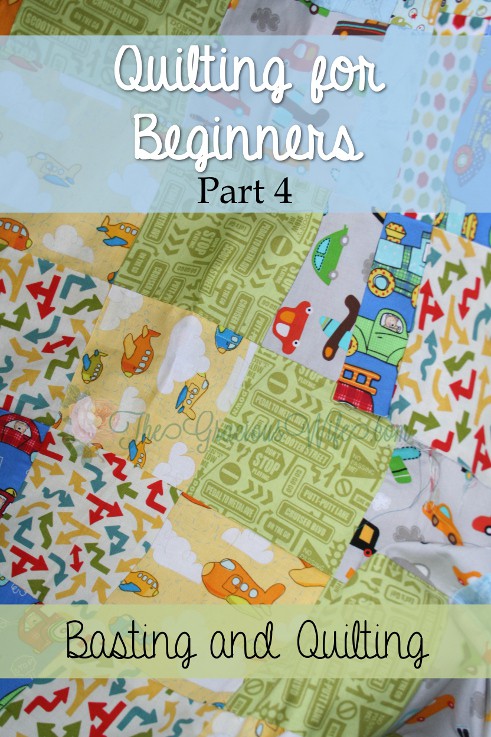
 Photo Credit: DollarPhotoClub.com

Helen says
Great tutorials! I've been sewing forever but I'm new at quilting! I picked up some good pointers! Thank you!
sHIRLEY says
How wonderfully easy your tutorials have been !!!!! Thank you, thank you so much. I am now ready to tackle a quilt. Your directions are so easy to follow and I am so excited. As opposed to other tutorials, which were so confusing, your lays it all out, I love it, I love it, I love it, thank you so very, much. Oh goodness, you made what was complex in my mind so simple. Can't wait to get out and get all of my supplies and get started. I wish I could really tell you how wonderful you sites are, thank you for taking all the time and creating it for we new to quilting. Always wanted to be a quilter, but felt defeated. No more thanks to you.................God bless you........Shirley
Michelle says
Thank you so much for your sweet words! Good luck on your quilt, and please feel free to ask any questions here if you have any!
Kitty says
I want to thank you for the time you took for this tutitorial... I just started in Nov... have done a few things, read thru many other tutitorials and watched films as well...... all of which I picked up some information that I either dint understand or forgot.... I am 79 had two small strokes and am enjoying my projects.. having your information has been really helpful to me.. enjoy smile and know you have been most helpful/gmakitty
Michelle says
Thank you so much! I'm really glad to help! 🙂
Holly says
Do you have a tutorial or information on how you finished the edges of the quilt?
Michelle says
Hi Holly!
I'm so sorry that I didn't have that last part of the quilting series done! I got super busy with my kids' birthdays and then the holidays, and I just totally forgot about it!
I dropped everything today so that I could finish it up for you, and I managed to get it done tonight! You can check it out on the How to Make a Quilt Main Page
I'd love to see your finished quilt! Have fun!
Jessica says
This is an excellent tutorial for a first time quilter, thank you! I have to ask though, is it finished? It seems to end rather abruptly and you didn't talk about sewing up the sides. Maybe I'm missing the last part?
Michelle says
No, I'm so sorry I don't have it up yet! It got pushed onto the back burner with my kids' birthdays and then the holidays, and then I forgot about it back there!
Anyway, I dropped everything off my giant to-do list for today, to work on finishing that quilt, and I hope to have it finished by tonight, but definitely by tomorrow!
I can let you know here when it's posted so you'll get an email about it! Sorry again!
Michelle says
Hi Jessica! I managed to finish it all up tonight! So, here's the link to the series main page. I'd love to see your finished quilt!
How to Make a Quilt Main Page
Caz says
As a newbie to sewing and quilting I loved these tutorials. Breaking in down into parts makes it really easy to follow and not so scary! I've finished the front and am about to bast it and quilt it. When stitching the quilt (machine ditch) do I need a walking foot? I am using batting. Someone said I did but I see you don't mention it?
Michelle says
Yes, a walking foot is generally recommended for ditch quilting (though I've used my normal foot with success with smaller quilts). And you're right, I totally missed that! I'll have to update it! Thanks, and I'm happy to help!
Kathirynne says
Why does the backing fabric need to be 4 inches larger than the quilt top?
Michelle says
When you bind it together at the end, you'll be tucking the extra inside of the binding, making it a little more sturdy and structured.
Charlene says
Excellent tutorial. I use a spray baste called QuiKraft from Siliconi. It has almost no smell. If you make a mistake, you can move it. AND best of all, you don’t end up with sticky stuff everywhere. It sprays in a spiderweb pattern not a cloud. They also make a spray cleaner that cleans the 505 over spray and residues. You can get it from TheCottonFarm.com.
Thanks again for the information. I’ve shared it a few times already.