Part 2 in a 5-part Quilting for Beginners series. This Washing and Cutting Quilt Blocks section will walk you through washing your fabric, cutting quilt blocks, and ironing and prepping. Make your own DIY sewing quilt with this step-by-step tutorial!
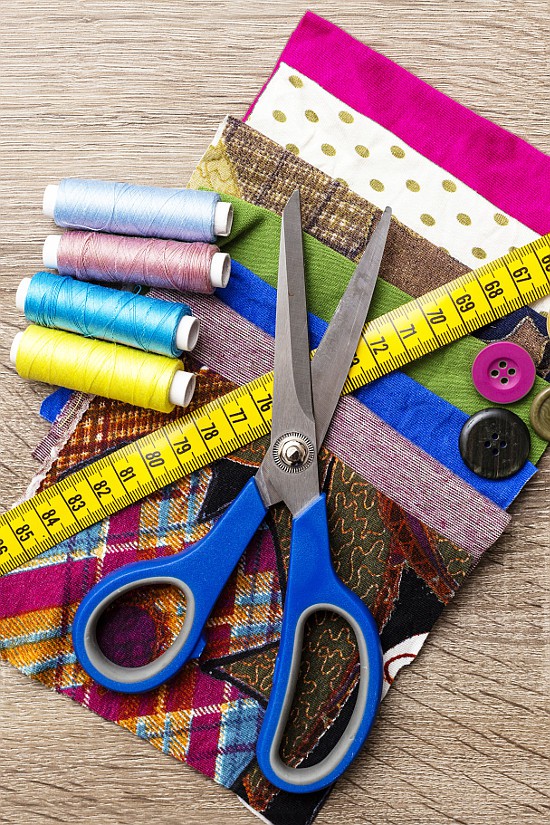
Washing and Cutting Quilt Blocks - Quilting for Beginners Part 2
In Part 1 of the Quilting for Beginners series, we discussed how to choose, calculate, and buy your fabric. So hopefully by now you have your fabric. In Part 2 of this series, we will be discussing how to prepare your fabric to start sewing your final product.
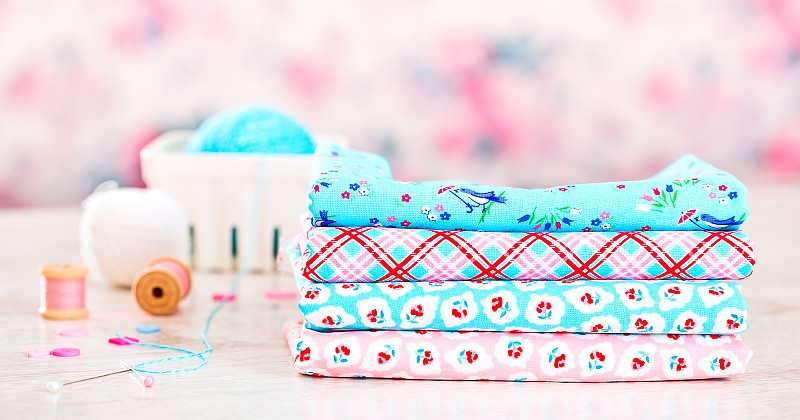
Washing your Fabric
Do you really need to wash your fabric? Yes. You do. There are three main reasons you need to wash your fabric before doing anything else.
First, some fabrics bleed. It would be very unfortunate to finish a beautiful quilt, need to wash it for some reason or other, and find out that the entire thing is now discolored because one (or more) of your fabrics bled. This is especially important when combining light fabrics and dark or vibrant fabrics in the same quilt. I personally have found that dark blues and reds are the worst culprits, but really any color can bleed.
Second, we have a shrinkage issue. Different types of fabrics shrink at different rates. Even if all of the fabric is the same type of material blend, they could still shrink at different rates depending on how they were manufactured and dyed. If you sew first and wash later, when your fabric shrinks, you'll have a ripply quilt. Not too pretty.
Last, you should wash your fabrics before sewing for the same reason that you wash new clothes before wearing. The manufacturing and dying process leaves chemical residues that you probably shouldn't be handling for long periods of time (like when quilting). And also, who knows what happened in the store you bought it from. Any sicky could have had their hands on it, and you probably don't want that in your house, either.
So. Even if you're making a decorative quilt (one that no one will be cuddling), you should STILL wash your fabric. Stuff happens. If it gets dirty or spilled on, you'll have to wash it, and then your poor decorative frumpy quilt will have to reside in the back of your linen closet.
How do you wash?
Pretty much like you would wash anything else. If your quilt fabrics are all similar colors, you can risk putting them in together. If they're very contrasting colors, separate them before washing.
I just wash in warm water and dry with warm heat and that's it. My fabric gets tangled in the washer, so I just clip the threads and untangle before moving to the dryer. If you'd like to be extra careful about color-bleeding, Shout makes a product called Shout Color Catcher that will help catch any bleeds that may occur.
After you're done washing, you'll need to iron the fabric before moving on to the next step.
Cutting Quilt Blocks
After your fabric, is washed, dried, and ironed, it's time to cut! I will be honest and admit that I find this step to be the most tedious of the entire quilting process.
So first, you'll want to "rough cut" the fabric. In Part 1 of this series, you might remember that I wanted my finished quilt to have 6 inch blocks, but I was calculating for 7 inches blocks for seams and cutting. Here's where this will come in.
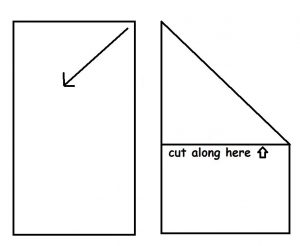
- Cut your fabric in strips length-wise to your block measurements with your fabric shears. Remember to add that extra inch! So for my example quilt, I'm cutting 7-inch strips for my 6 inch blocks. Then, fold one corner down until it meets the bottom of the strip. The strip should look like a triangle on the end. Just cut that folded triangle portion off and when you unfold it, it will be a square! Yay! Repeat until you've rough-cut all your fabric. Good luck
Next is "precision cutting." You'll essentially just be cleaning up the edges and making sure all your blocks are the same uniform size.
You'll need:
- A rotary cutter
- A cutting mat
- A quilt ruler
OR you can just grab a Rotary Cutting Set that includes all of those things. I have this Fiskars Rotary Cutting Set from Amazon.com, and love it.
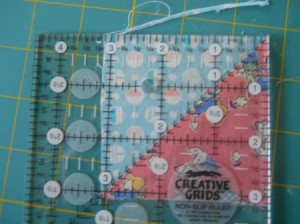
- Square the edges. Place your square on your cutting mat, place the quilt ruler over the square so just the rough edges are sticking out. Cut this part off with the rotary cutter.
- Then, flip your block around so the other 2 uneven edges are sticking out from behind the ruler. align your block on the quilt ruler for how big you want it. For my 6 inch finished blocks, I need to cut each block 6.5 inches by 6.5 inches, to account for your quarter inch seam on each side of the block.
- Repeat for all of your remaining blocks
When you're done, all your blocks should be even and uniform.
Ironing
One more little step until you're ready to begin sewing!
Iron! Iron and stack your blocks and you're almost ready for sewing. It doesn't have to be a complicated process. I like to use steam to iron. If you're iron doesn't have a steaming function, you can just spritz a little water on the quilt blocks. I would not recommend using starch. It's not really necessary since the water will work just as well, and it will add a little unnecessary muck on your quilt blocks. So just use water, and then just iron the blocks until flat.
Now you're ready for Part 3! Time to get sewing!
Next: Read Part 3- Piecing and Finishing Your Quilt Top

Did you like this Washing and Cutting Quilt Blocks section? Find more like it on my Sewing and DIY & Crafts boards on Pinterest!
If you liked this Washing and Cutting Quilt Blocks section, you might also like
Quilting for Beginners - 5 Part Series
Finishing Your Quilt Top - Quilting for Beginners Part 3
Basting and Quilting - Quilting for Beginners Part 4
See More DIY & Crafts Projects
Never Miss a Thing!
Join our newsletter to get new recipes, tips, tricks, and tutorials every week!
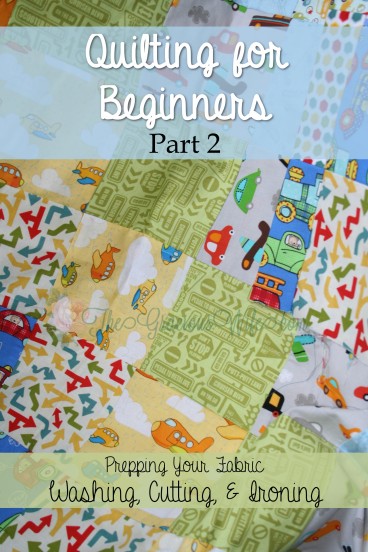
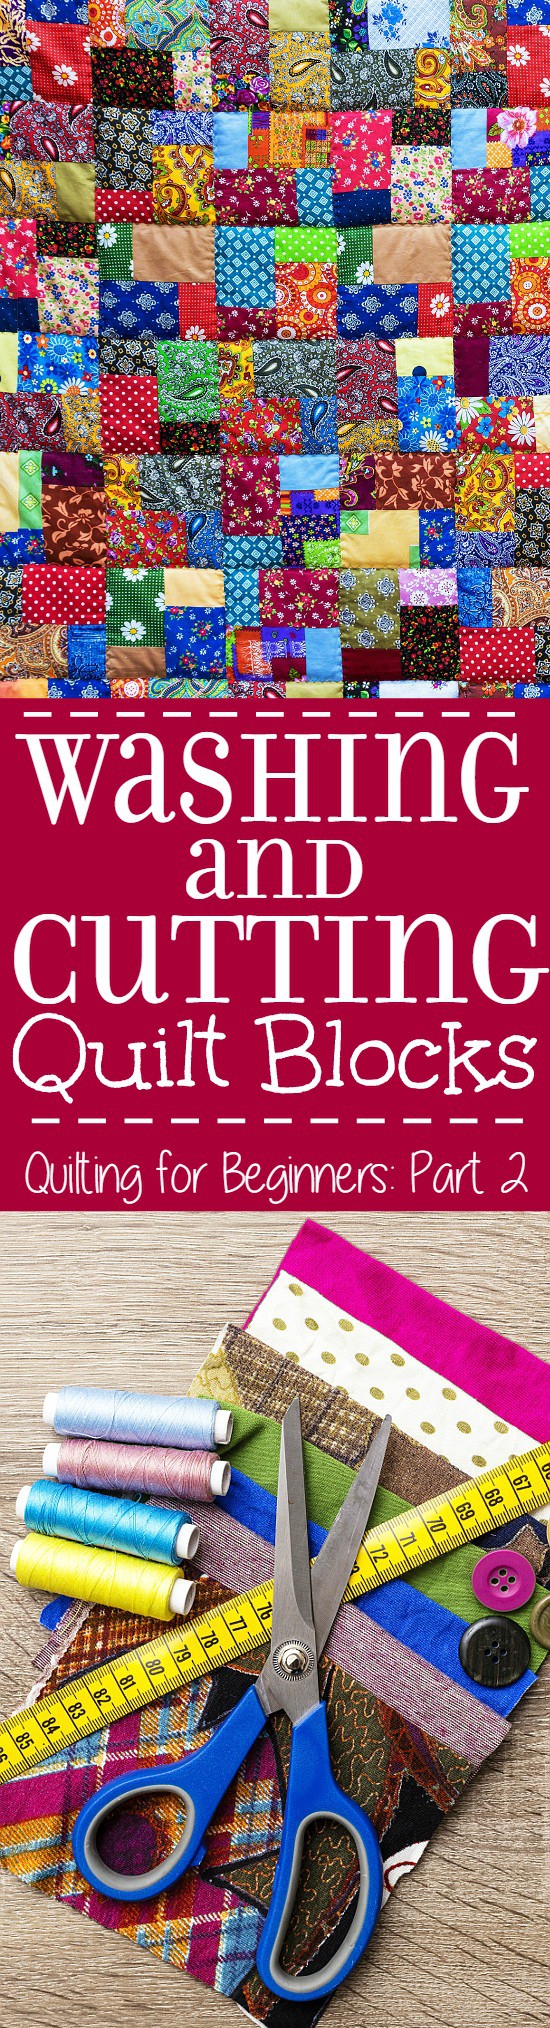
Photo Credit: DollarPhotoClub.com

Dawn Staskivige says
I jumped ahead and may be in trouble. Icut my 6 inch blocks in 6 x 6 inch blocks, No extra. so I know my blocks will be smaller. 51/2" b;ocks. OOPS. But then I sewed the two different colored blocks together and now have several rows of fabric sewed but have not washed any yet. Another OOPS. Should I wash these by hand, throw them in the washer, or skip the wash point at this part. Please advise.
Michelle says
I would stop and wash everything that you have right now. Hopefully you don't run into any shrinking issues, but it would be better to run into them now when it's still pretty easy to fix than at the end when everything is assembled and you would have to take it all apart. I advise washing and drying on a gentle cycle since the blocks are already cut and cut fabric has a tendency to unravel a bit. Hope that helps!
Tammie says
well, I'm a beginner quilter and winging it on my own. i did things a little backwards...i bought 4 different fabrics at 1 yard each. to utilize most of my fabric, what size should i cut my squares? i was hoping to do a lap quilt. I can get more fabric if need be.
Phyllis Bargas says
I don’t understand how you wash precut pieces like jelly rolls, etc.
Michelle says
Some precut sets are pre-washed. It should say on the label. I mean, you don't have to wash it, but you could experience shrinkage. It's a crapshoot, which is why I recommend trying to wash. Takes out some of the risk.
Rache says
I read somewhere that for improved cutting accuracy..you should IRON the washed fabric before cutting.
Is that what you meant too?
Cheers
Beginningtogetintothis
Michelle says
Yes, it does say that. It's the last sentence before the cutting quilt blocks heading. That way you know your fabric is already shrunk and your cutting will be accurate after ironing.
Dawn fisk says
could you explain how to get a square by folding into triangle im not understanding Im new at this thank you Dawn