Part 3 in a 5-part Quilting for Beginners series. This Piecing and Finishing Your Quilt Top section will walk you through piecing together your quilt top and sewing a perfect quarter inch seam. Make your own DIY sewing quilt with this step-by-step tutorial!
Piecing and Finishing Your Quilt Top - Quilting for Beginners Part 3
It's time for the main event! Piecing your quilt!
You should already have purchased, washed, and cut your fabric. If you haven't, check out these guides and then come back!
- Choosing, Calculating, and Buying Fabric
- Washing and Cutting Quilt Blocks
If you're all caught up and ready to go, let's get going.
Piecing Your Quilt Top
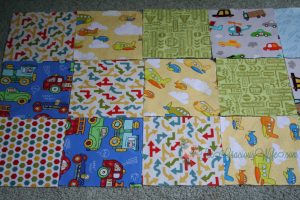
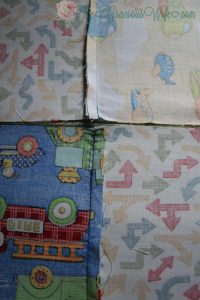
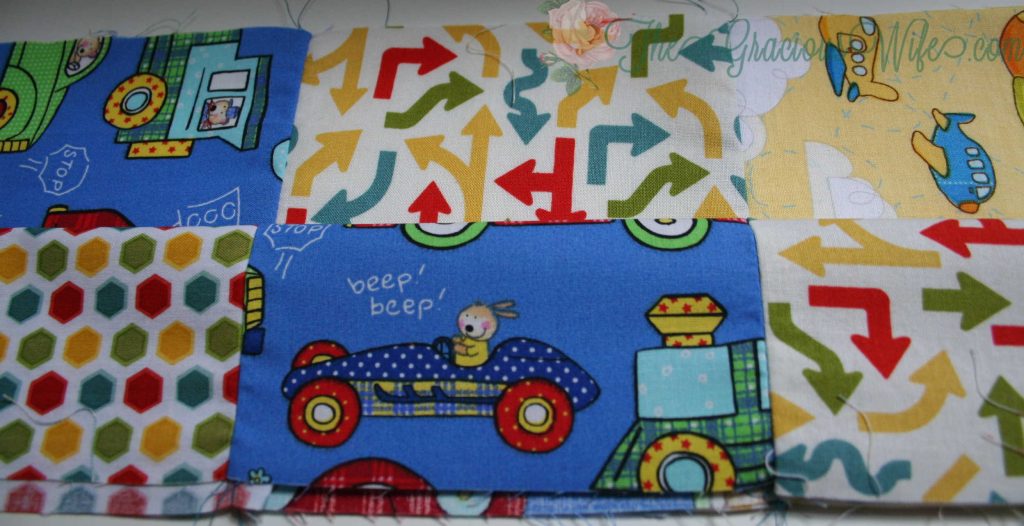
1. Lay your blocks out in your desired pattern on your floor or table. Re-stack them so that they stay in the correct order according to row for sewing.
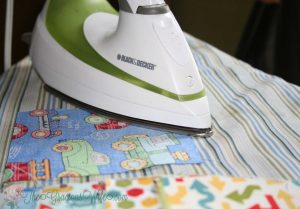
2. Before you sew we're going to iron again. Just to make sure everything will line up properly. You can iron everything at once. Or just a row at a time, which is what I do. With 3 kids running around the house, I never know how much I'll actually get done!
3. We're ready to sew! Let's talk about the quarter-inch seam.
The Quarter-Inch Seam
The quarter-inch seam is exactly what it sounds like: a seam that is a quarter of an inch. It is the standard quilting seam. This seam needs to be very precise so that your quilt blocks will line up properly once sewn.
There are a couple ways to ensure your seam is accurate.
1. A quarter inch presser foot
Some machines come with this foot. Otherwise, you can easily purchase it at a craft store or online. Even with this presser foot, you will still want to test it for accuracy in measurements.
2. An adhesive.
You can make your own with painter's tape or moleskin. Or you can buy a commercial adhesive guide such as Dritz Quilting Machine Seam Gauge and Adhesive Guide.
To make your own, raise the presser foot and lower the feed dogs so that your measuring device will lay flat. Measure a quarter inch from where your needle will hit. Mark it with the adhesive along that line. Now when you're sewing, you can just line your fabric up with the adhesive, and you'll have a straight even quarter inch seam.
***Note: If you're using painter's tape, use 3 or 4 pieces on top of each other to create a ridge. Doing this will give you a better physical guide while you're sewing.
Finishing Your Quilt Top
Now all that's left is the actual sewing.
Sew your blocks together in rows, one block at a time using the quarter-inch. Depending on the size of your blocks, you may want to add a few pins.
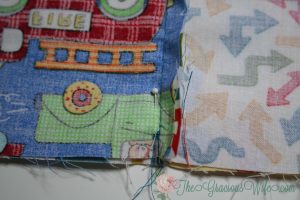
When the rows are all done, you need to iron again. Iron the backs of your rows so that you're pressing down the seams. I've seen two different ways to do this.
- You can iron down the middle of the seam. This will split the two quarter inch pieces of fabric apart. One lays flat to the left. One lays flat to the right.
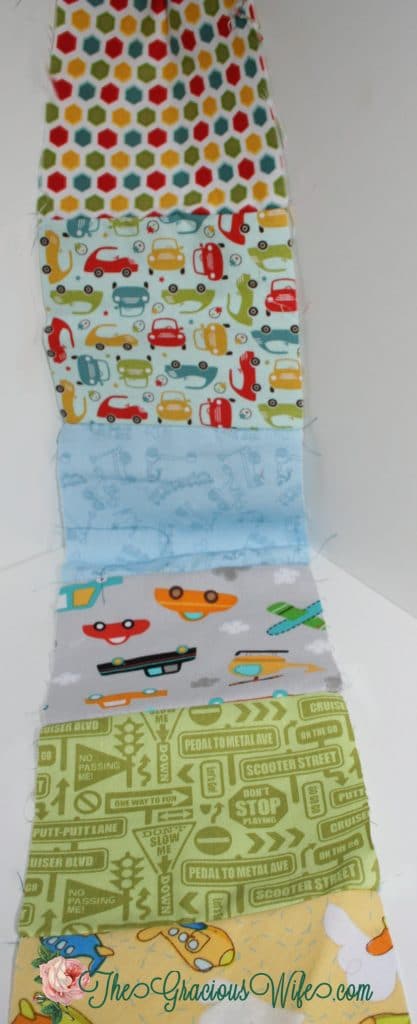
- Or you can iron one way, but alternate rows. So the first row, you iron all the seams pointing right. The next row you iron all the seams pointing left, etc. That's what I did in the picture below.
Ready to sew again! You should absolutely pin during this part. You need to account for any errors you may have made, so go through and make sure that all of your seams line up. Then pin them so they stay that way.
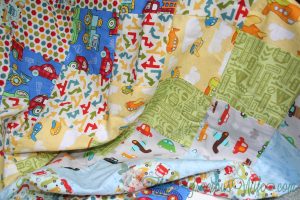
This is the final bit for your quilt top! Repeat the pinning and sewing process for the rest of your rows and you'll be done in no time!
Ta-da!
Next: Read Part 4- Basting and Quilt

Did you like this Piecing and Finishing Your Quilt Top section? Find more like it on my Sewing and DIY & Crafts boards on Pinterest!
If you liked this Piecing and Finishing Your Quilt Top section, you might also like
Quilting for Beginners - 5 Part Series
Basting and Quilting - Quilting for Beginners Part 4
Binding Your Quilt - Quilting for Beginners Part 5
See More DIY & Crafts Projects
Never Miss a Thing!
Join our newsletter to get new recipes, tips, tricks, and tutorials every week!

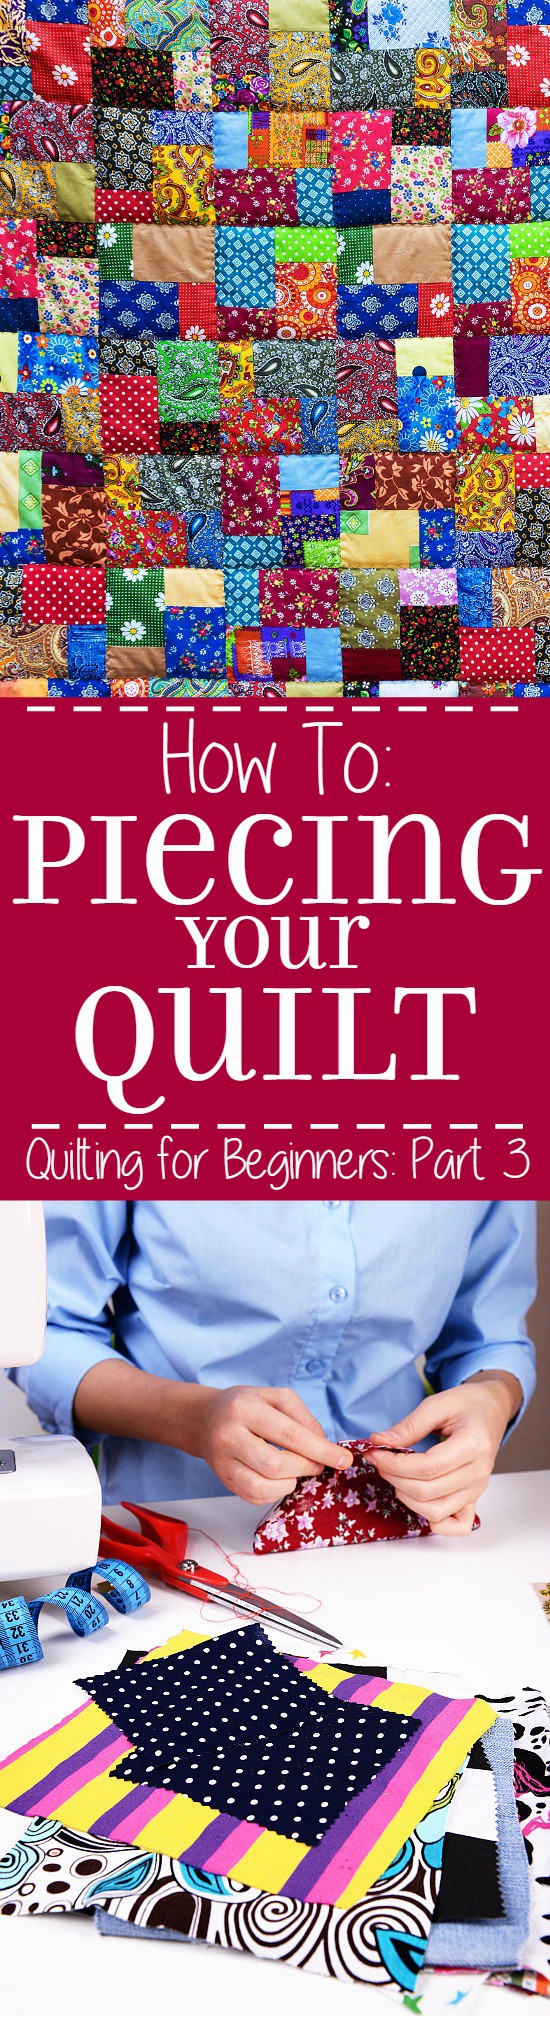
Photo Credit: DollarPhotoClub.com


Chad says
Is this the end of the tutorial? You wrote "stay tuned to finish up your quilt" at the end, which I'm interpreting as there being more to do? But there's been no update to this page since September 1st. Please let me know.
Michelle says
There's a part 4 that you can find here ( Part 4 )
And there's still one more step, the binding, that I'll cover, but fall is super busy for us with all 3 of my kids having birthdays in a one-month span so I just haven't gotten to finish it yet! It's on my list, and I'll try to finish it for you ASAP.
Vanessa wallace says
Beautiful!
James says
I've started making my first quilt, which is a 9-patch which alternates with single, solid blocks. I've finished all of my 9-patches and I've found that some are about 1/8th inch short (they should be 9 1/2 inches, but they are about 9 3/8th's instead...) Is this going to be a serious problem for the quilt or is there a way to work around it?
Thanks!
James
Michelle says
They may not line up if they're not all the same. If they're all a little short, it will be okay. If not then I would go ahead and find the smallest and when you square up your blocks, just give them all a little trim so that they're the same.
Jessica says
I love this post, however Part 4 has no working link. Is there a way to access it? I'm beginning my first quilt, and would love to be able to follow your post to make it!