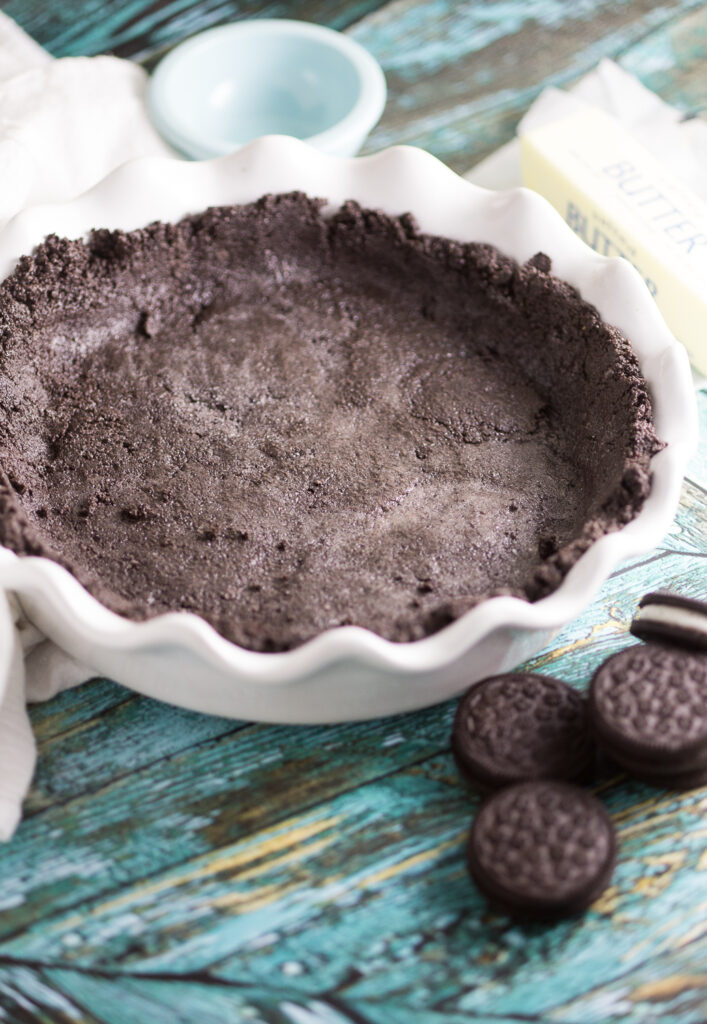
This Oreo Crust requires just 2 ingredients and a few minutes to whip up. It's simple, chocolatey, buttery, and perfect for your favorite no-bake or baked pie or cheesecake.
Oreo Crust
Crumble crusts are pretty much the best out there because they add so much flavor with so little effort, and this Oreo crust is no exception. It's made with just 2 ingredients and comes together in just a few minutes.
It has a crispy, chocolatey texture and decadent richness from the butter and cookie creme.
An Oreo crust is the perfect way to add a little chocolate decadence to any of your favorite pies or cheesecakes - no-bake or baked!
Why Should I Make an Oreo Crust Instead of Buy One?
In my opinion, the homemade Oreo crust just tastes like a million times better. Maybe it's the real butter; maybe it's the extra love. Either way, the flavor of a homemade Oreo crust just can't compare to the store-bought ones.
Plus, it's just two ingredients and really cheap and easy to make. So the real question why NOT make your own?!
Do I Have to Use a Food Processor?
No. Back before I had a food processor, I used to put Oreos in a large gallon zip baggy and beat on them with a rolling pin until they reached the desired consistency.
However, I do really recommend having a food processor. They are extremely useful for many recipes, and they're a pretty inexpensive appliance. This is the one I currently have, and there are also smaller and cheaper models (or bigger and more expensive, if that's what you need).
What Kind of Oreos Should I Use?
The most important factor when choosing which Oreos to use is that they are the original stuffed (meaning not double stuft or more). The extra frosting will alter the crust's texture and will not turn out as well.
There are so many different flavors of Oreos from chocolate to golden, mint to birthday cake. You can choose any flavor you want or that you think will go well with your pie.
Do I Have to Pre-Bake this Oreo Crust?
No, you don't have to bake your Oreo crust. For no-bake recipes, this crust does not need to be baked. I will just freeze it for about 20 minutes before adding filling to make sure it sets. You can also choose to bake it at 350° for about 8 to 10 minutes if you'd like your crust a little toasty.
For baked recipes, this crust can be baked as well. Simply follow the instructions of the recipe for time and temperature.
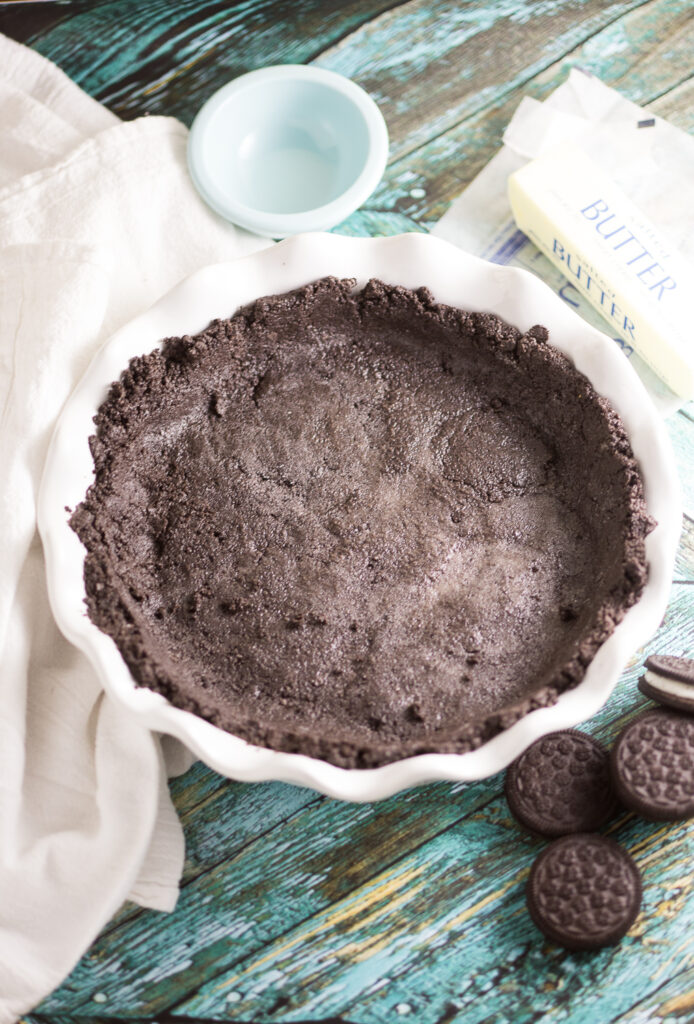
How to Press Oreo Crust into the Correct Shape
After mixing the ingredients together, you add them to a pie dish or springform pan and press it into place. You can use clean hands for this. However, I find that if you use a measuring cup or drinking glass, it will pack down better and be more even, especially on the sides.
If you have trouble with your crust sticking to the glass, you can quickly dip the glass in granulated sugar, then begin pressing again. The sugar on the glass will help prevent sticking.
Recipes That Can Use Oreo Crust
- Butterfinger Pie - a creamy peanut butter filling in an Oreo crust with Butterfinger whipped cream on top.
- Grasshopper Pie - a mint chocolate frozen pie in a decadent Oreo crust brings together rich chocolate and cool mint.
- No Bake Pumpkin Chocolate Cheesecake - creamy pumpkin cheesecake filling with chocolate chips in a chocolate Oreo crust, decorated with Hershey's kisses.
- White Chocolate Silk Pie - A creamy, silky, light, and fluffy white chocolate filling. This pie could benefit from a dose of decadent chocolate crust.
- S'mores Pie - A super rich chocolate filling with gooey toasted marshmallow topping. A chocolate crust would be perfect for all chocolate lovers.
Oreo Crust Video
Easy Oreo Crust
Ingredients
- About 25 chocolate creme sandwich cookies makes about 2 cups crumbs
- 5 tablespoons butter melted
Instructions
- Place cookies in a food processor and process until they're fine crumbs.
- Add melted butter to food processor and process again, just until combined.
- Pour butter and crumbs into a 9-inch baking dish and spread evenly.
- Pack down with a flat bottomed glass., then chill until ready to use.
- Add your favorite pie or cheesecake filling and serve!
Notes
- Storage: Store covered in the refrigerator for up to 2 days before using.
- Freezer Directions: Cover tightly and freeze for up to 3 months. Allow to thaw overnight in the refrigerator before filling and using.
Nutrition
UPDATE INFO: This recipe was originally published in October 2016. It was updated with new tips and video and republished in November 2023.
Never Miss a Thing!
Join our newsletter to get new recipes, tips, tricks, and tutorials every week!

wendy robbins says
This is such a good idea. My son is vegan, and this would be great for pie crusts!
Anna says
I always get asked to bring a dessert to holiday get togethers. I cant wait to try this oreo crust for the next one! What a great idea
Valerie Holocher says
I love pumpkin Chocolate Cheescake(:
Jada says
Is it necessary to grease the pie dish?
Michelle says
I don't butter it because there's already so much butter in the crust mixture
Jada says
Awesome! Thank you! 🙂
Jenny Hudson says
When making the Oreo crust do you use the creme between the two biscuits as well as the biscuits?
Michelle says
Yes, I do